FreePBX Debian Install
VM Setup
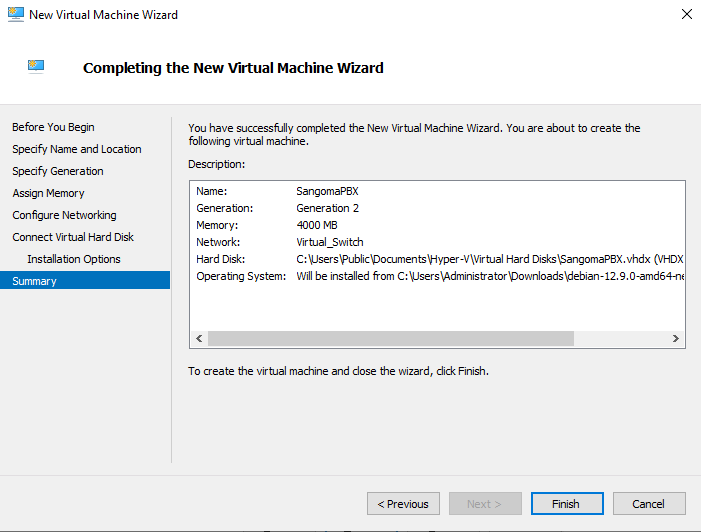
1. Create a New VM and give it a name

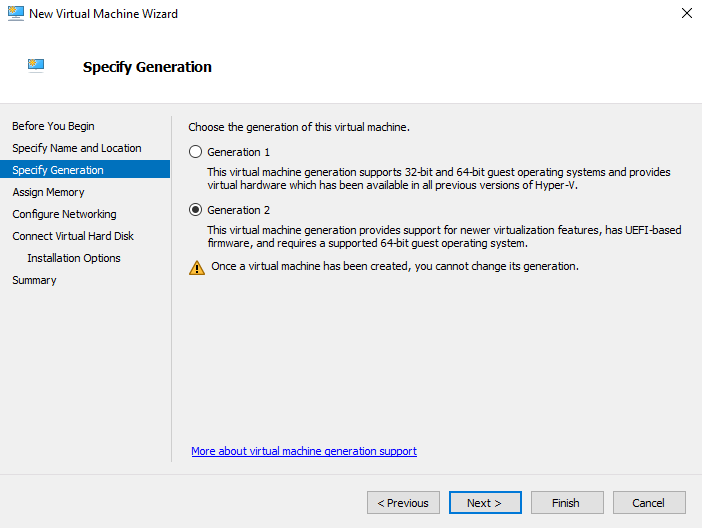
2. Make sure it is Generation 2
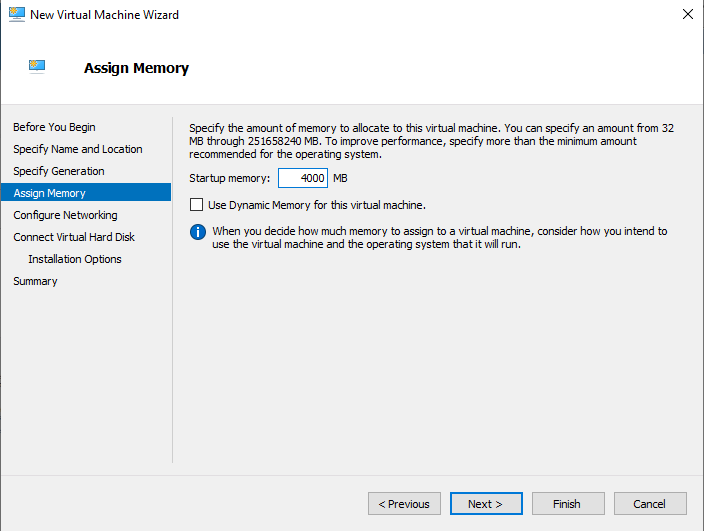
3. Make sure it has at least 4000 MB of memory. This is enough but more can be allocated if available.
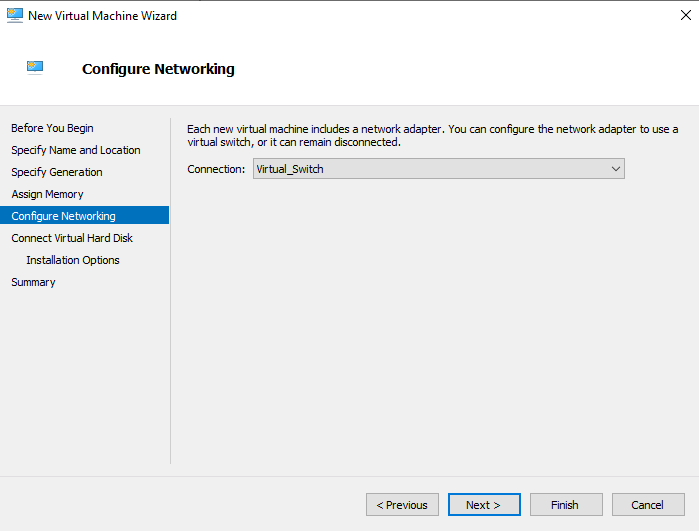
4. It is important to make sure it has a working internet connection
5. Create a virtual hard disk. Make sure it has at least 40 GB of Storage. This should be plenty but more can be used if available
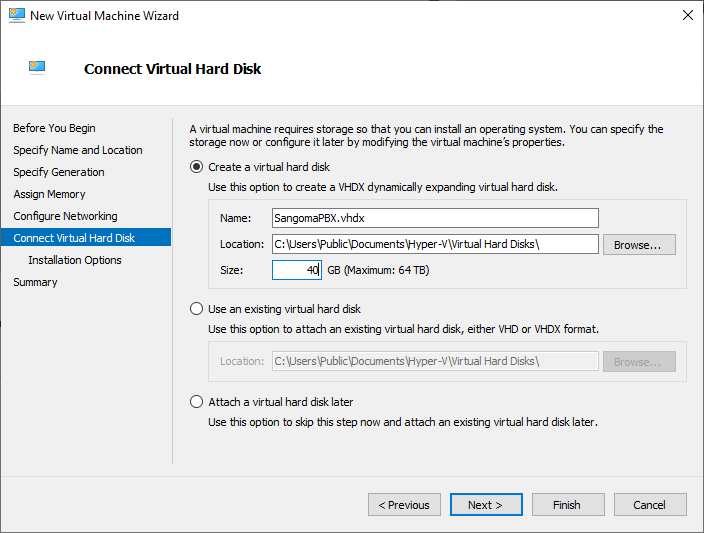
6. Choose to install from a bootable image file and pick the Debian.iso which can be downloaded from here.
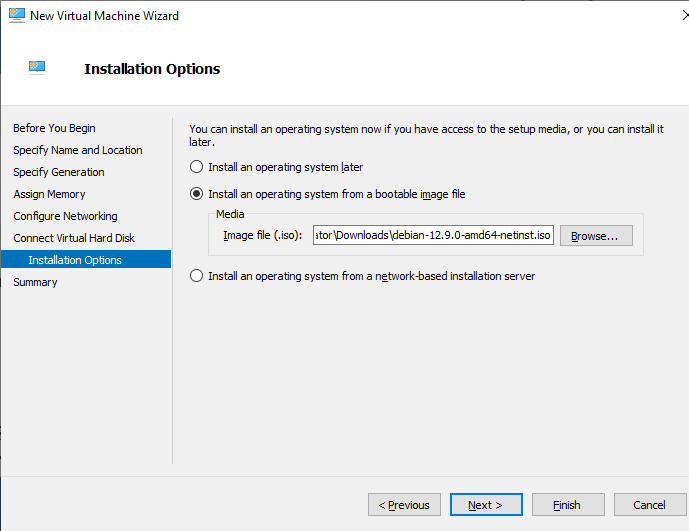
7. Finish
Debian Install
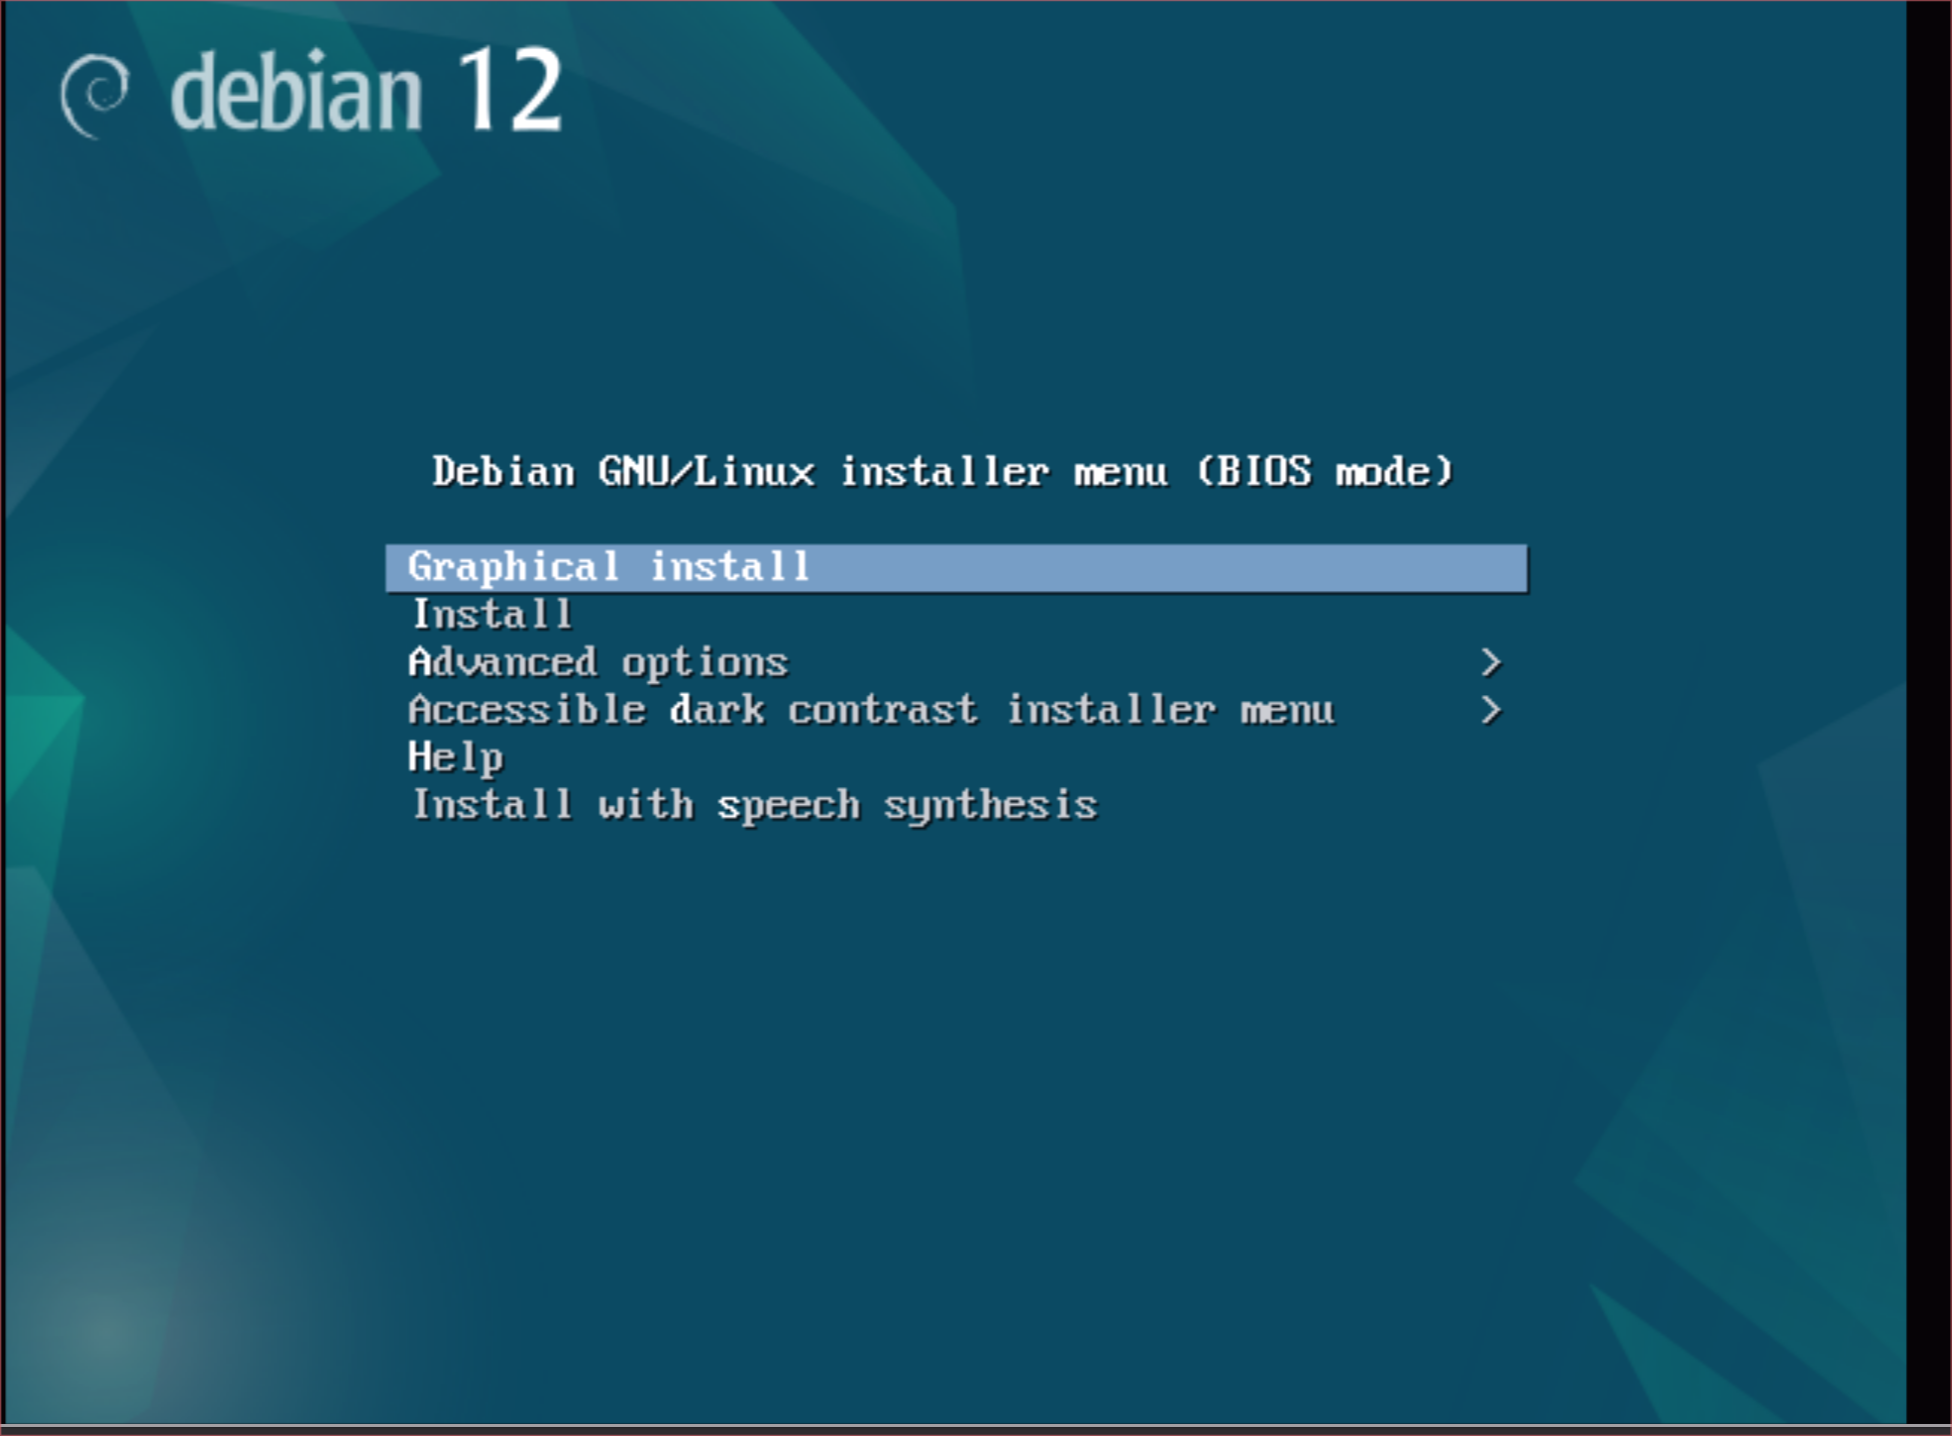
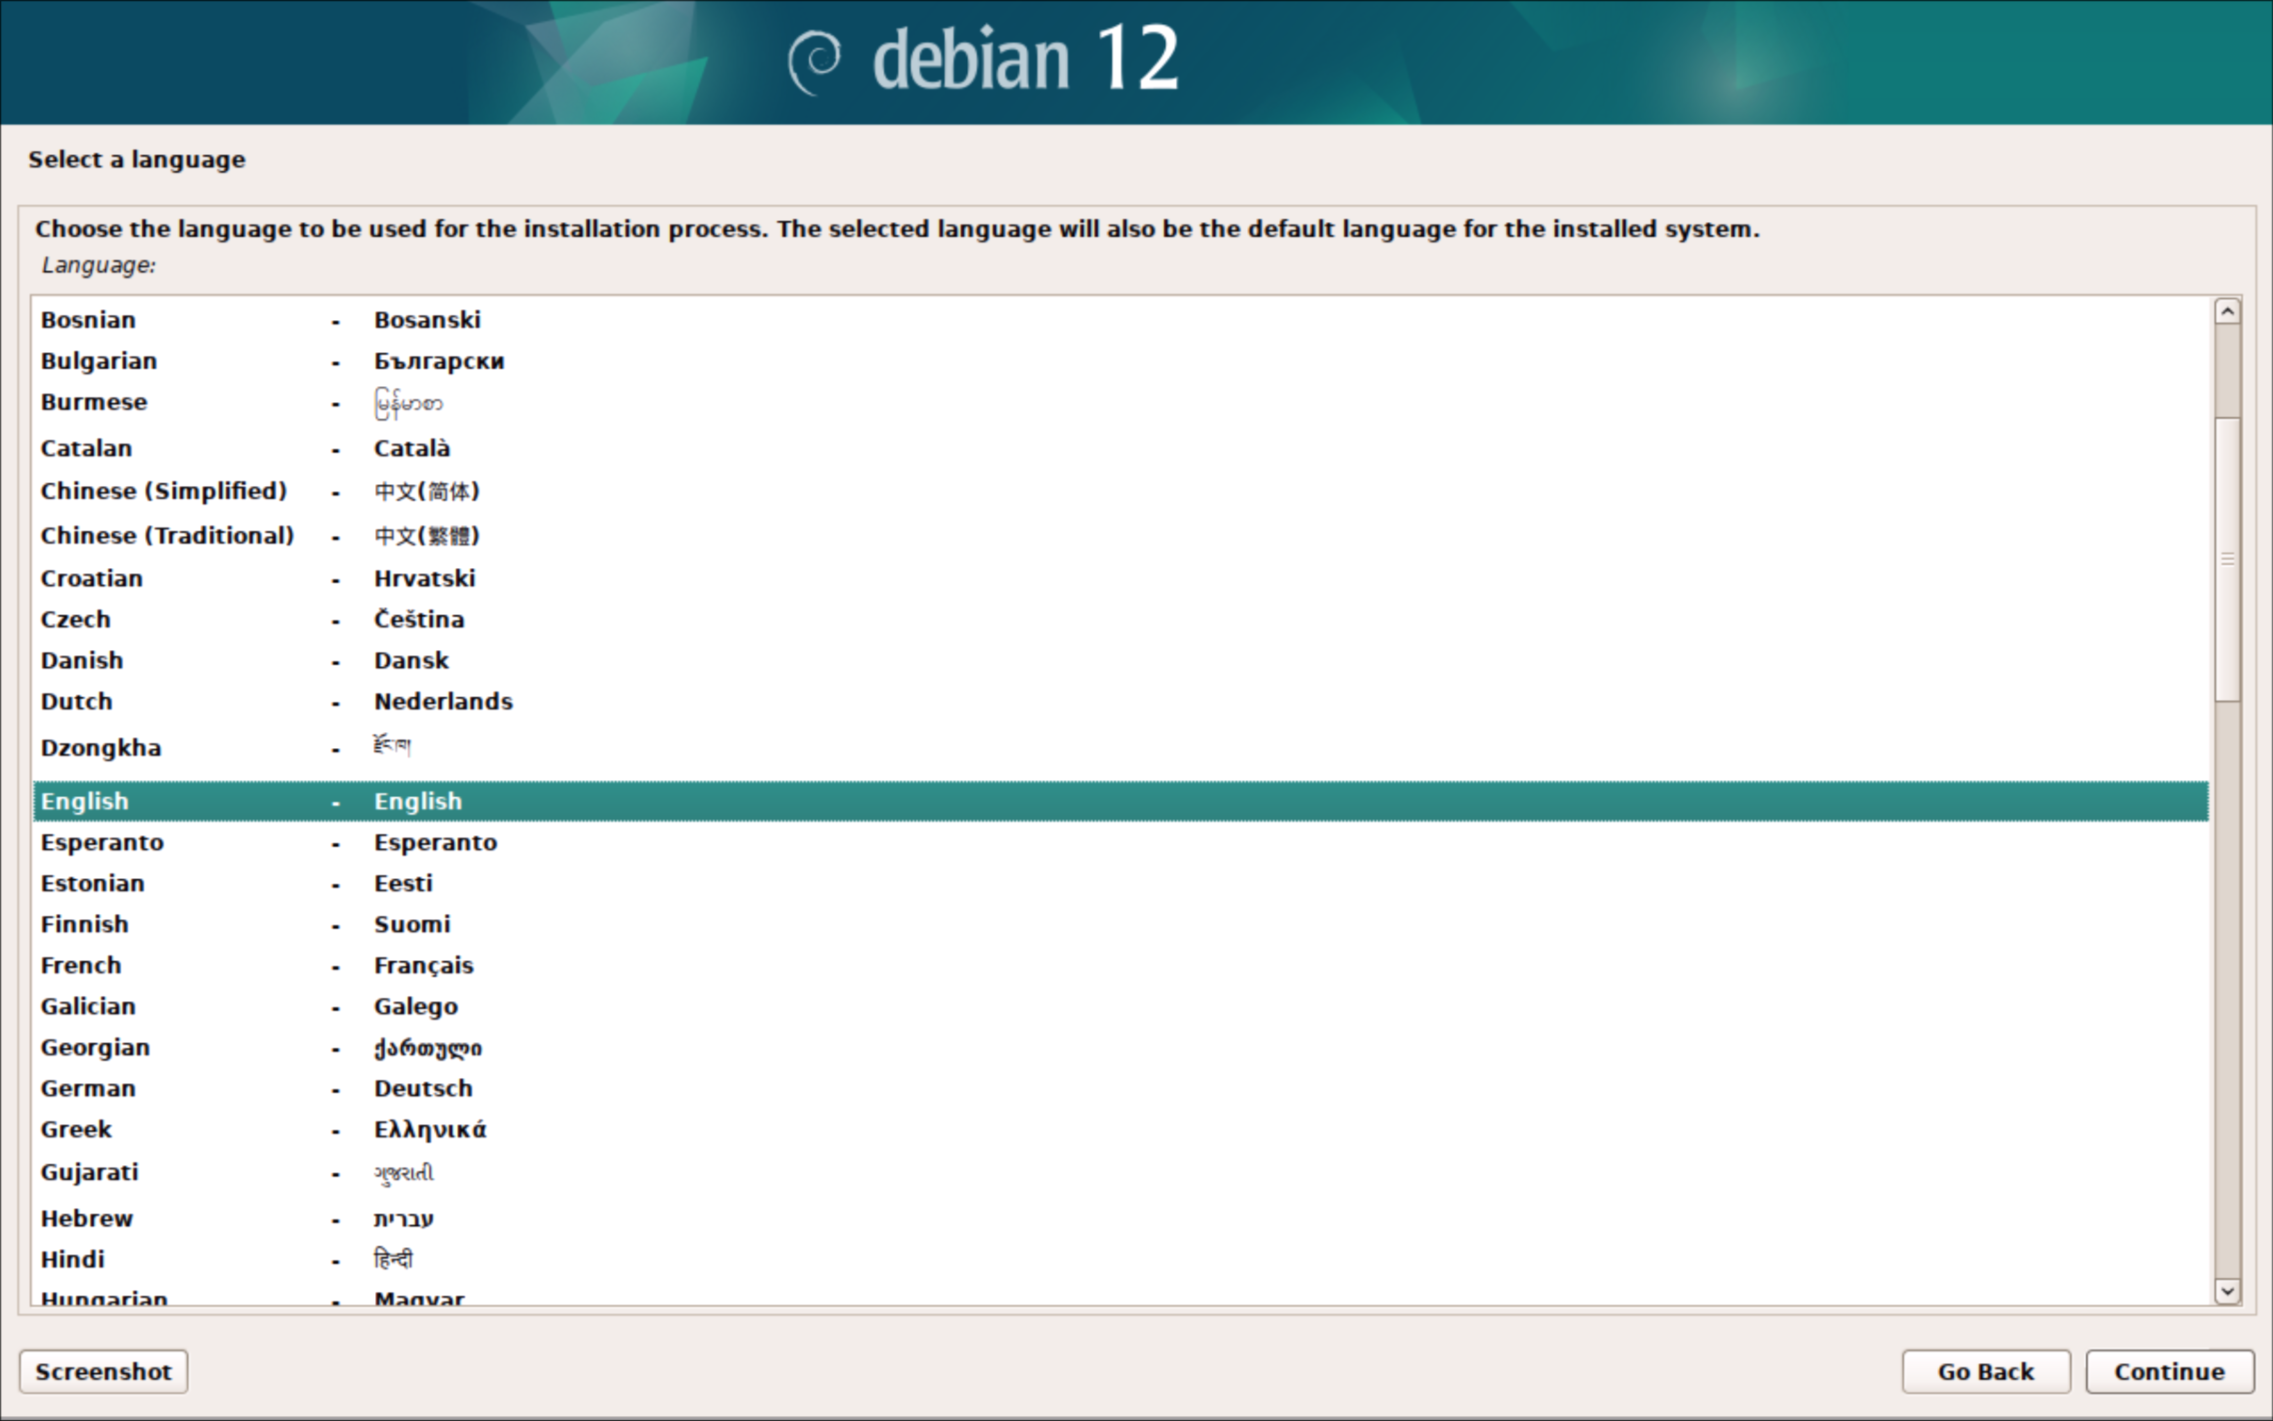
1. After booting the ISO choose graphical install. Make sure there is a working network connection otherwise the install will not work.
2. English
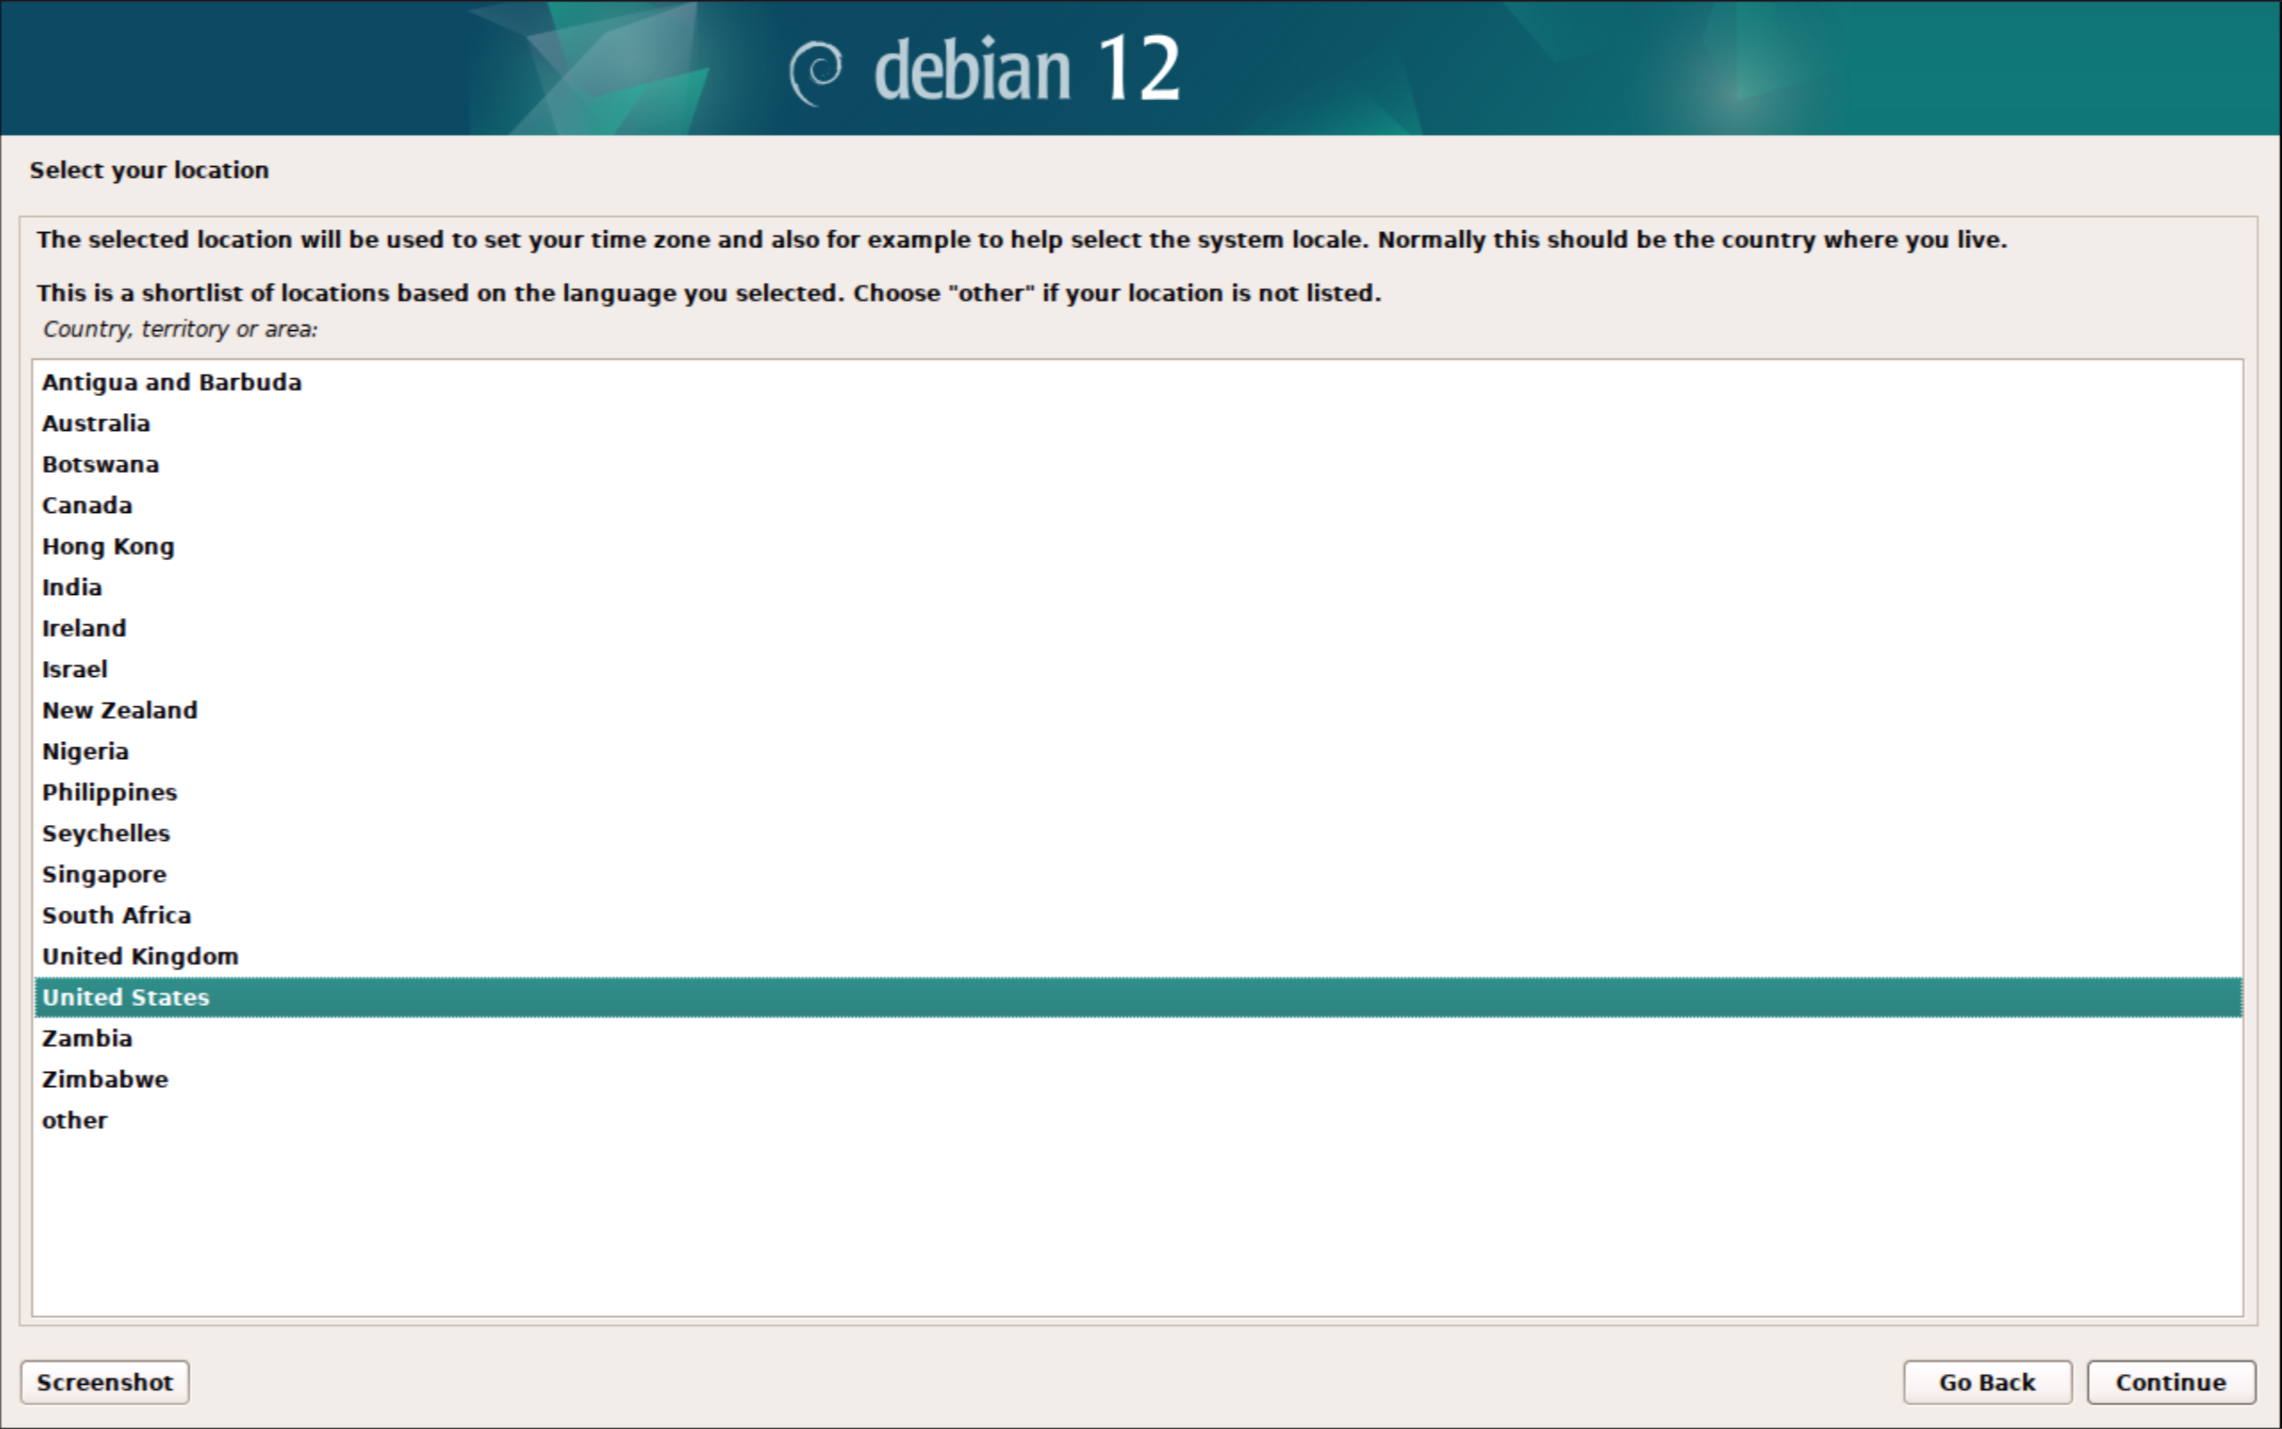
3. United States
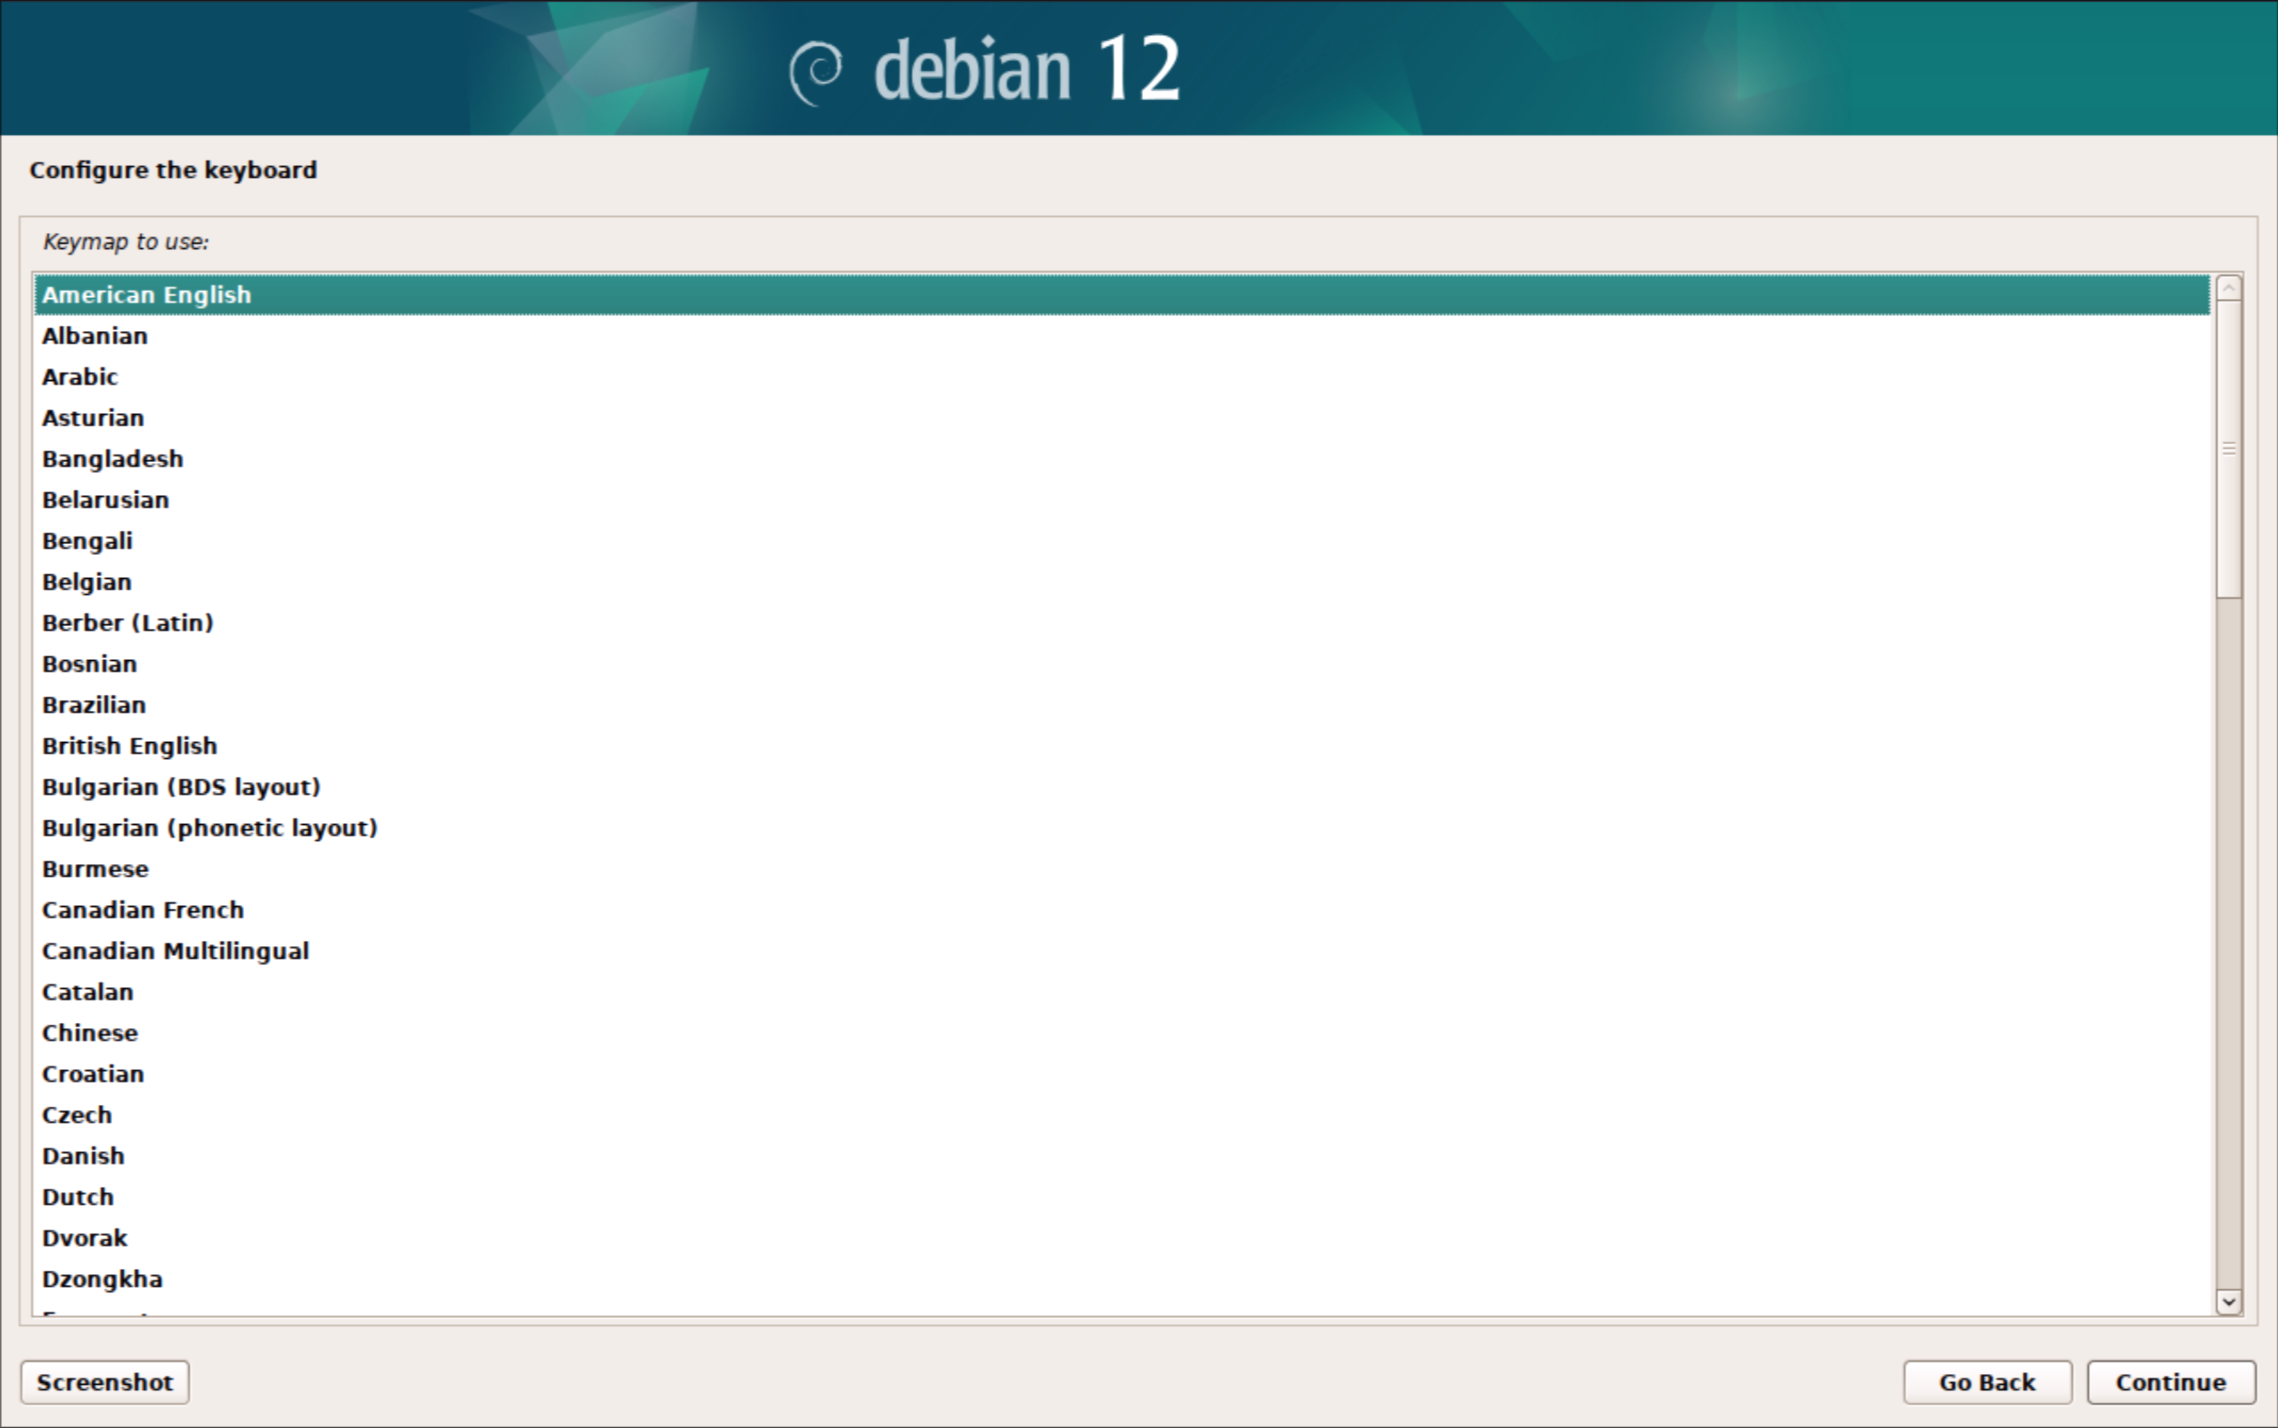
4. American English
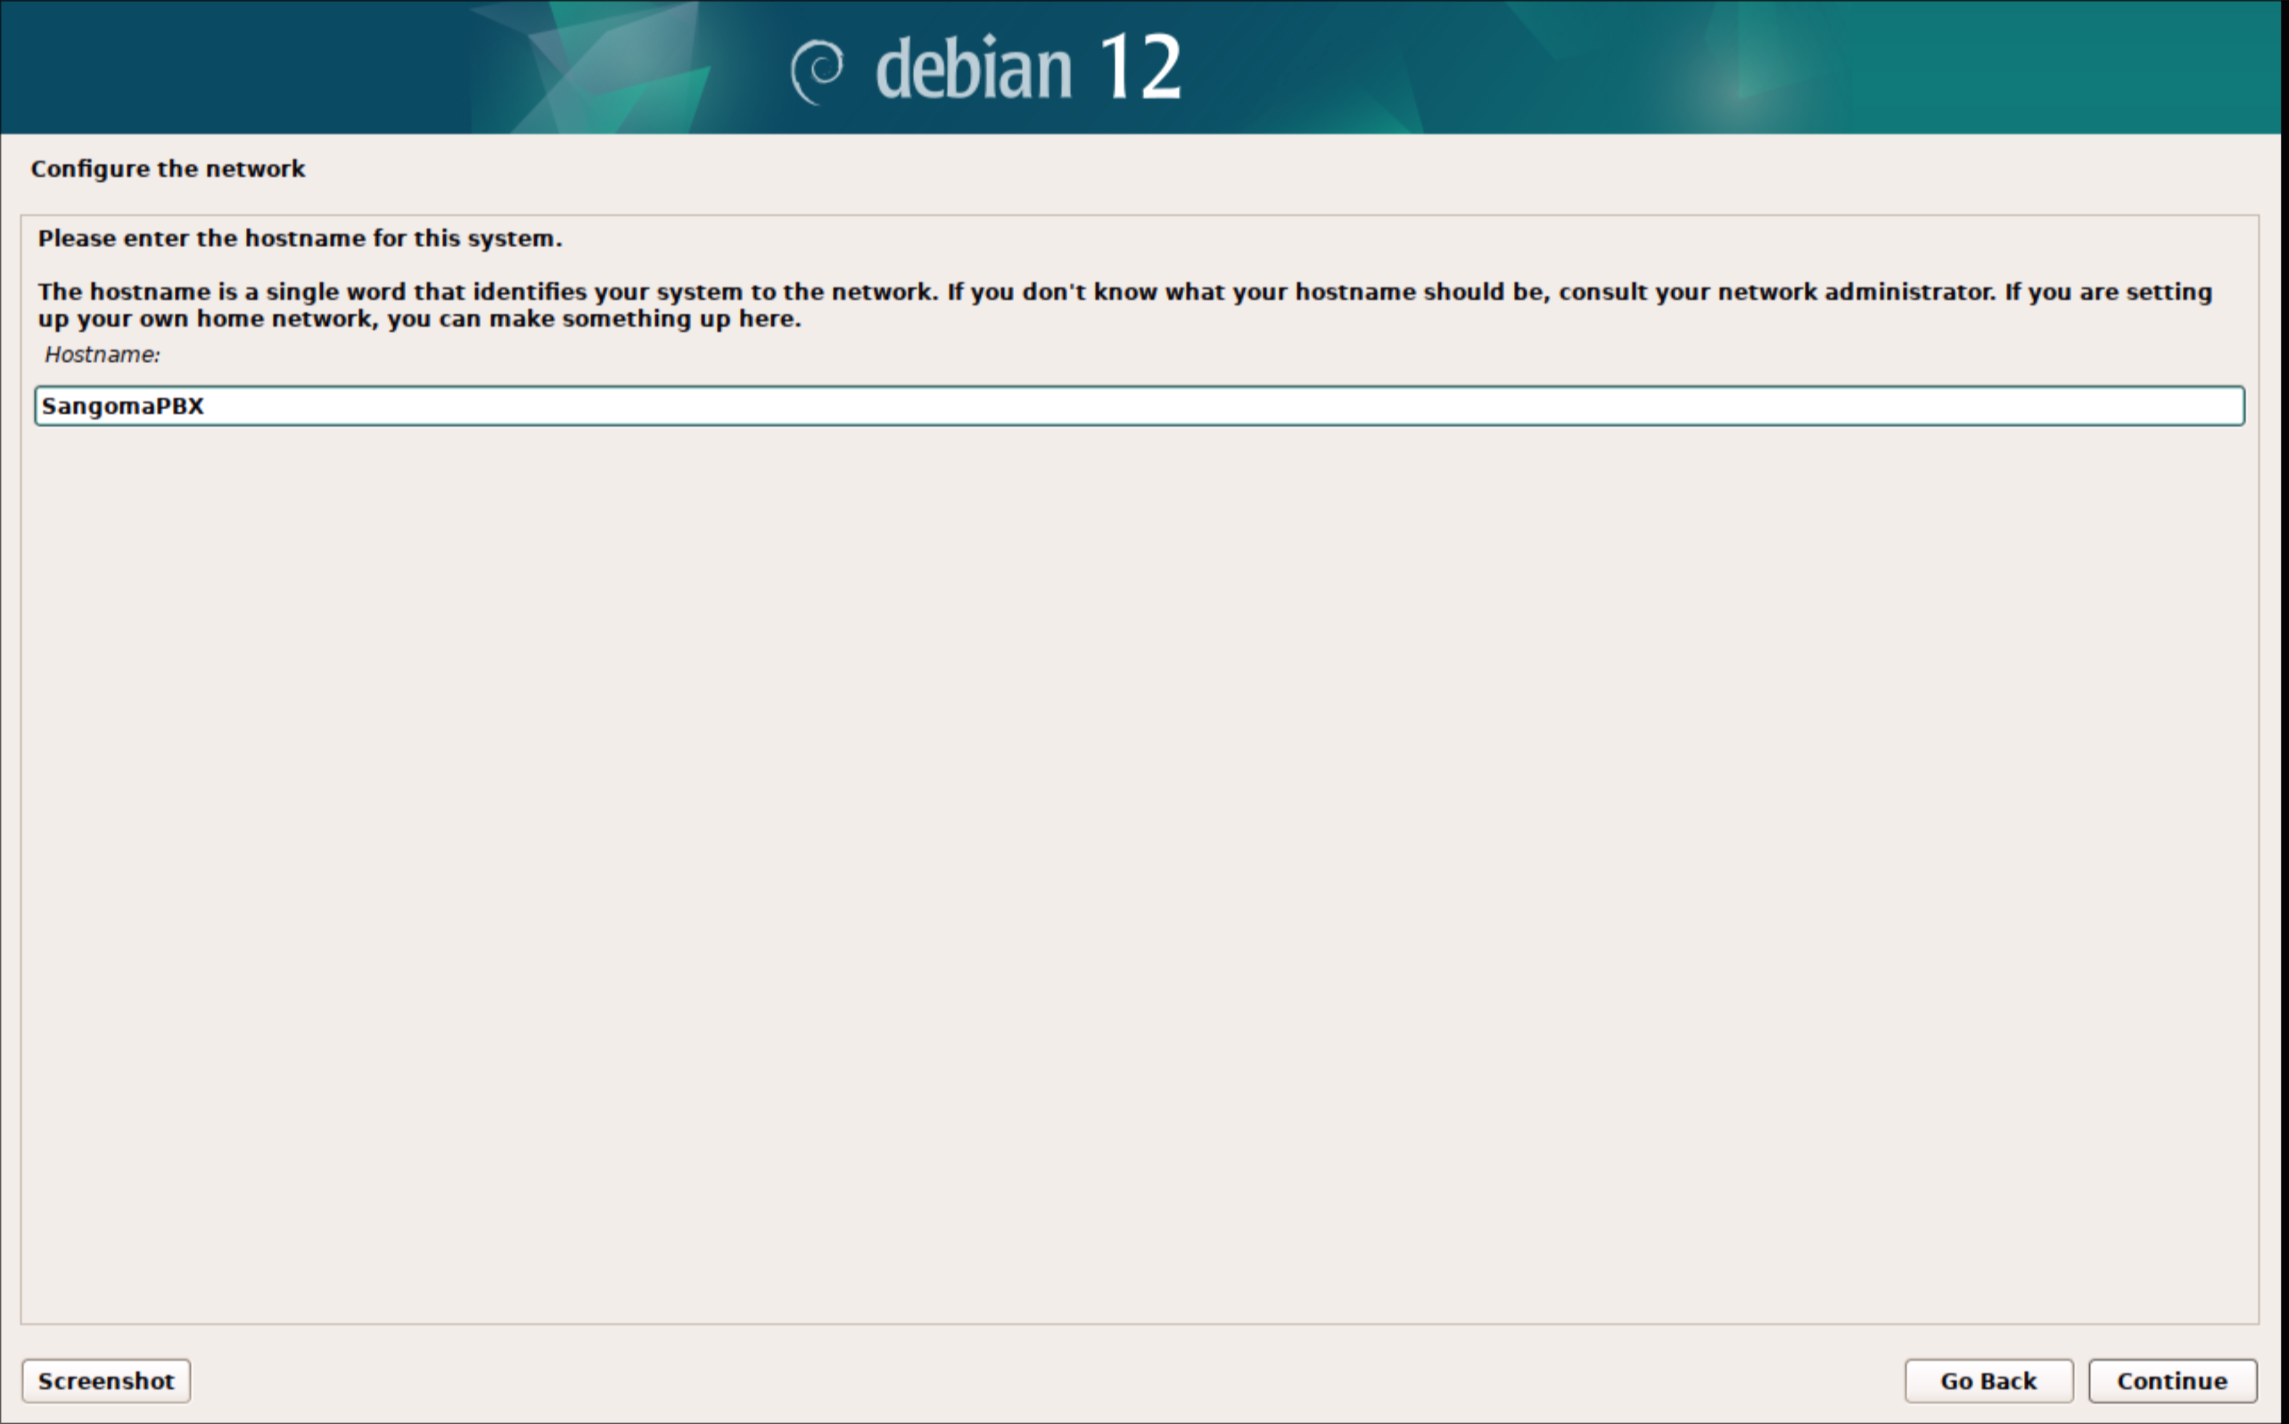
5. Enter SangomaPBX
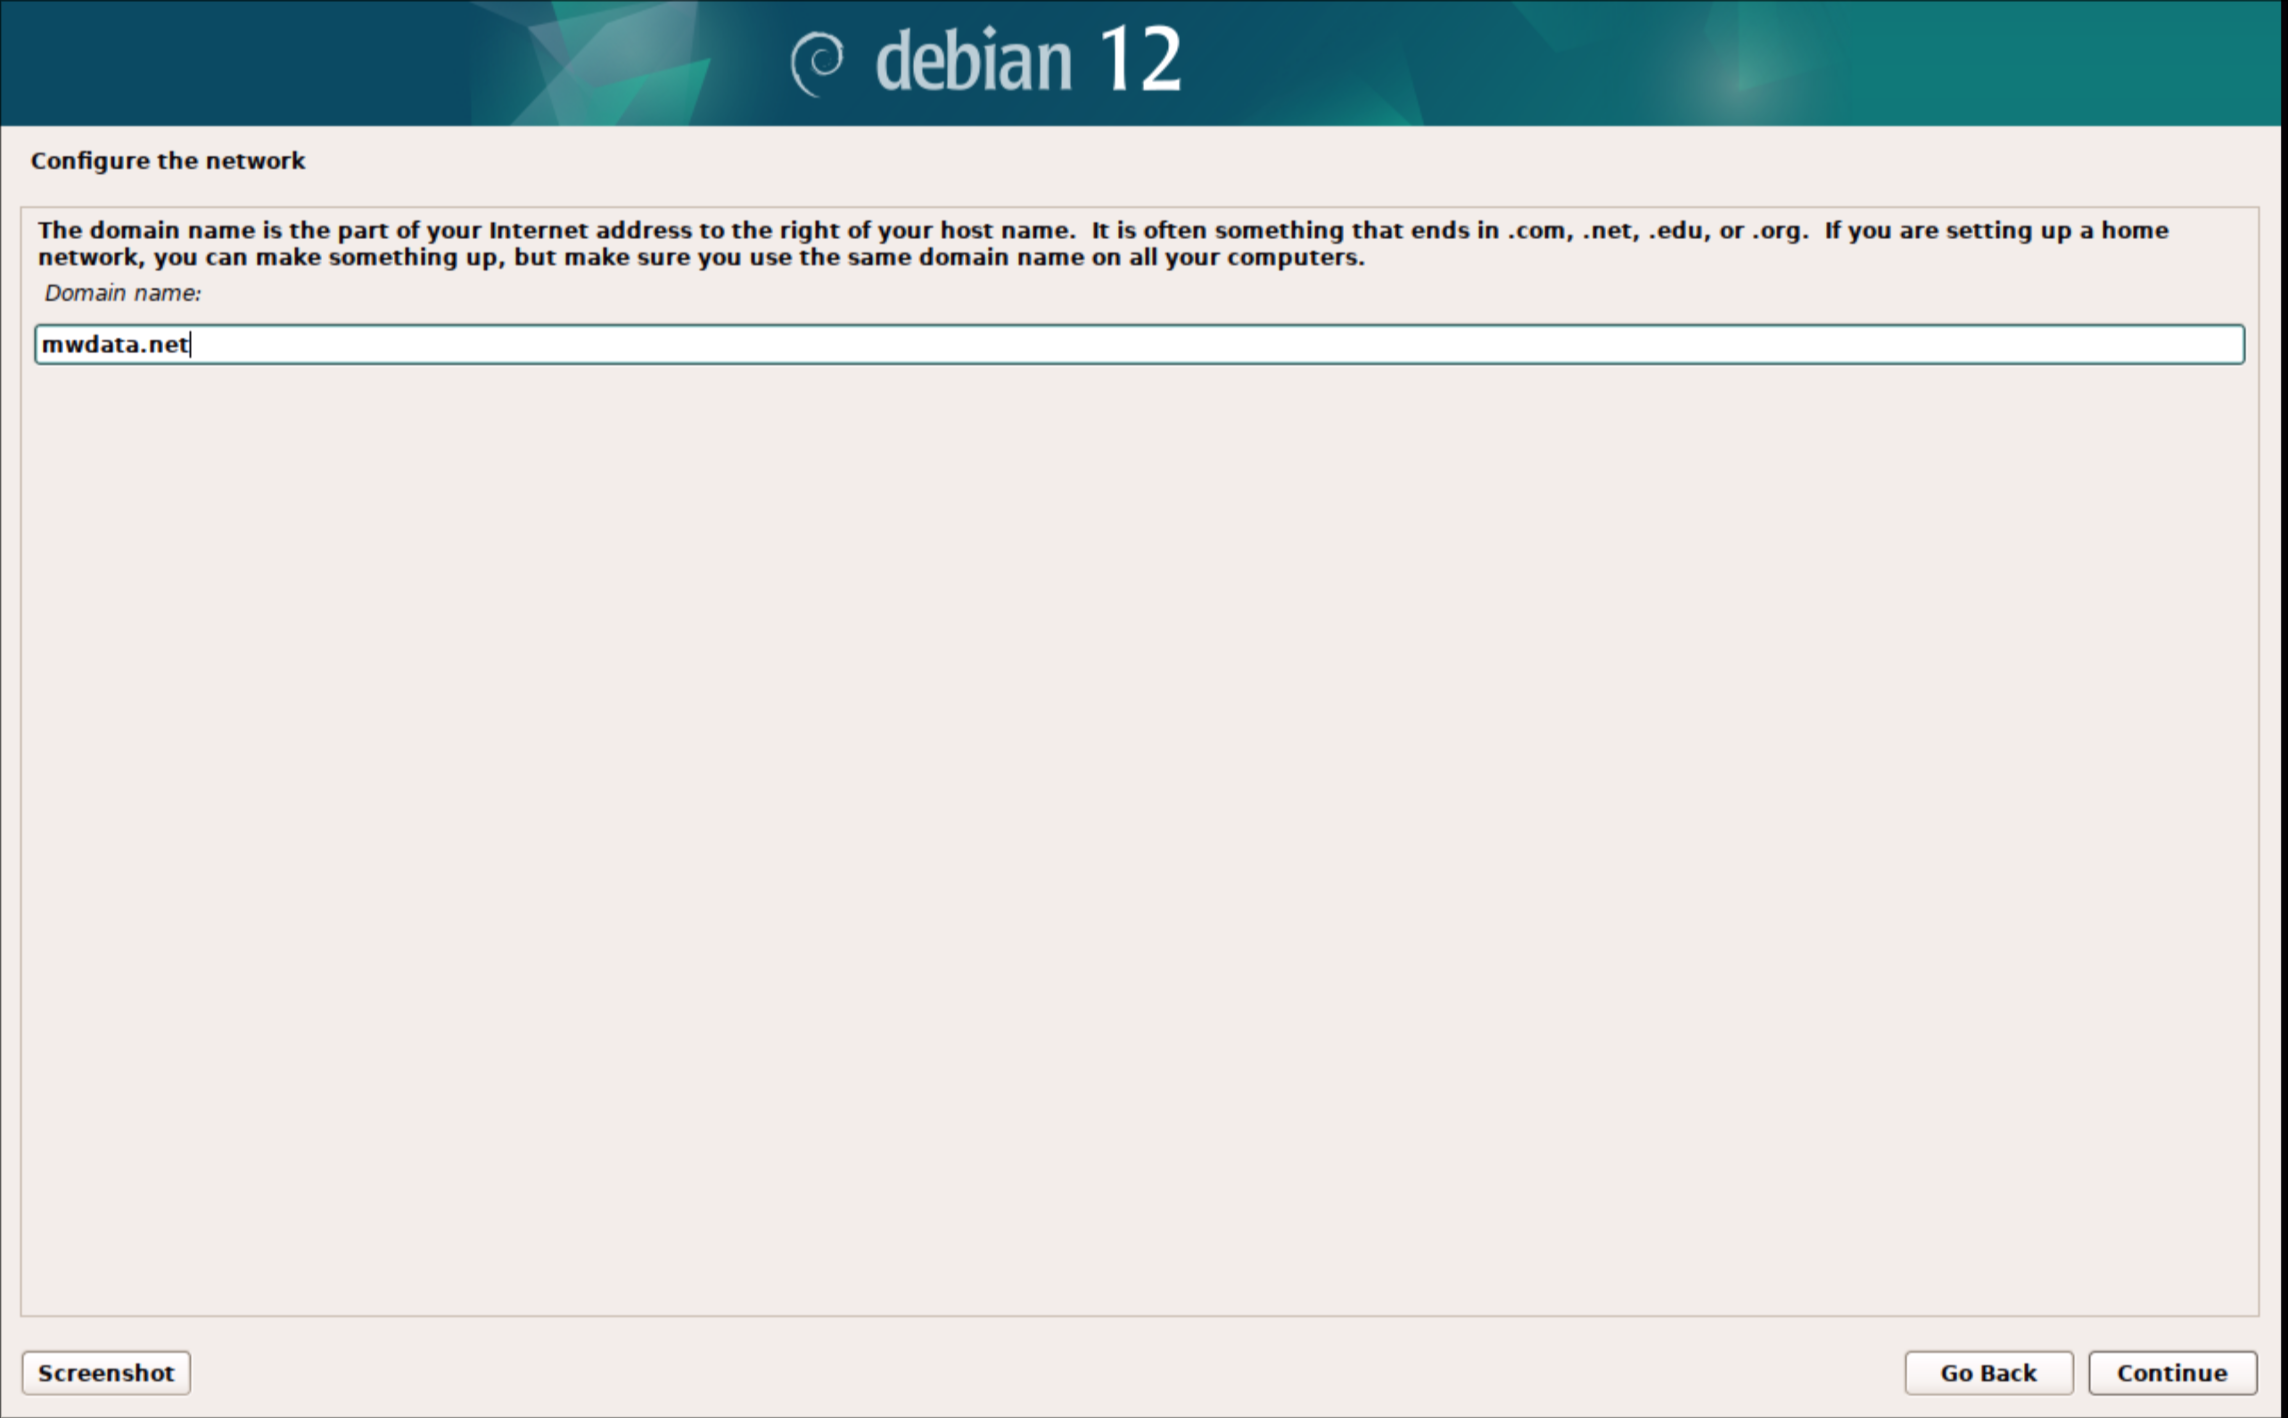
6. Enter the domain of the network or just leave it blank.
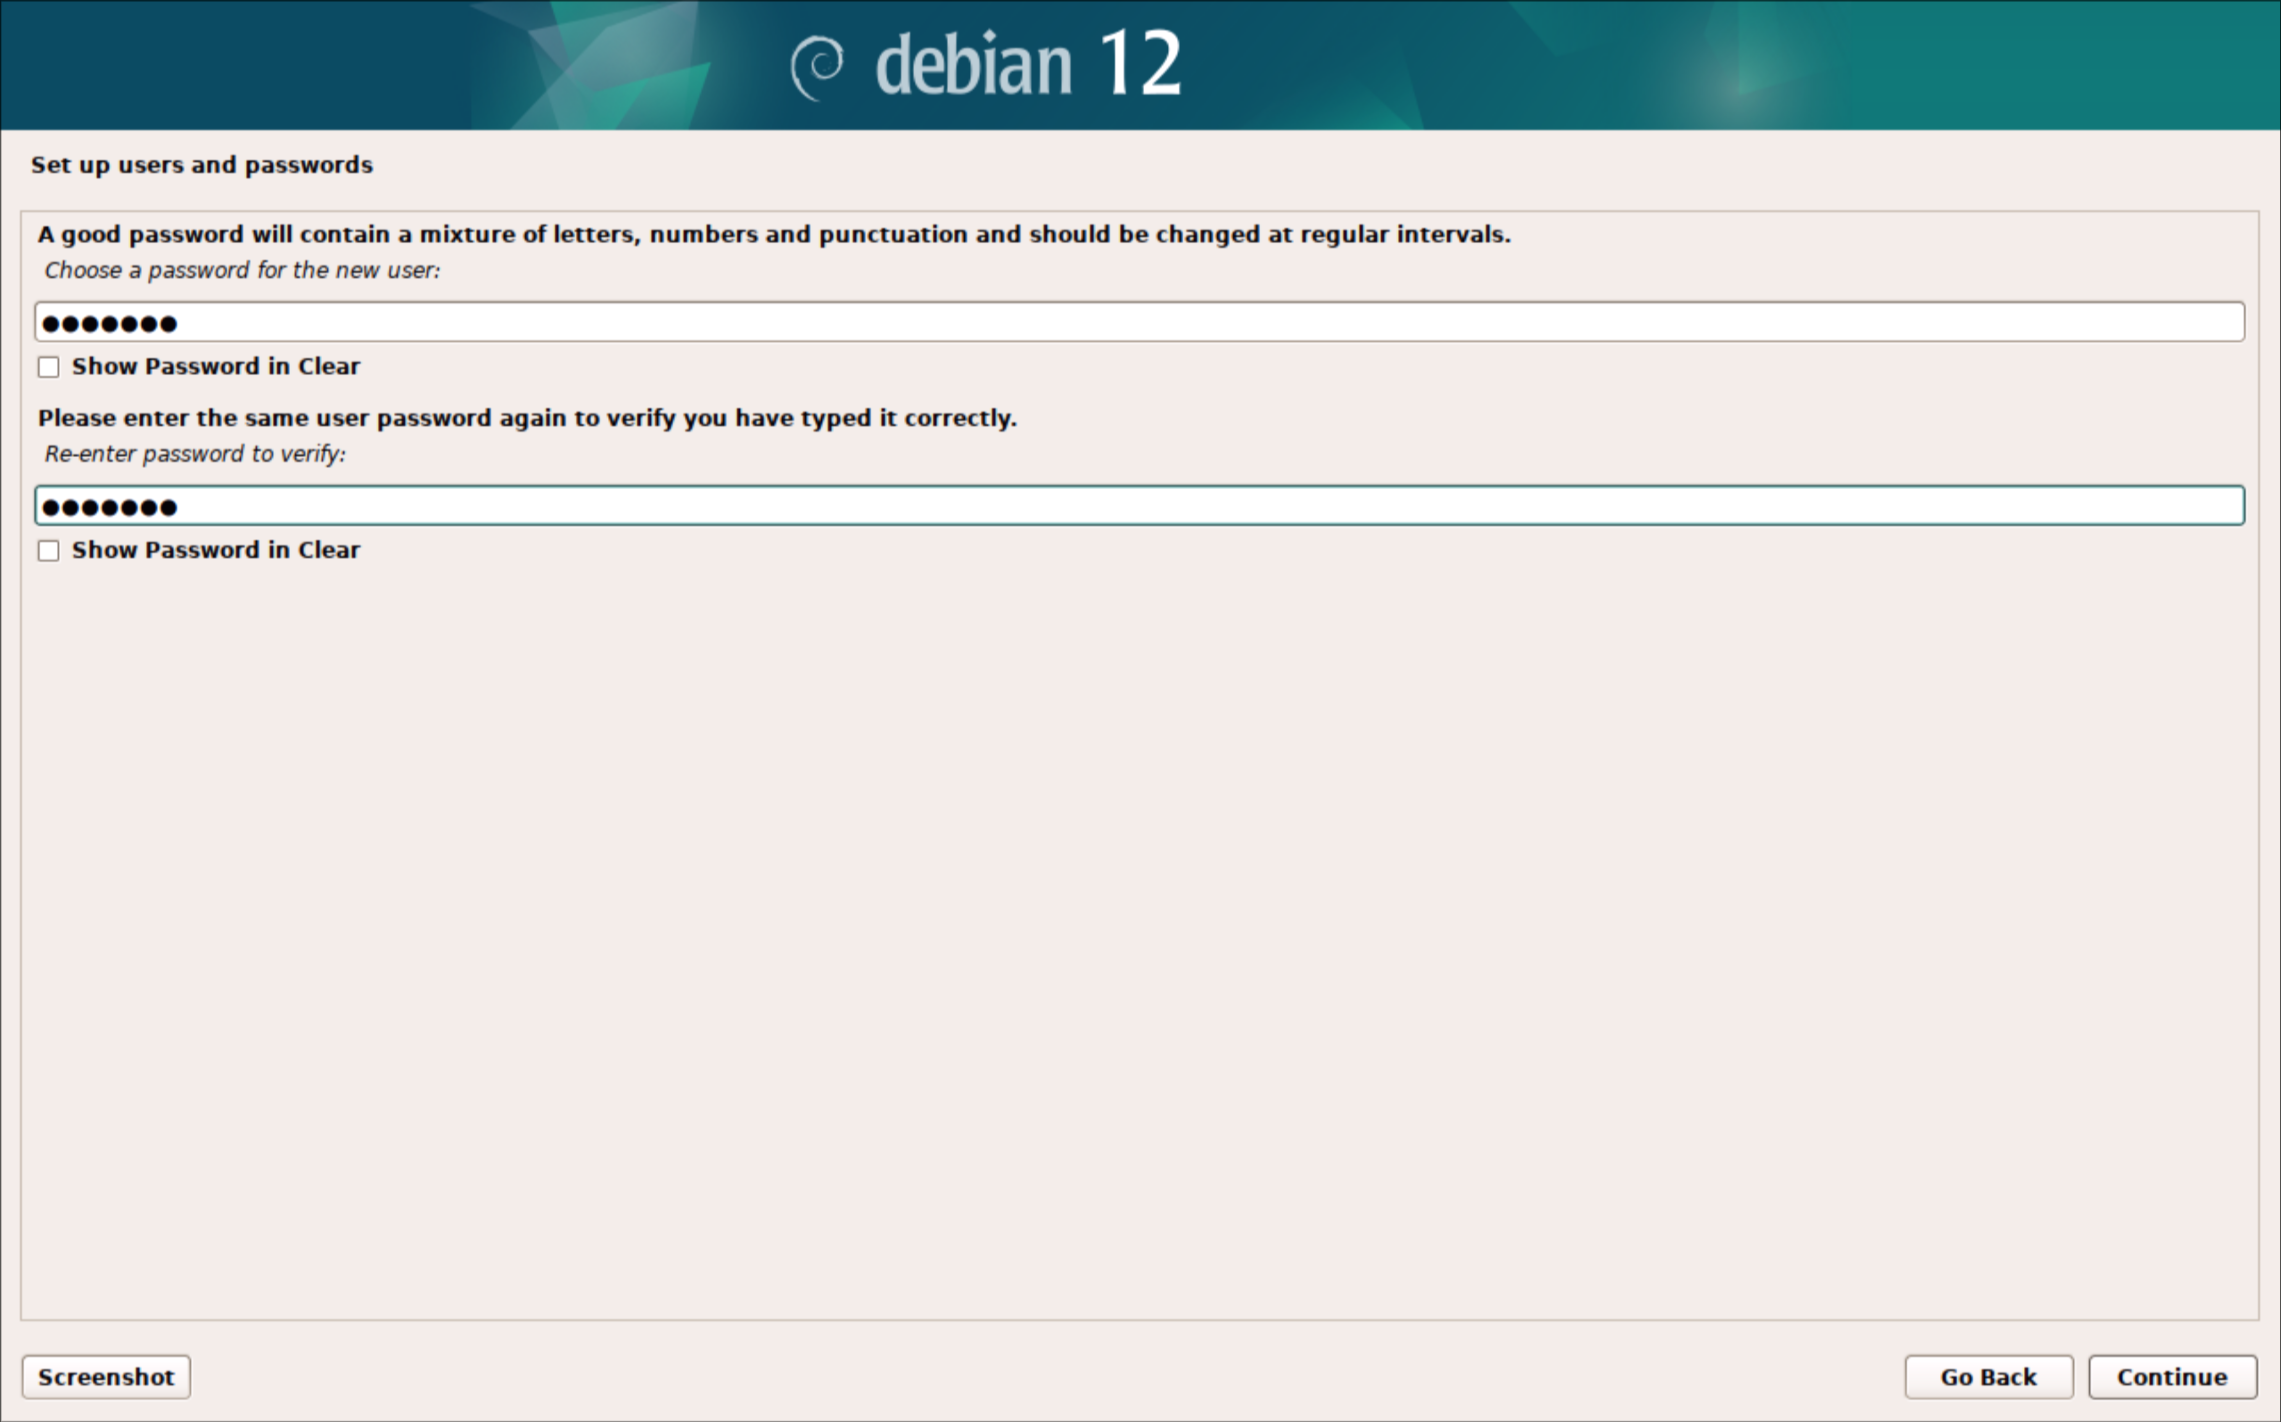
7. Create a password for the Root user that will also be used for the login user that will be created later

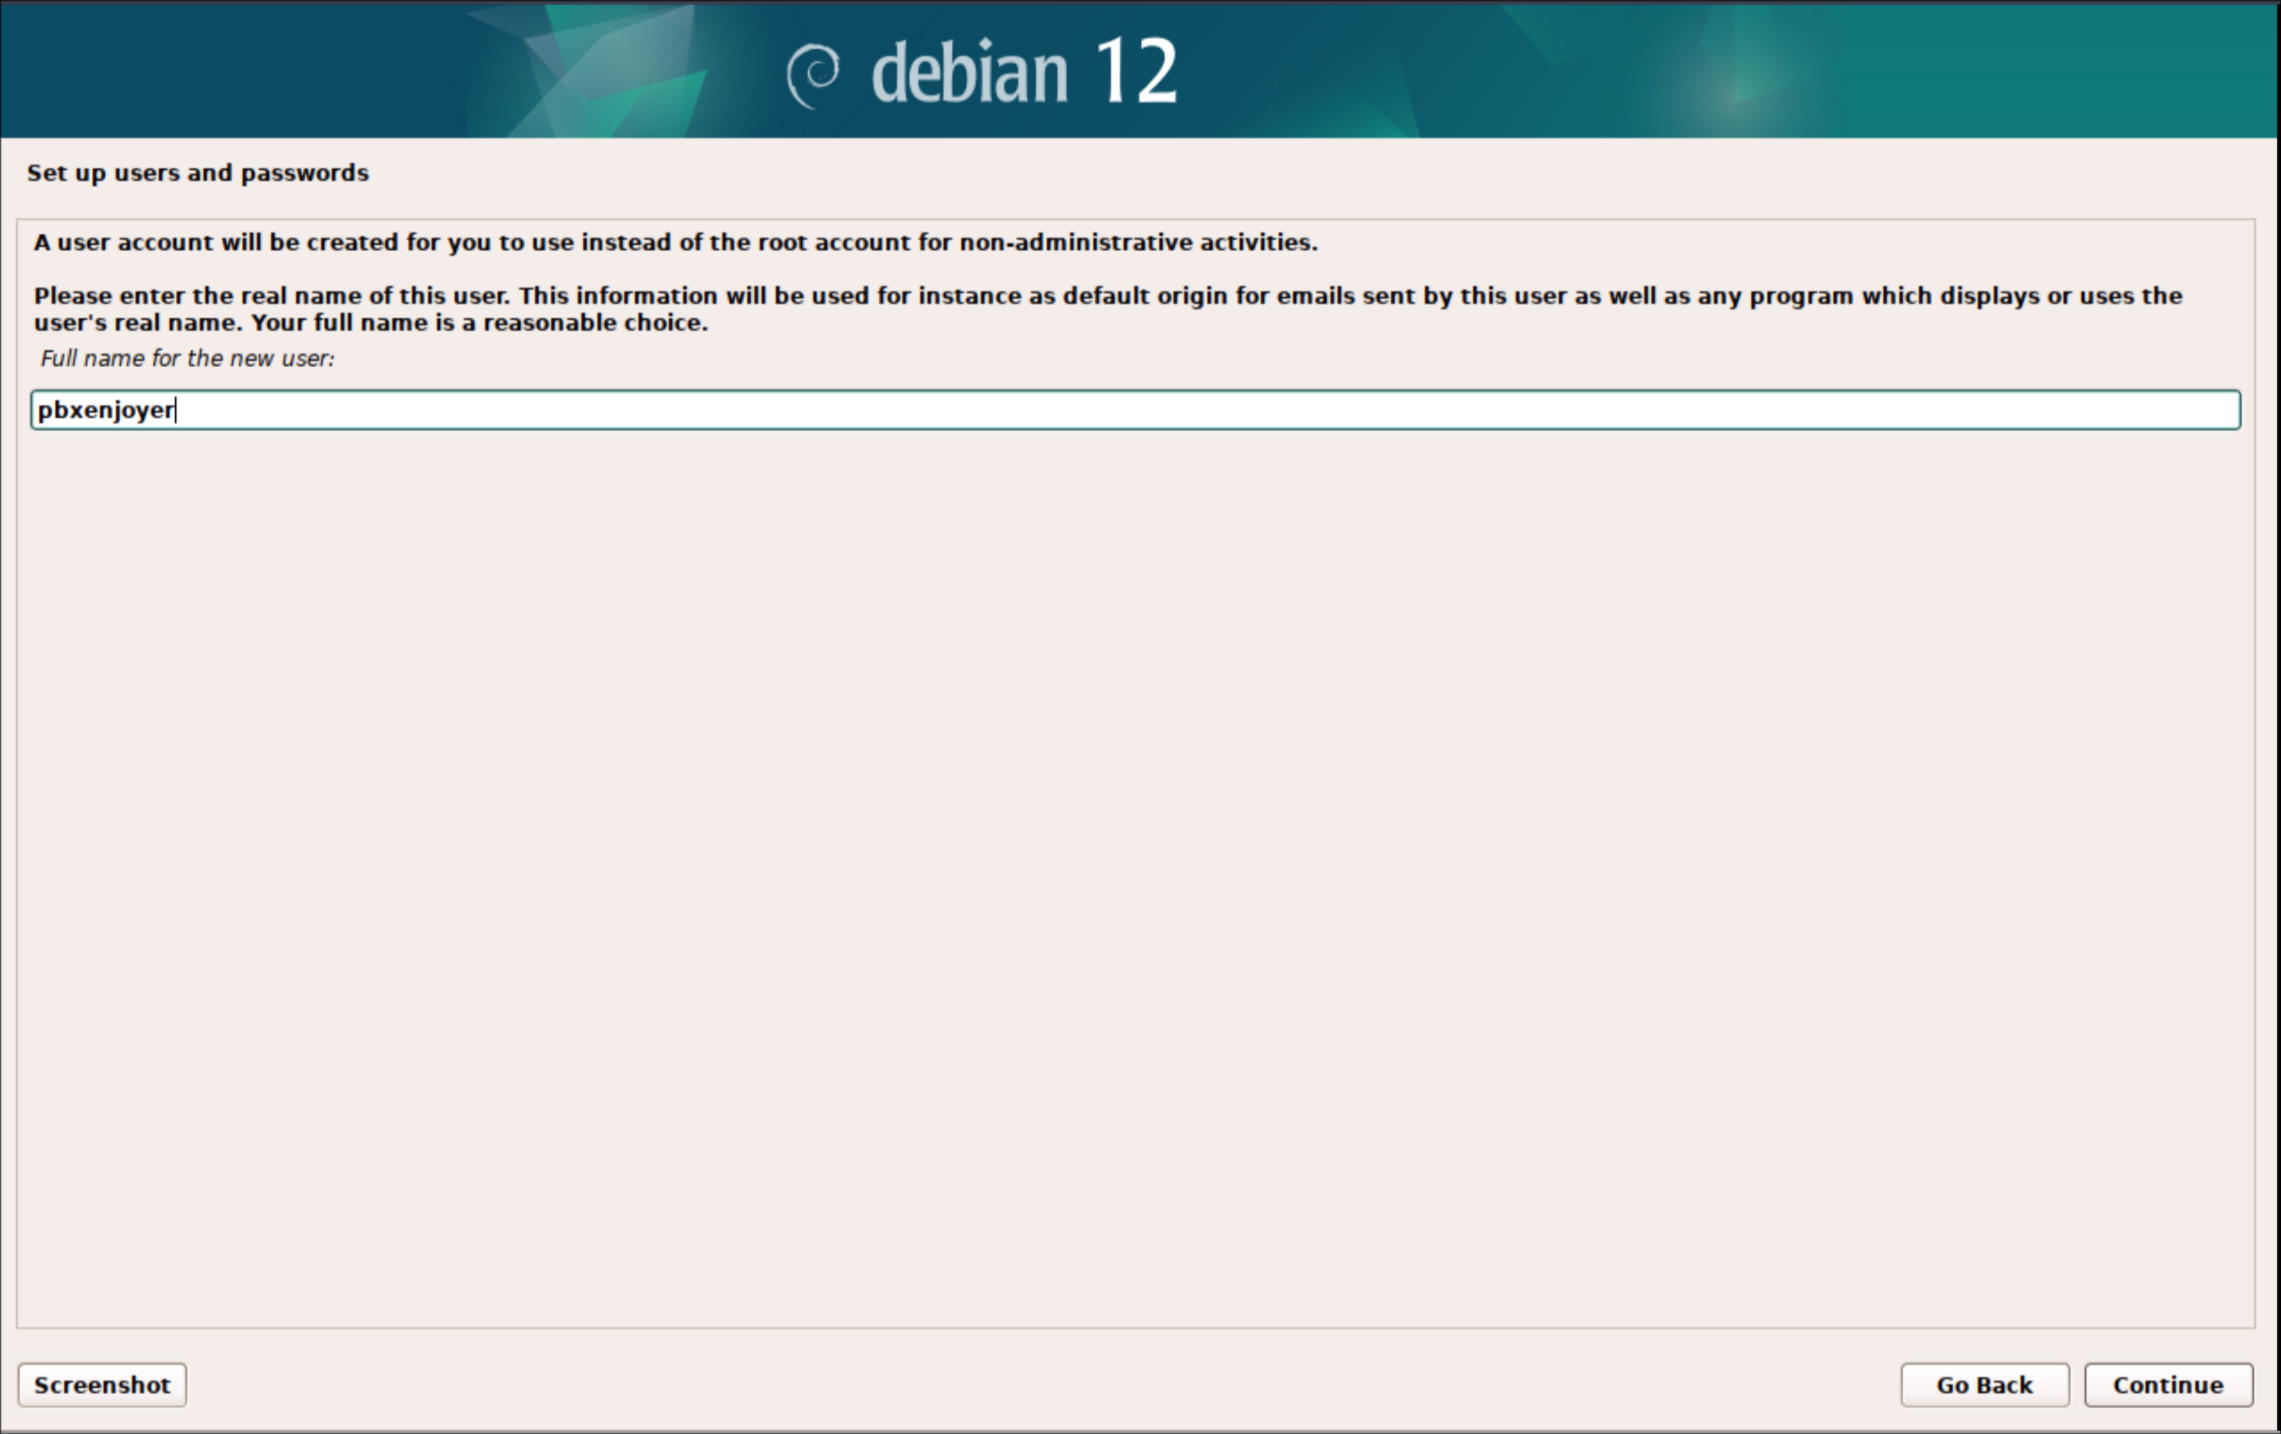
8. This will be the main user that will login with ssh make sure to record this username
9. Use the same password as used for the root account
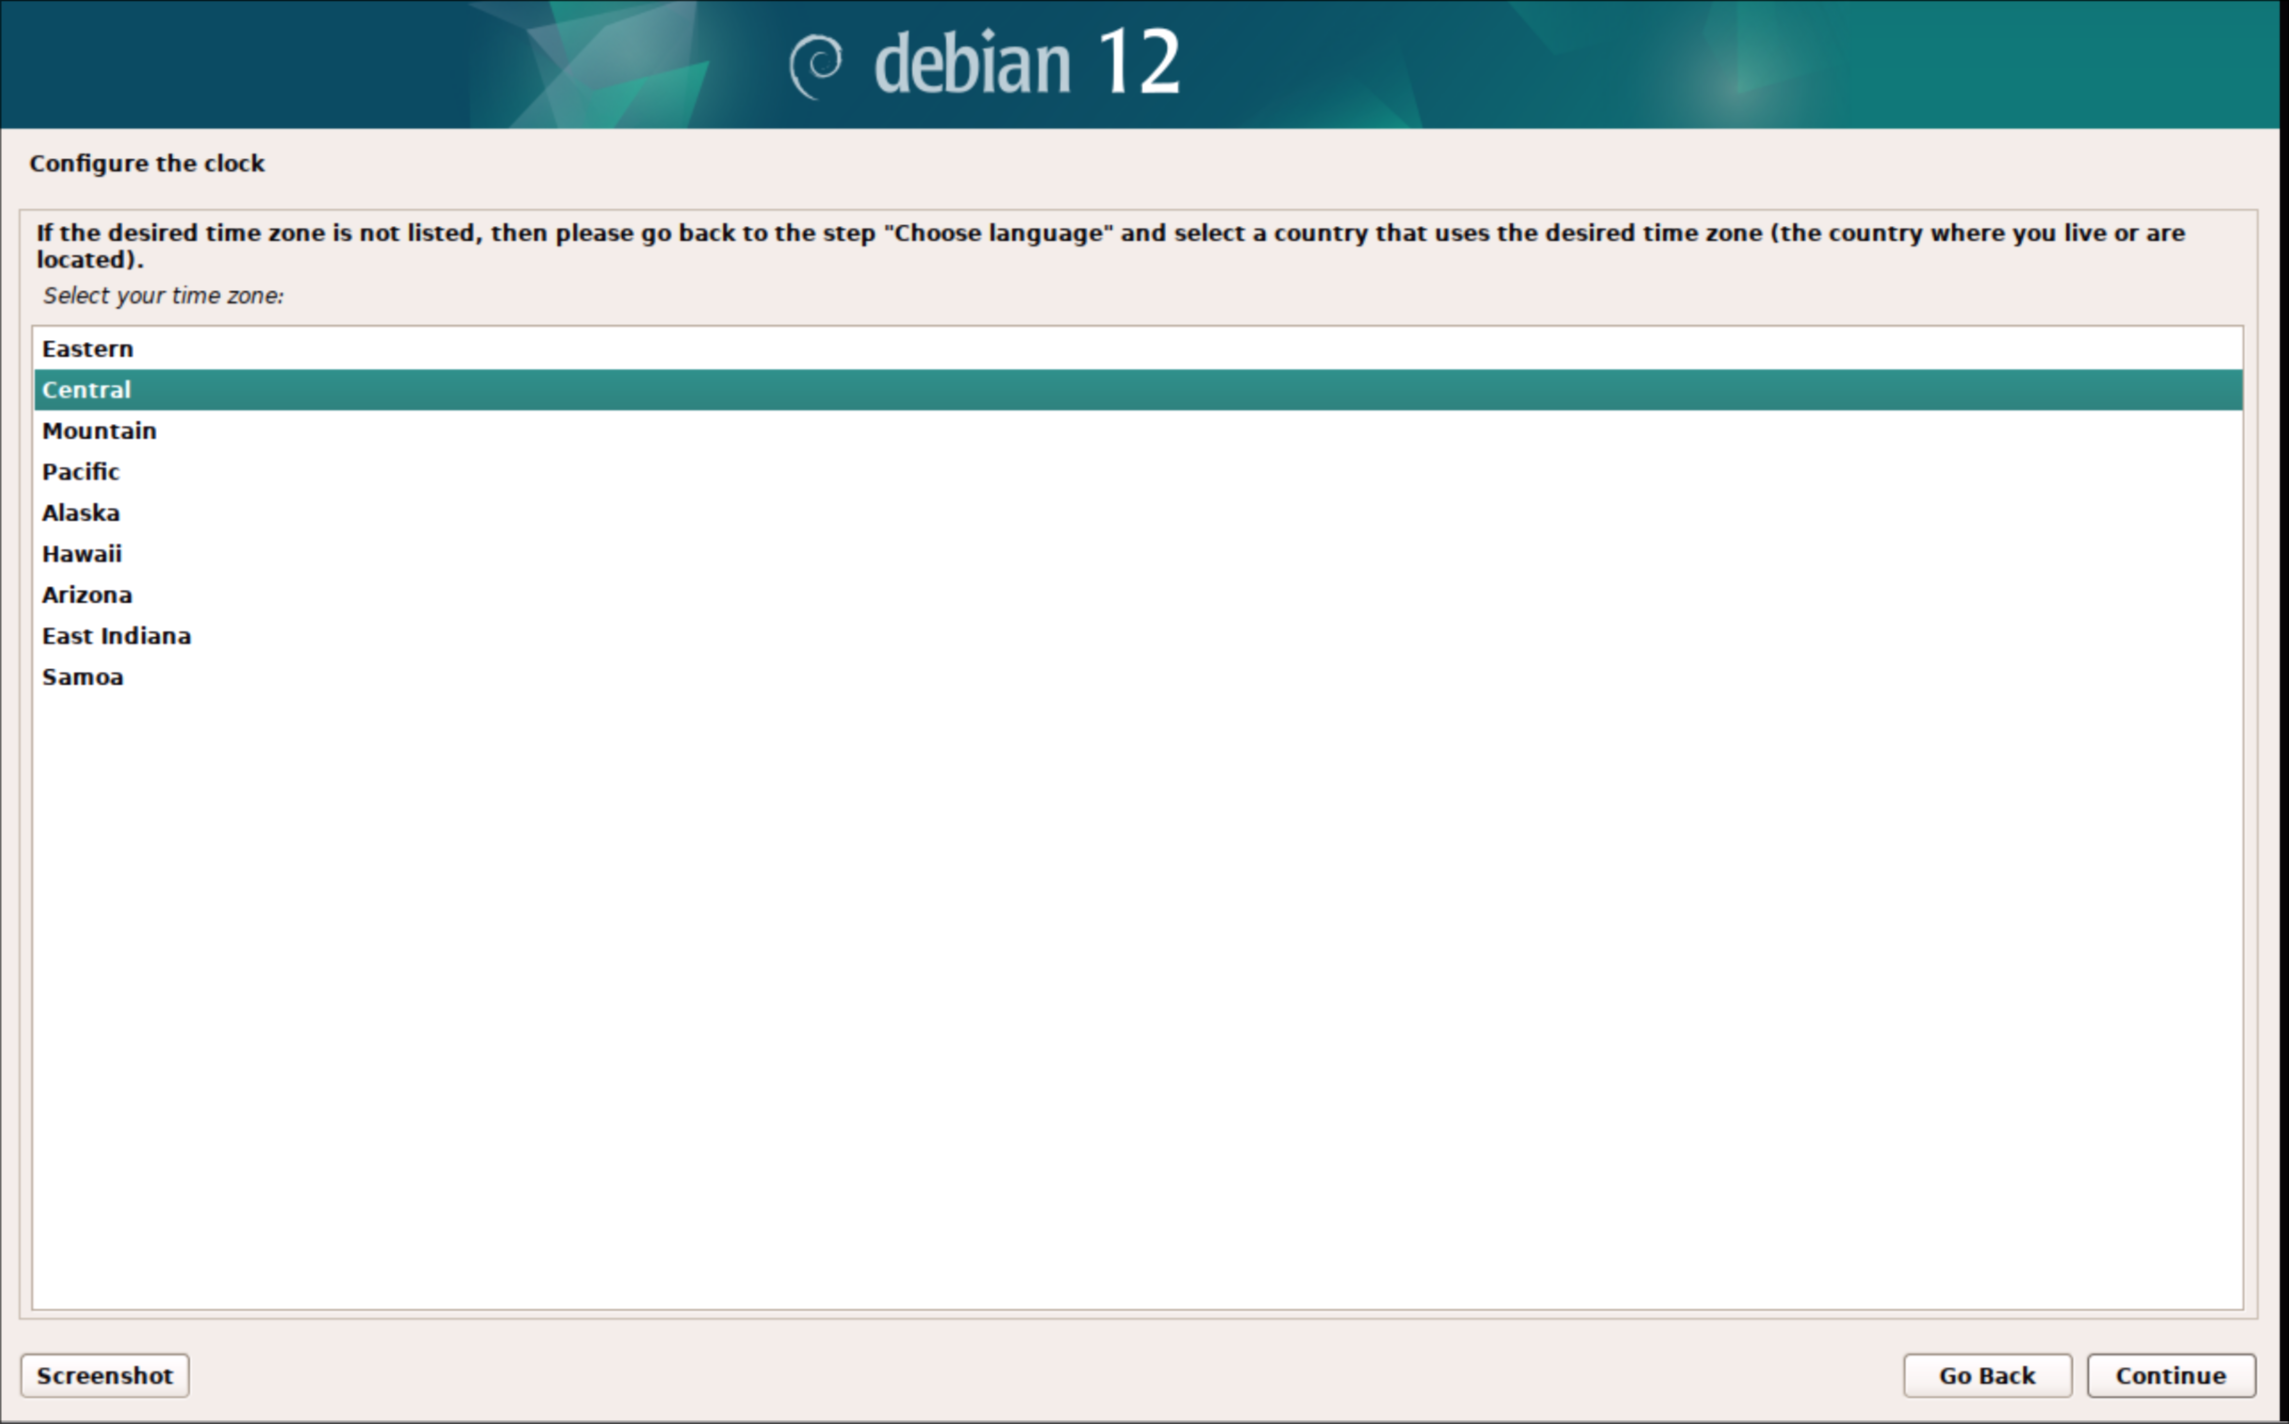
10. Usually Central
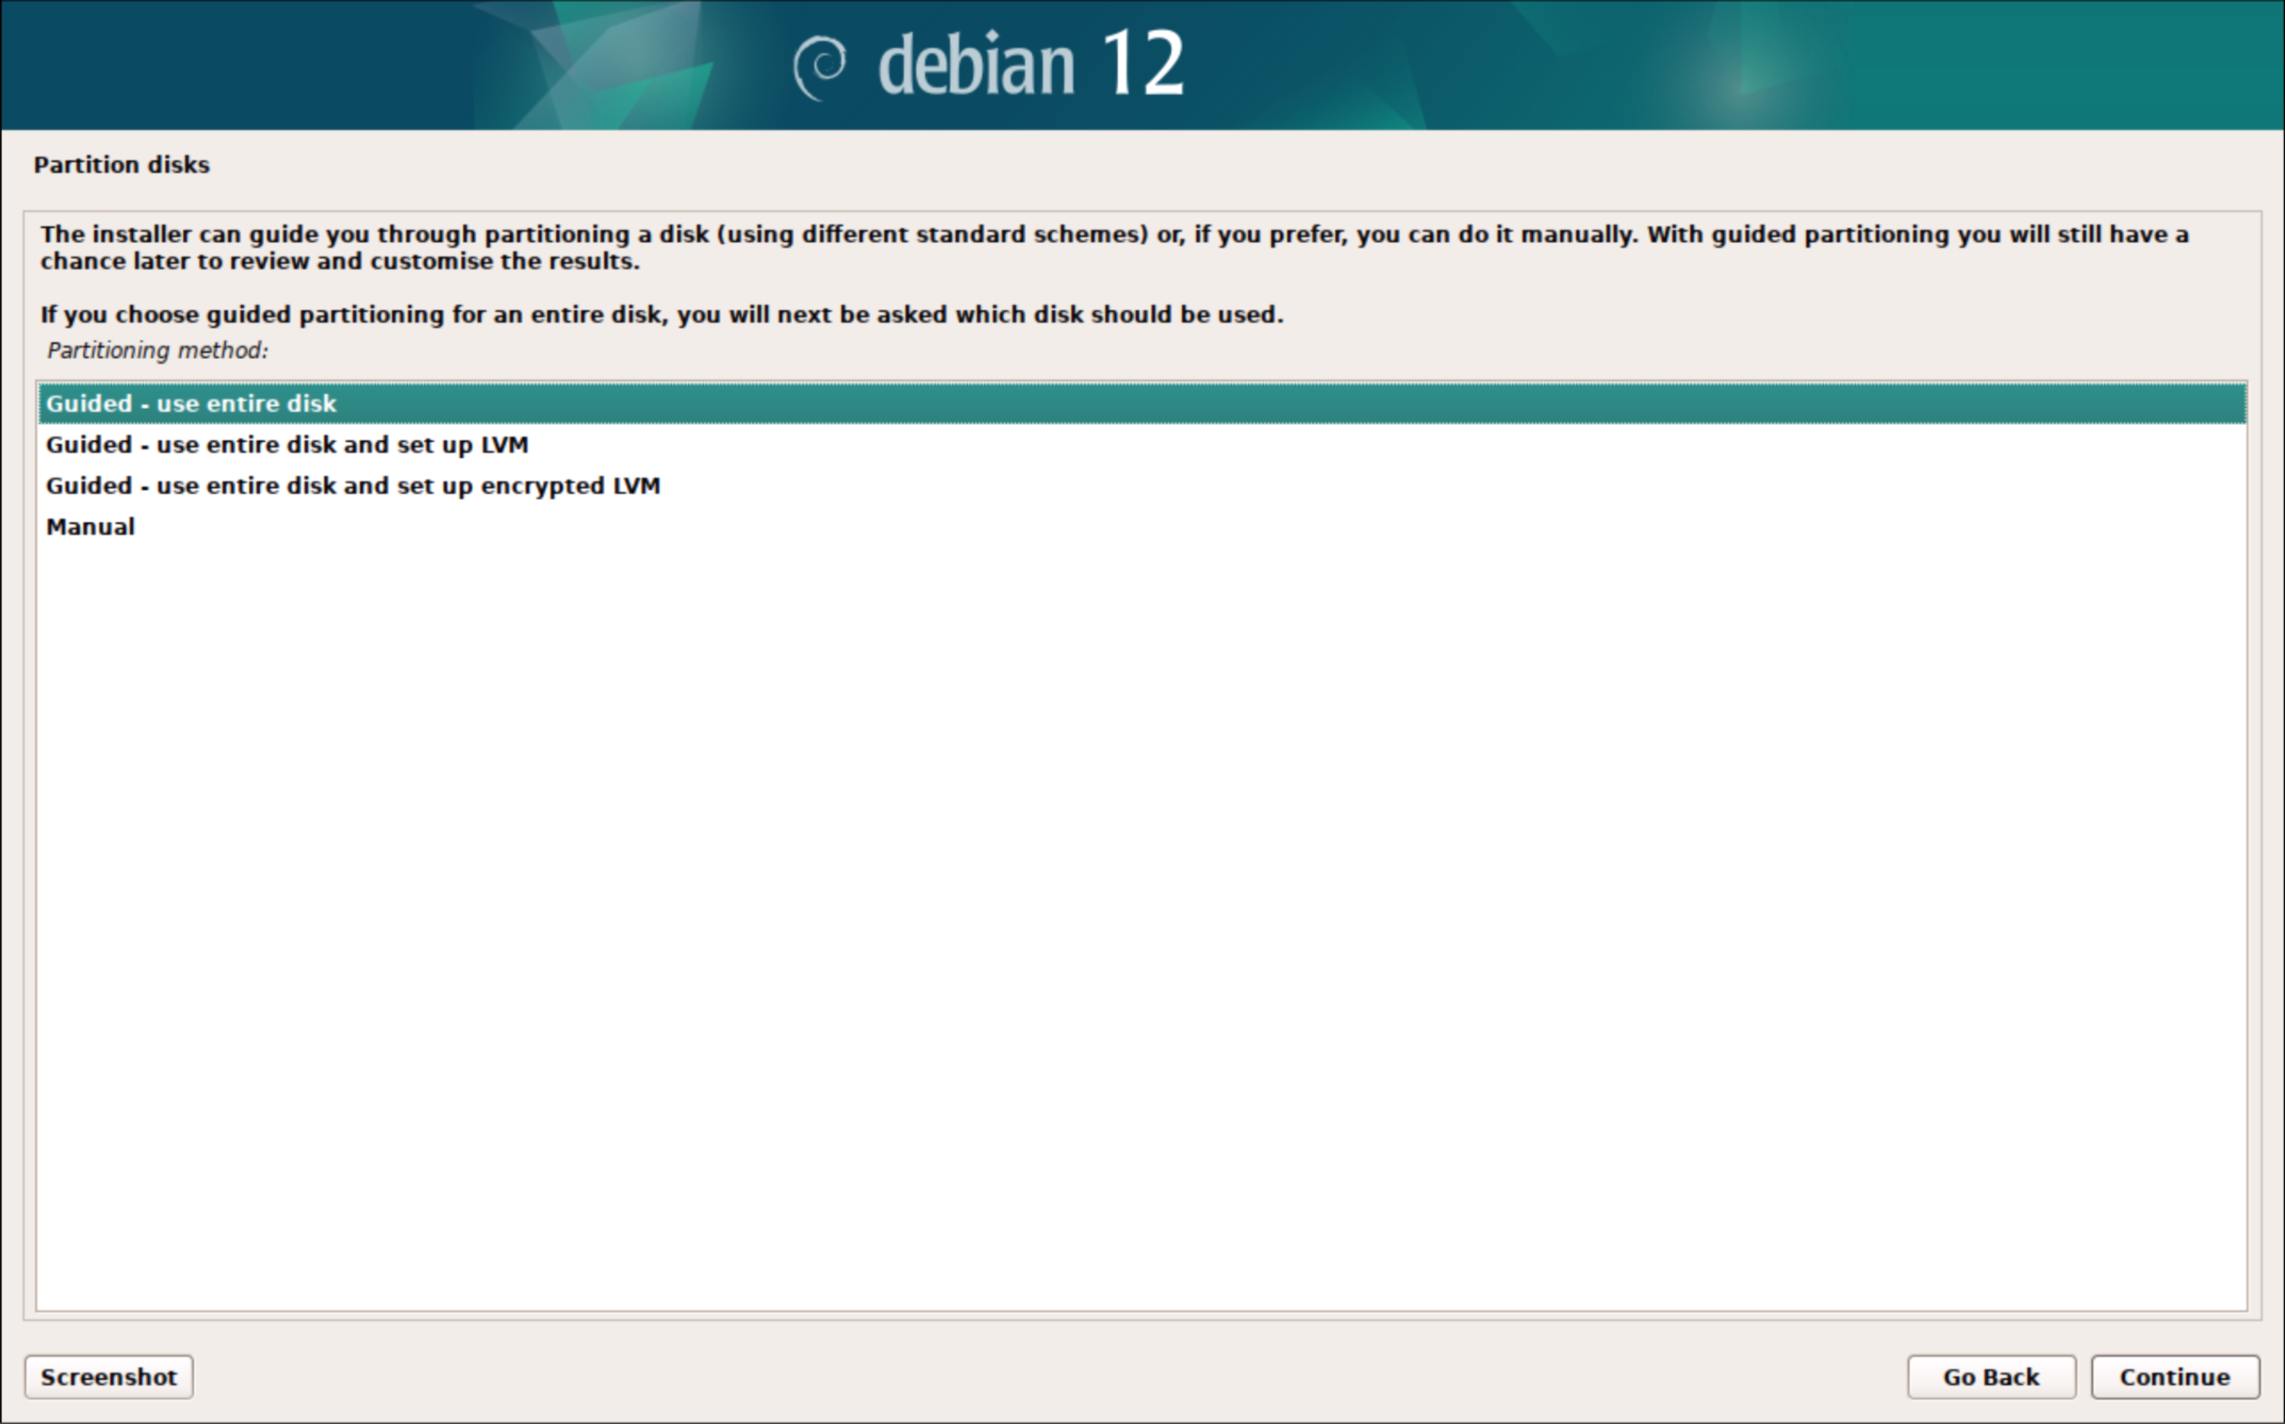
11. Choose "use entire disk"
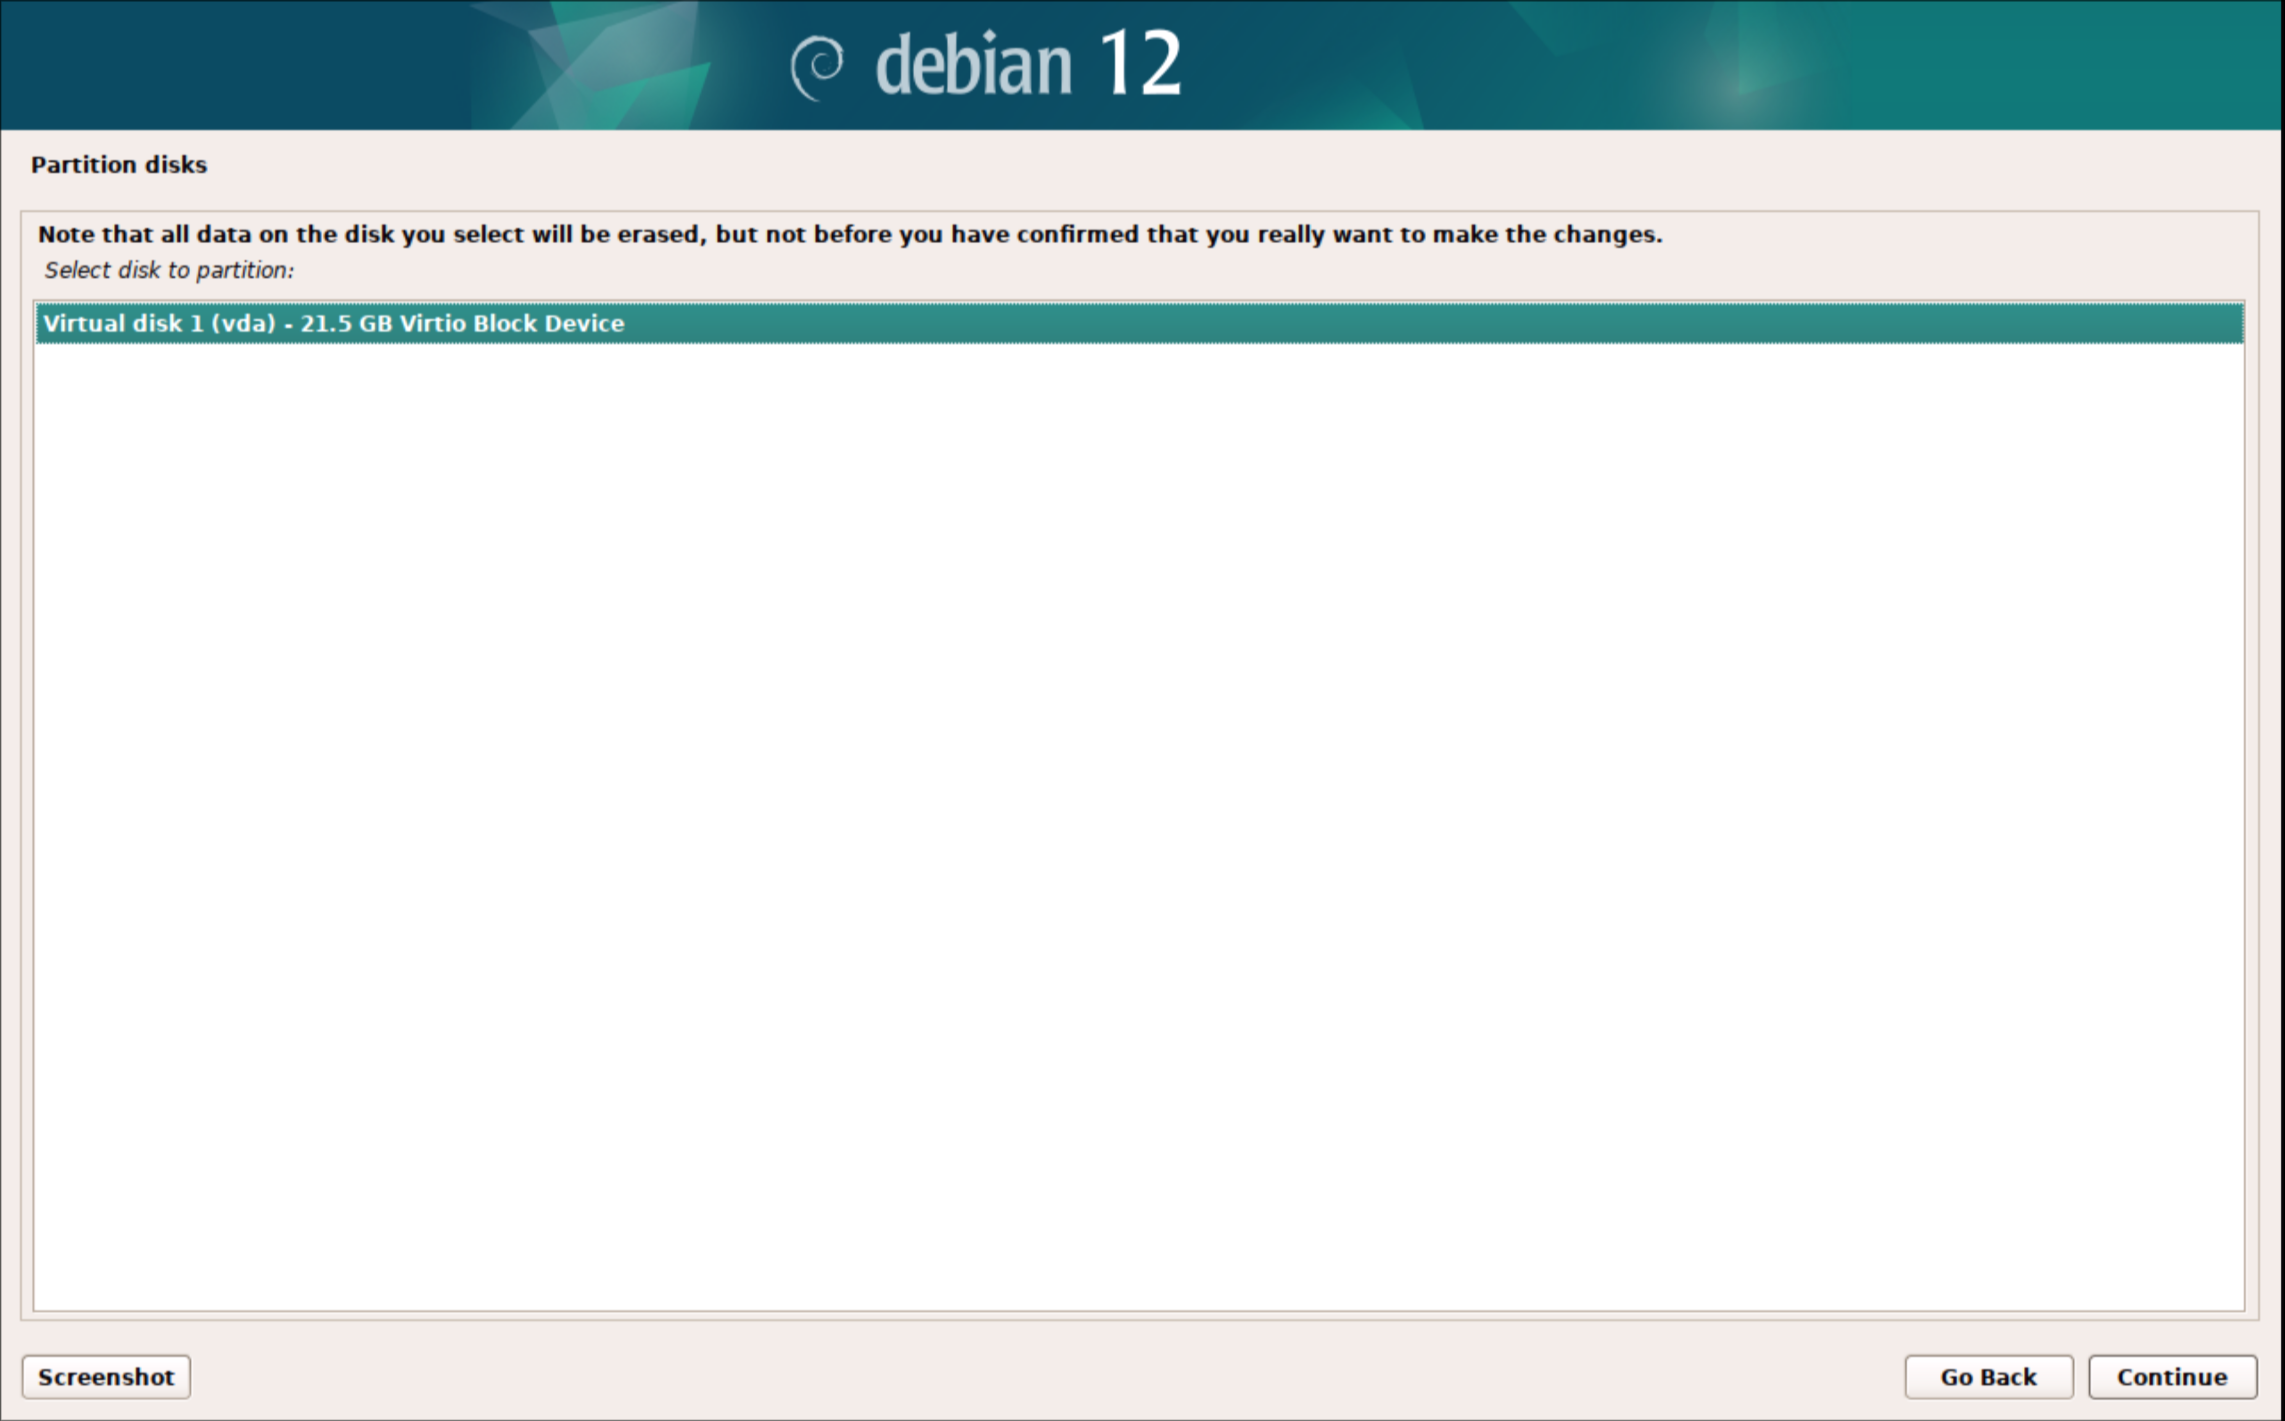
12. In a VM there should only be 1 option
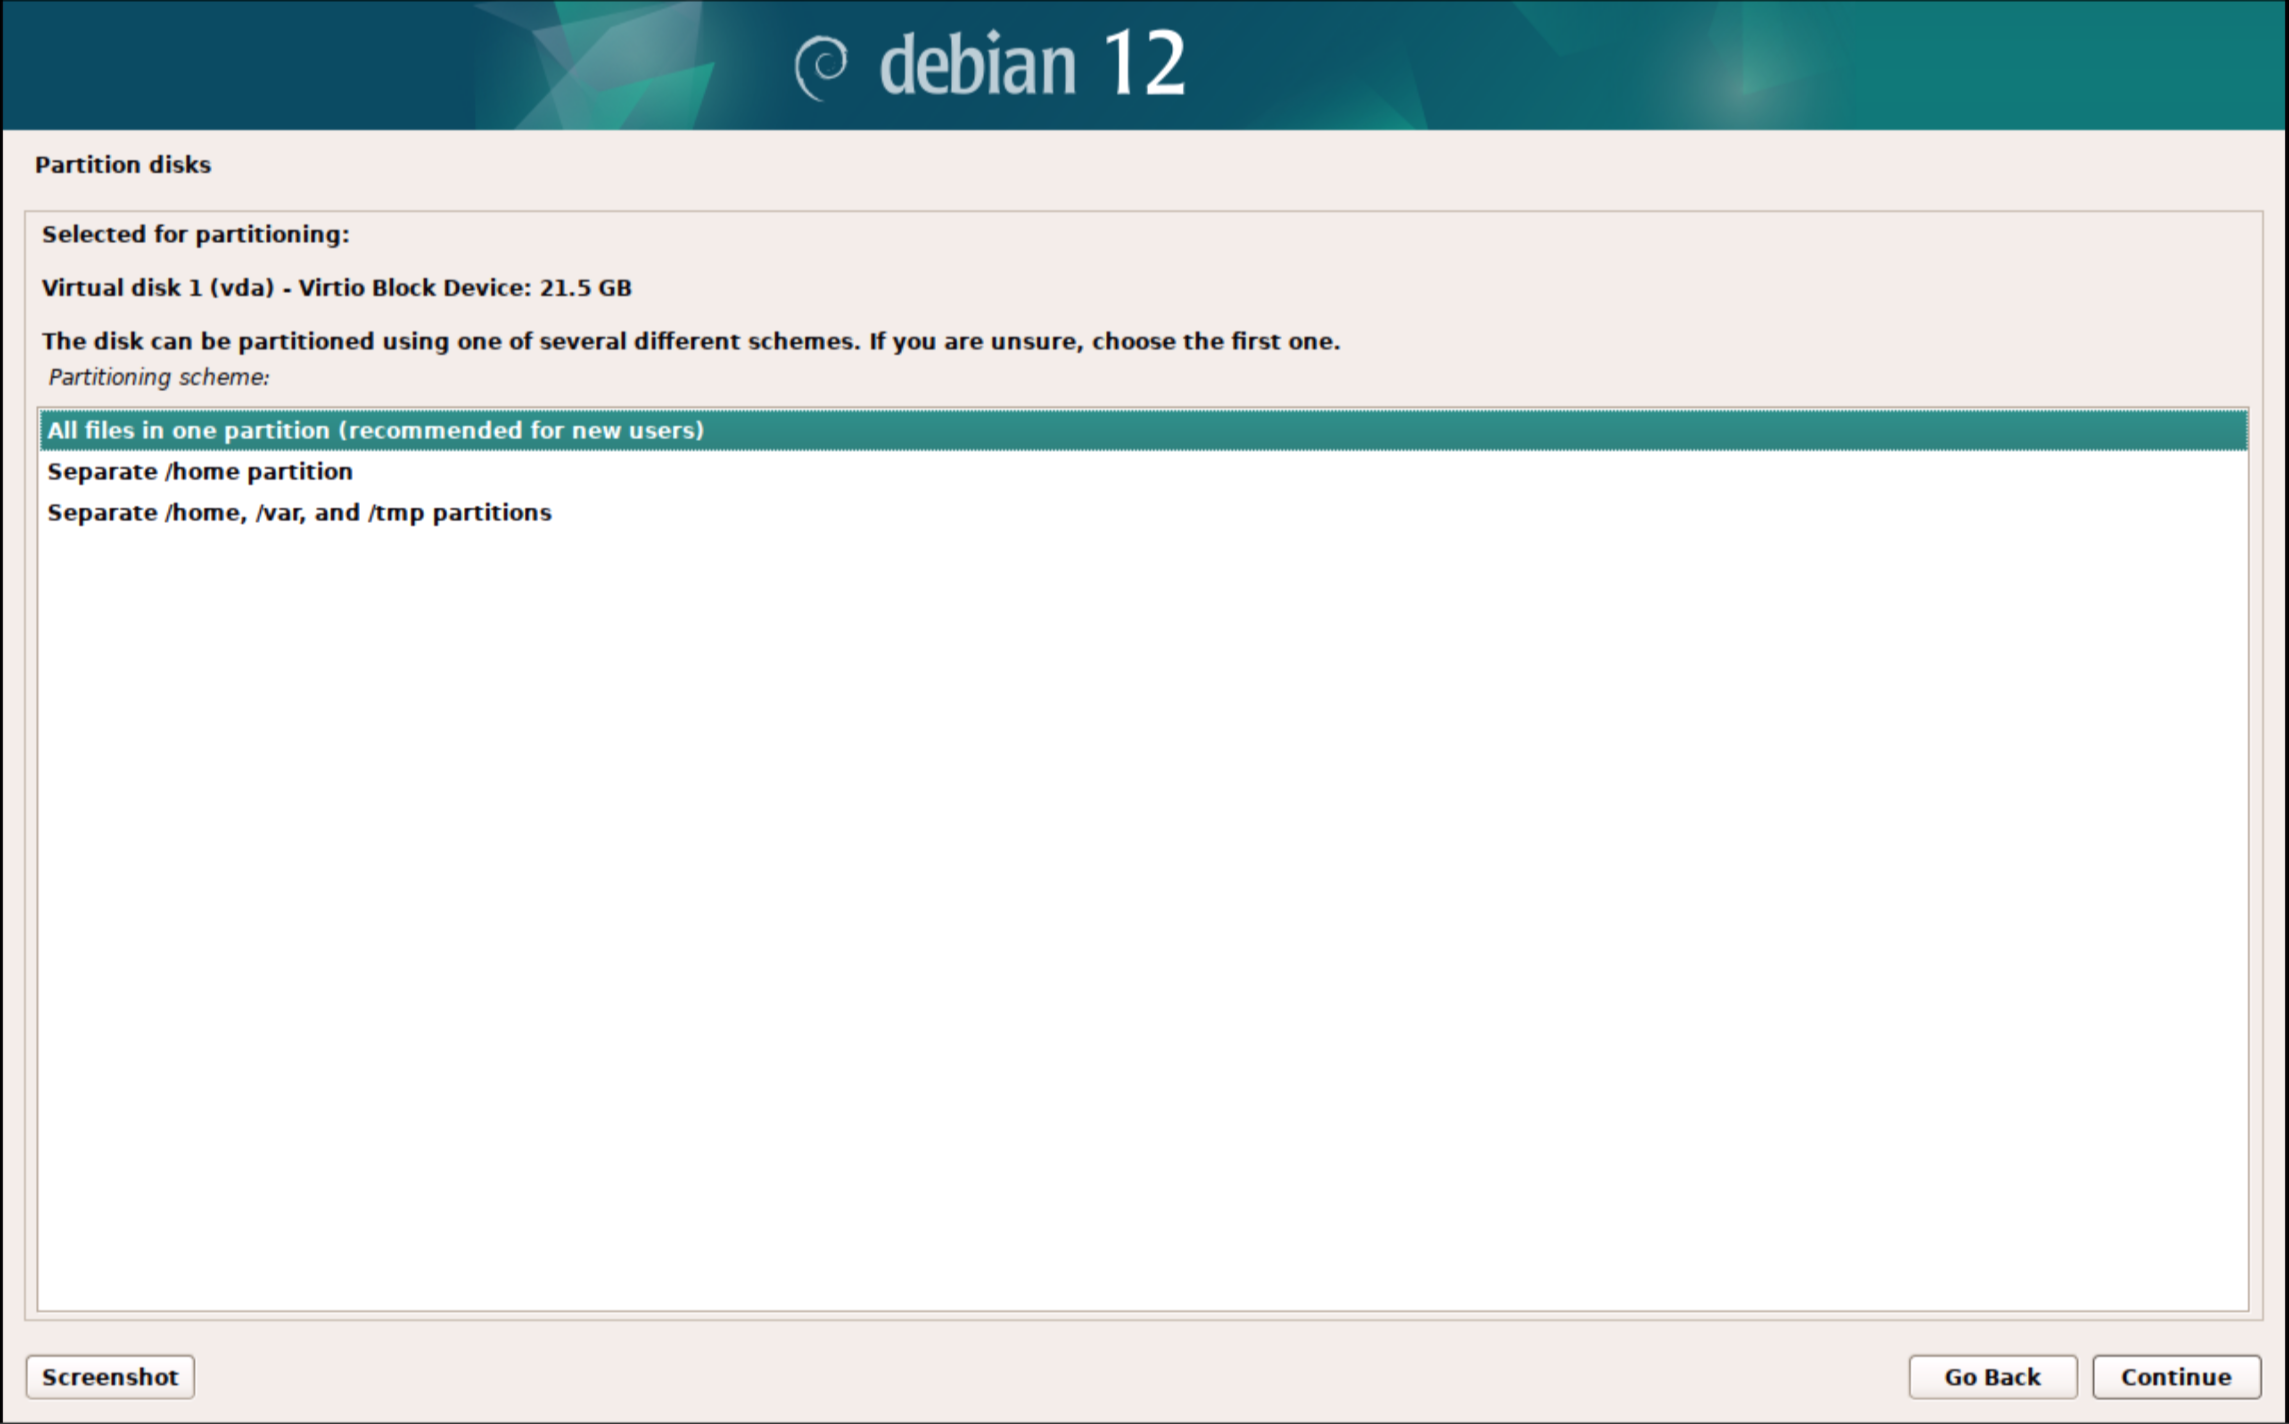
13. All files in 1 partition
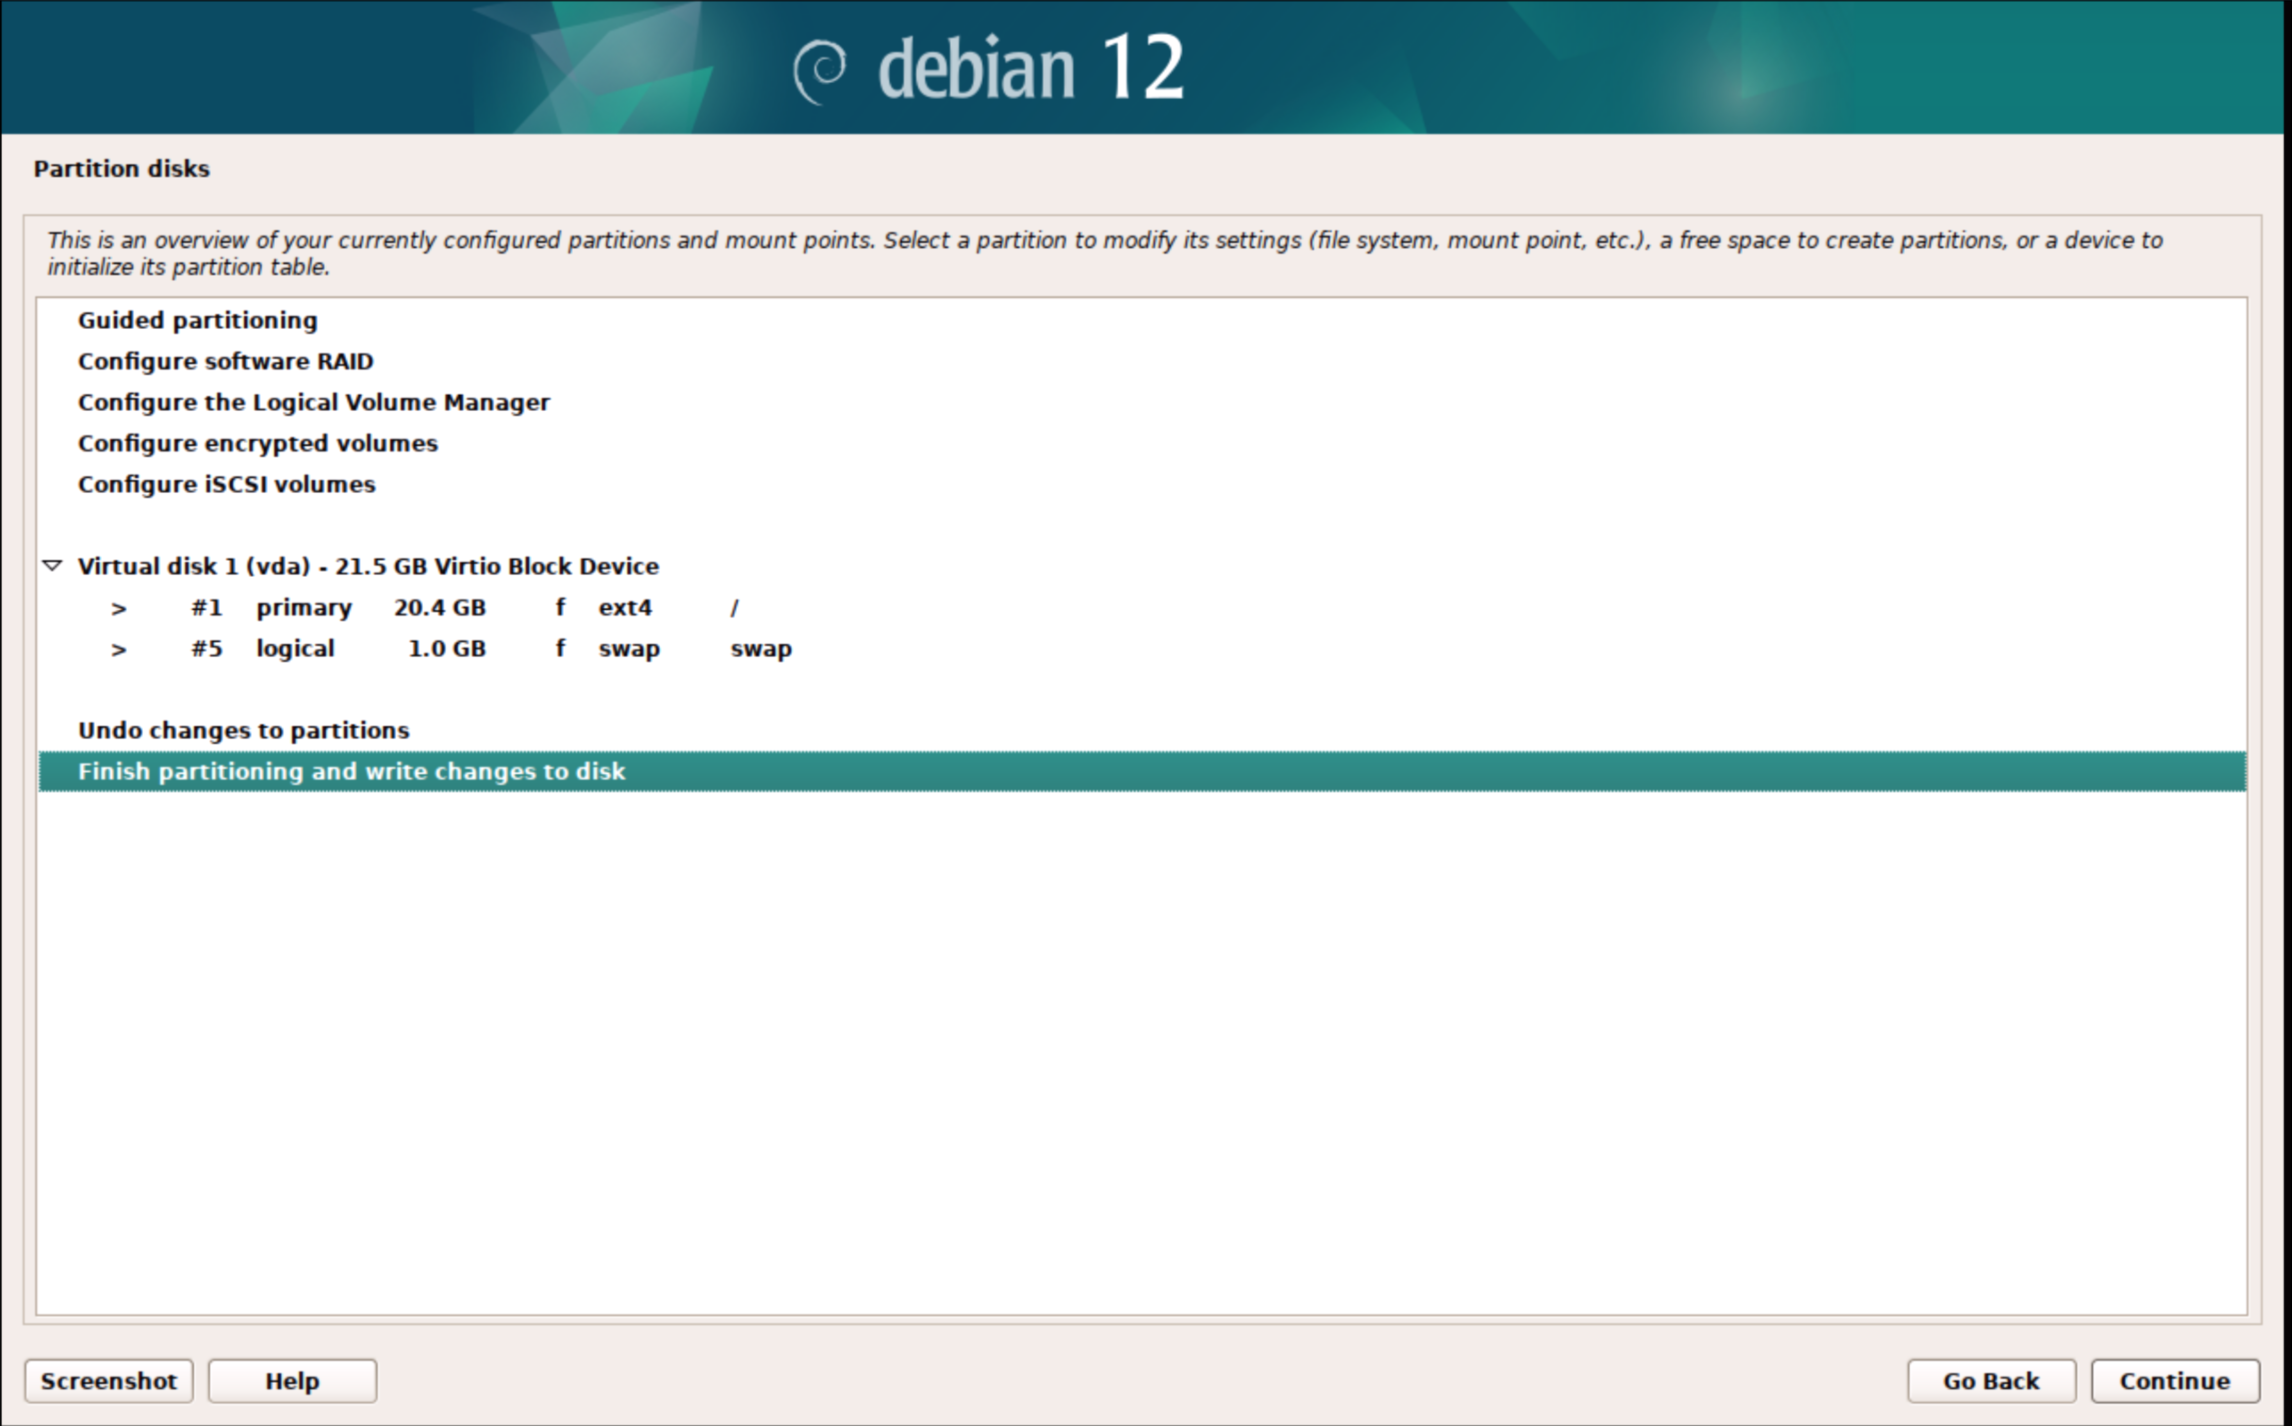
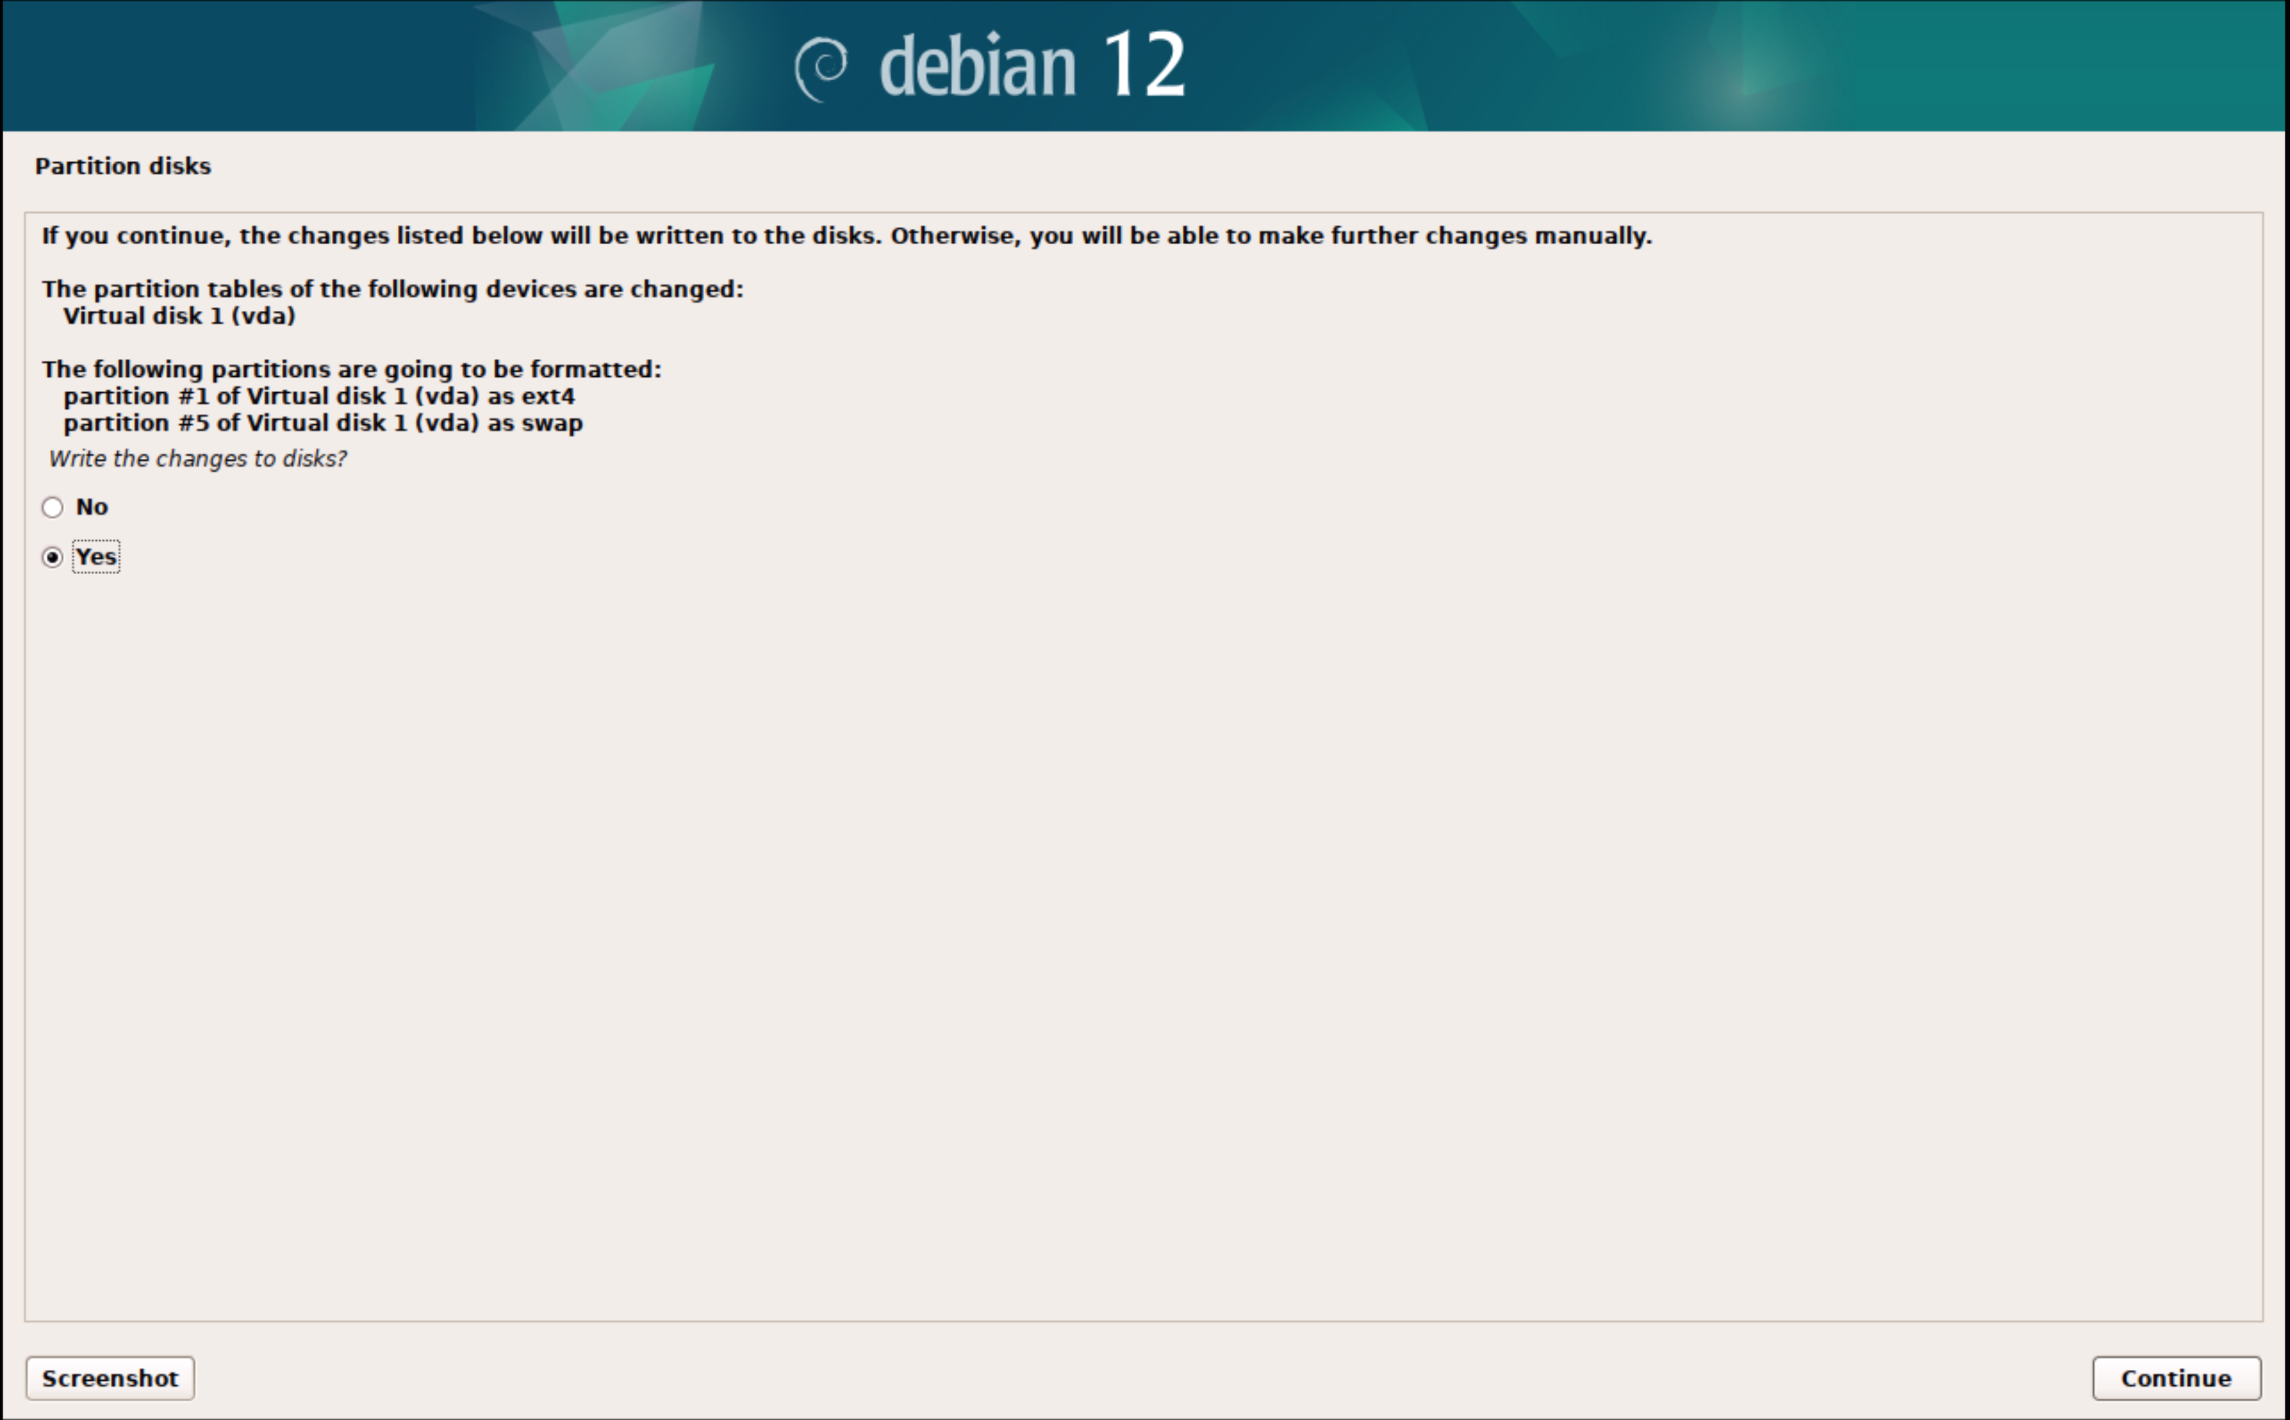
14. Finish partitioning
15. Make sure to change this to Yes and continue
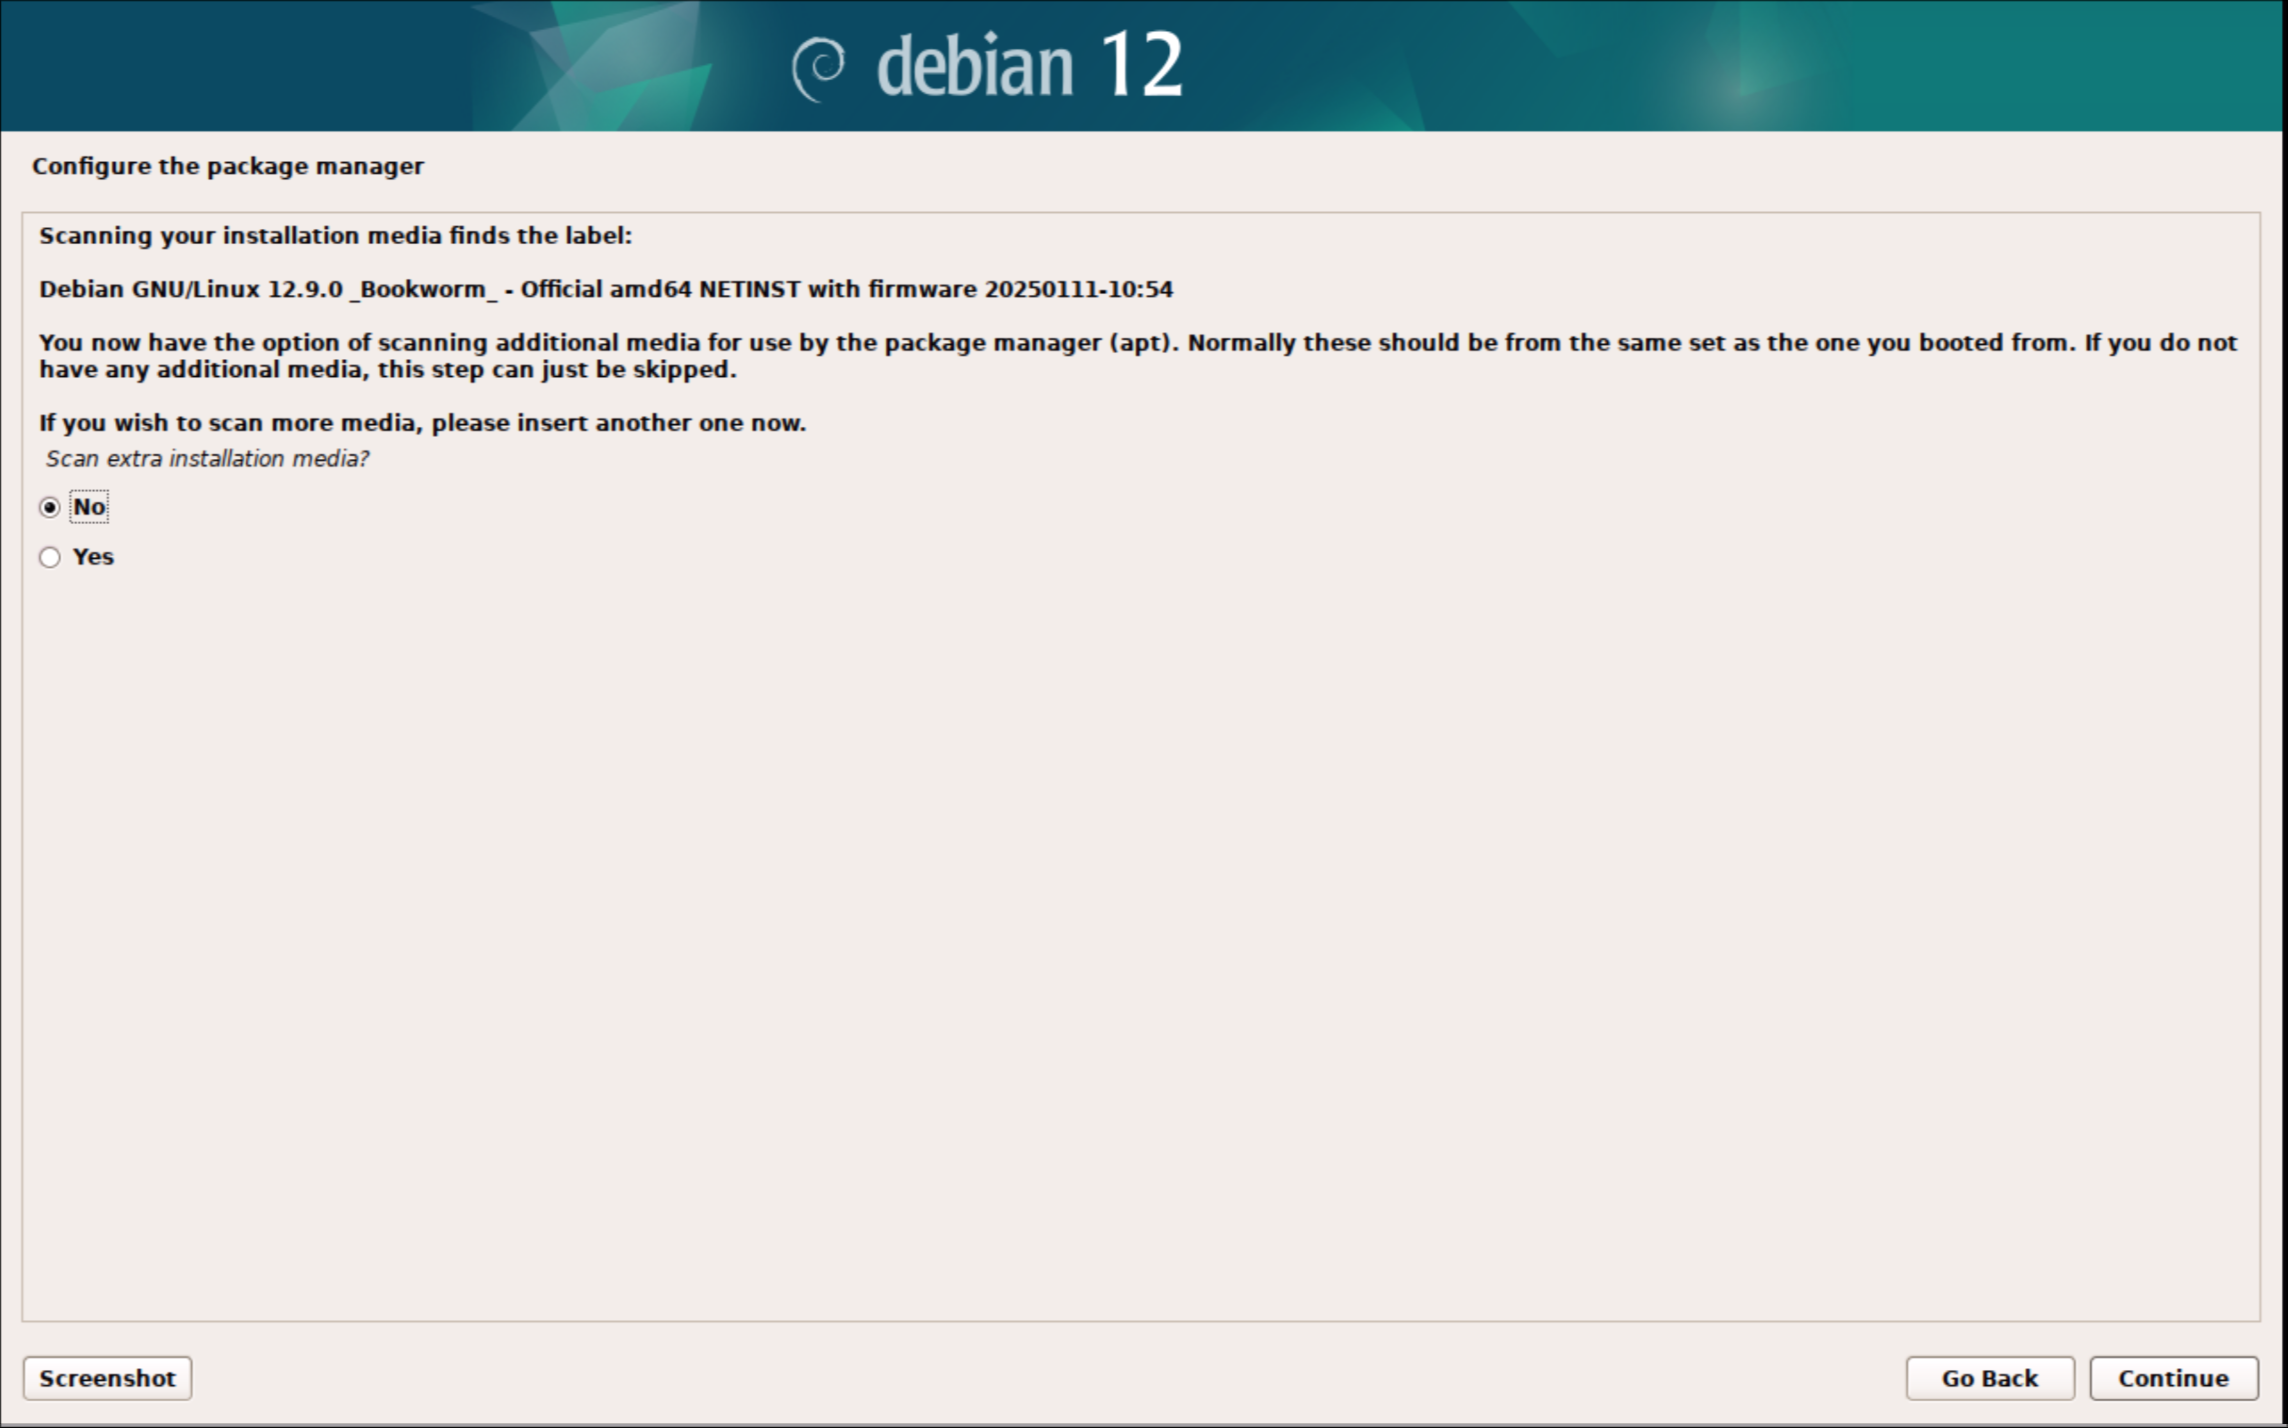
16. Do not scan for additional media
17. Choose United States

18. Choose deb.debian.org
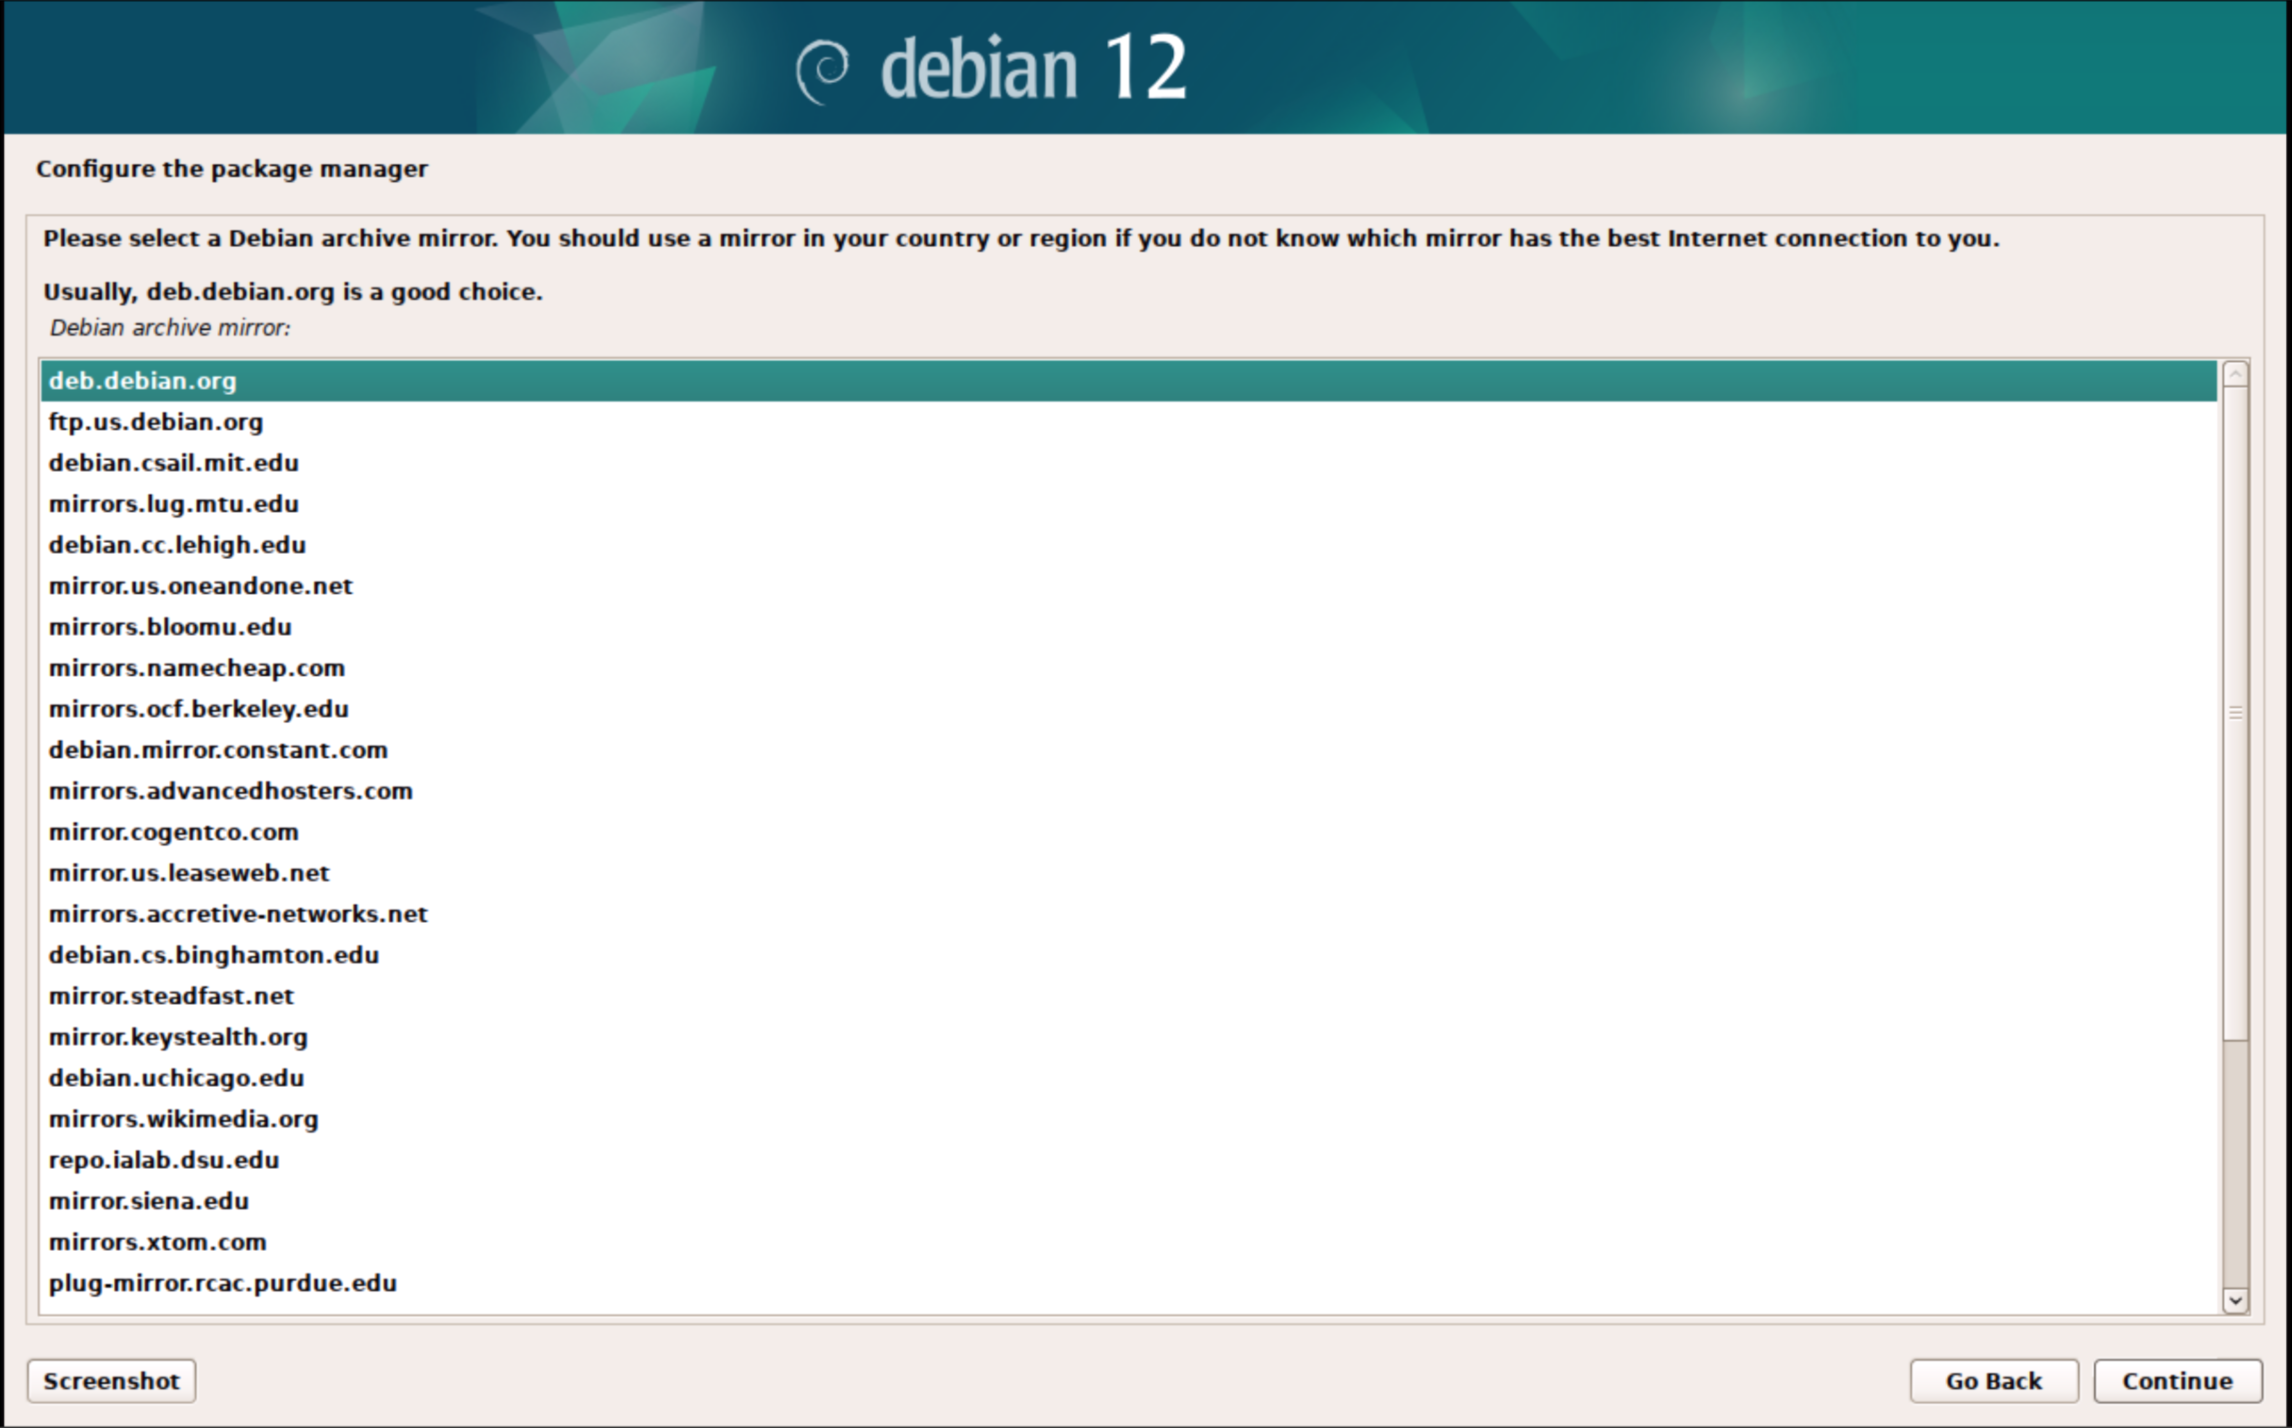
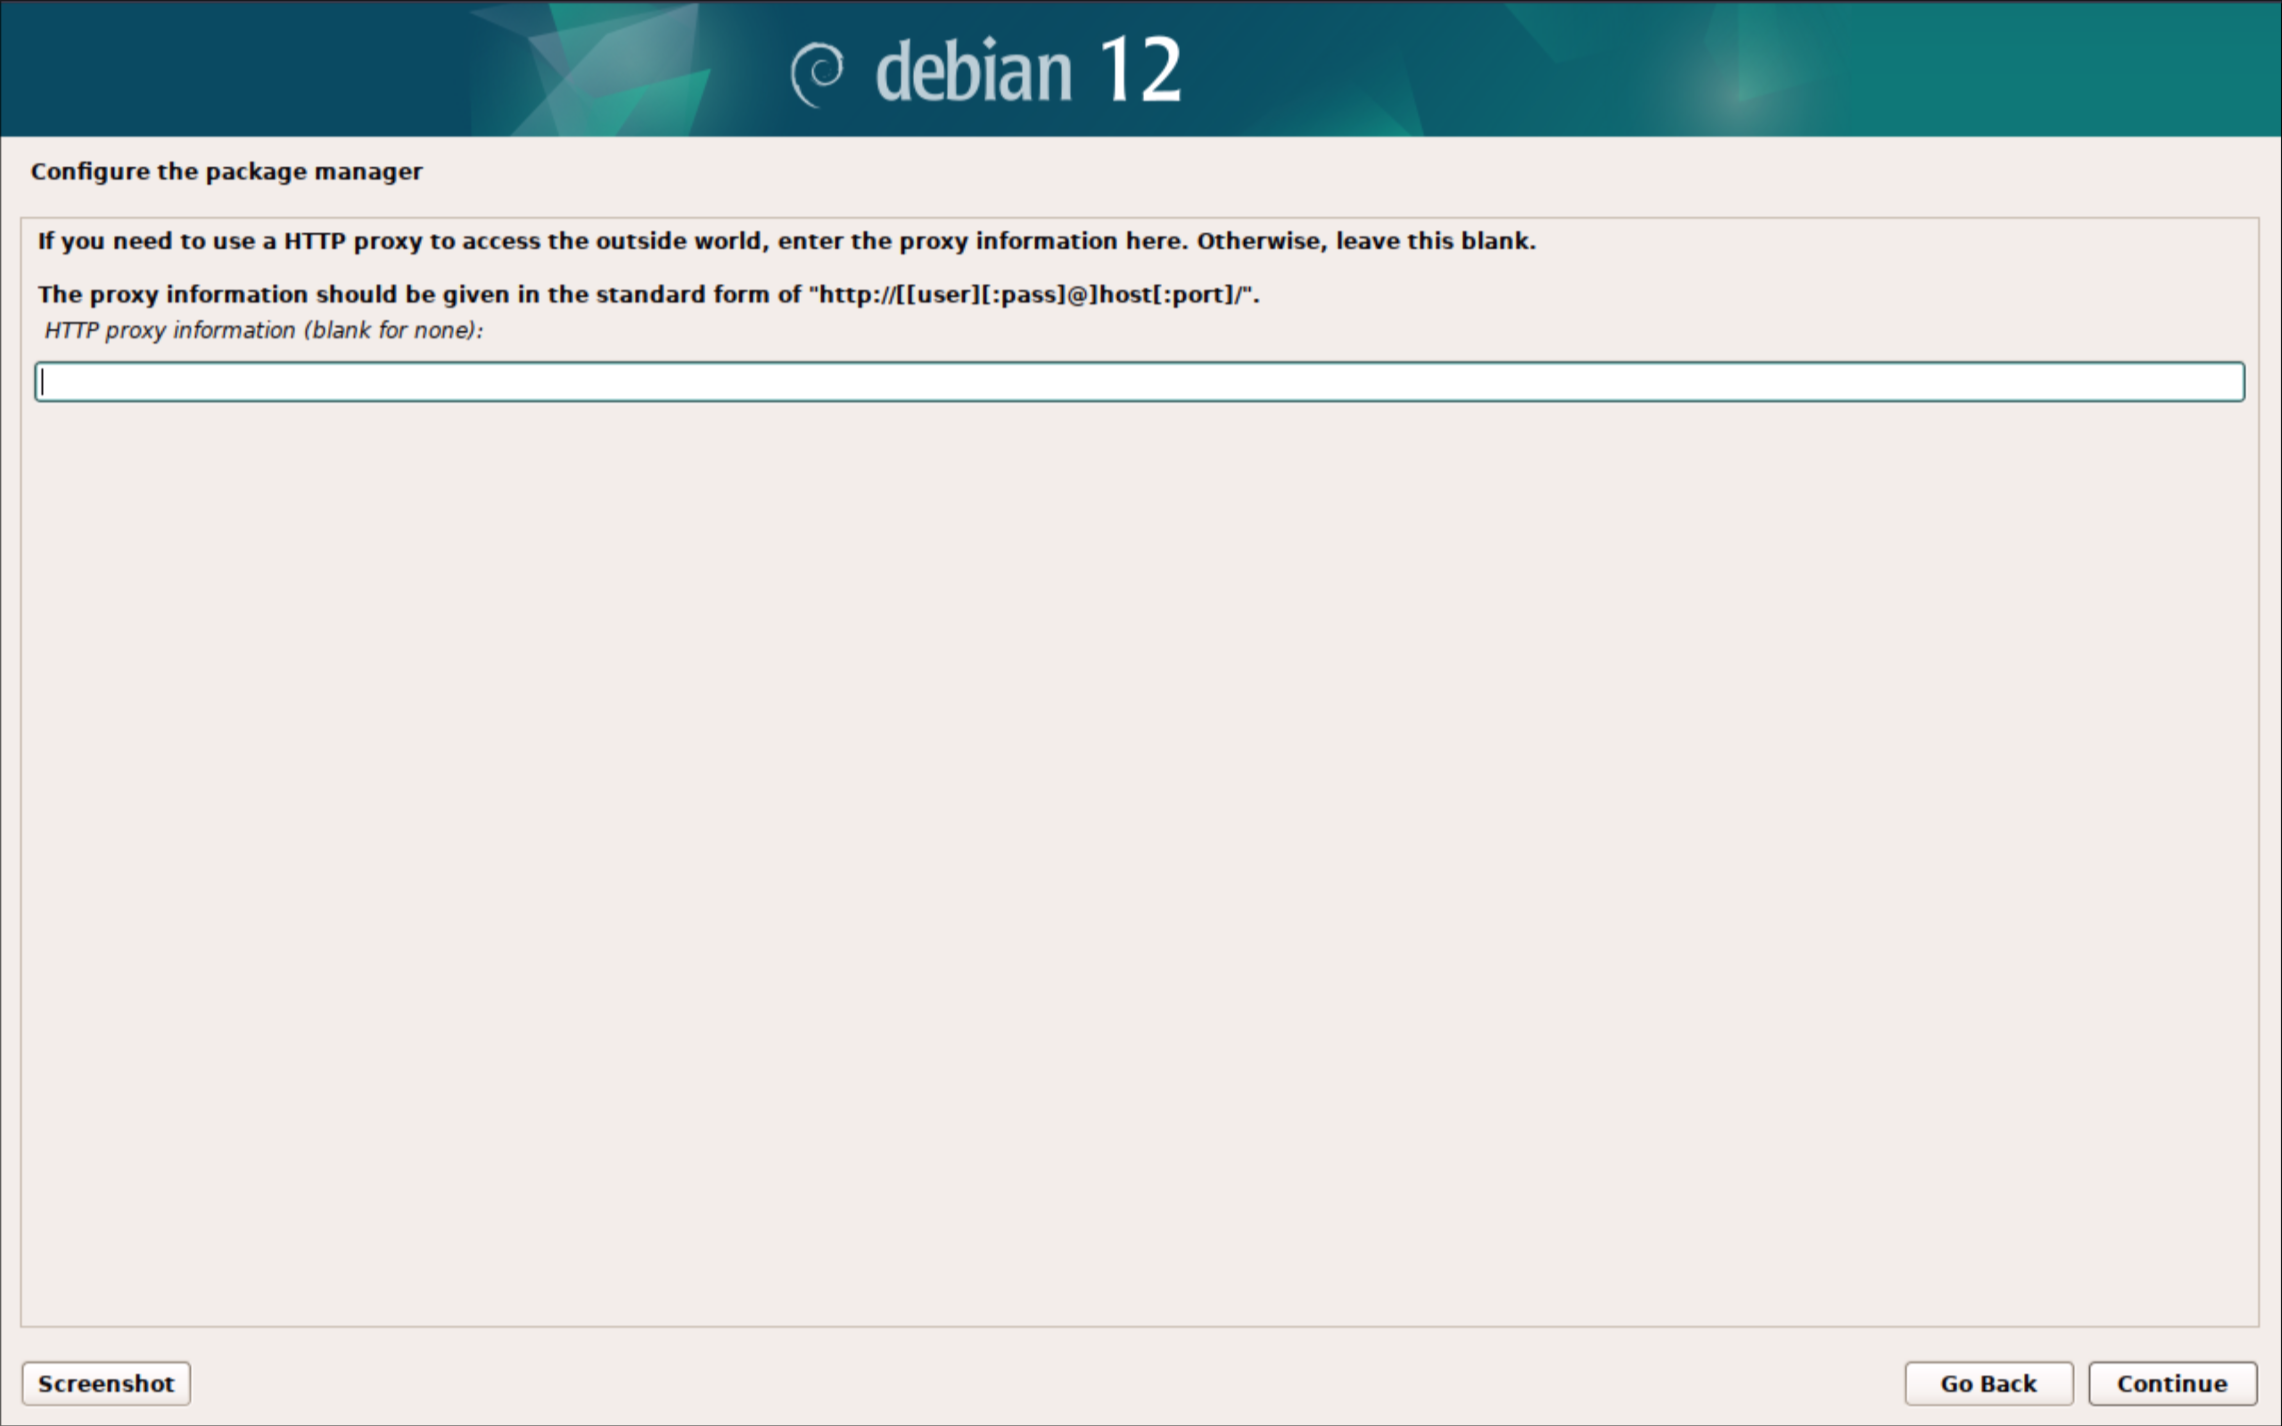
19. No proxy is needed leave it blank and click continue
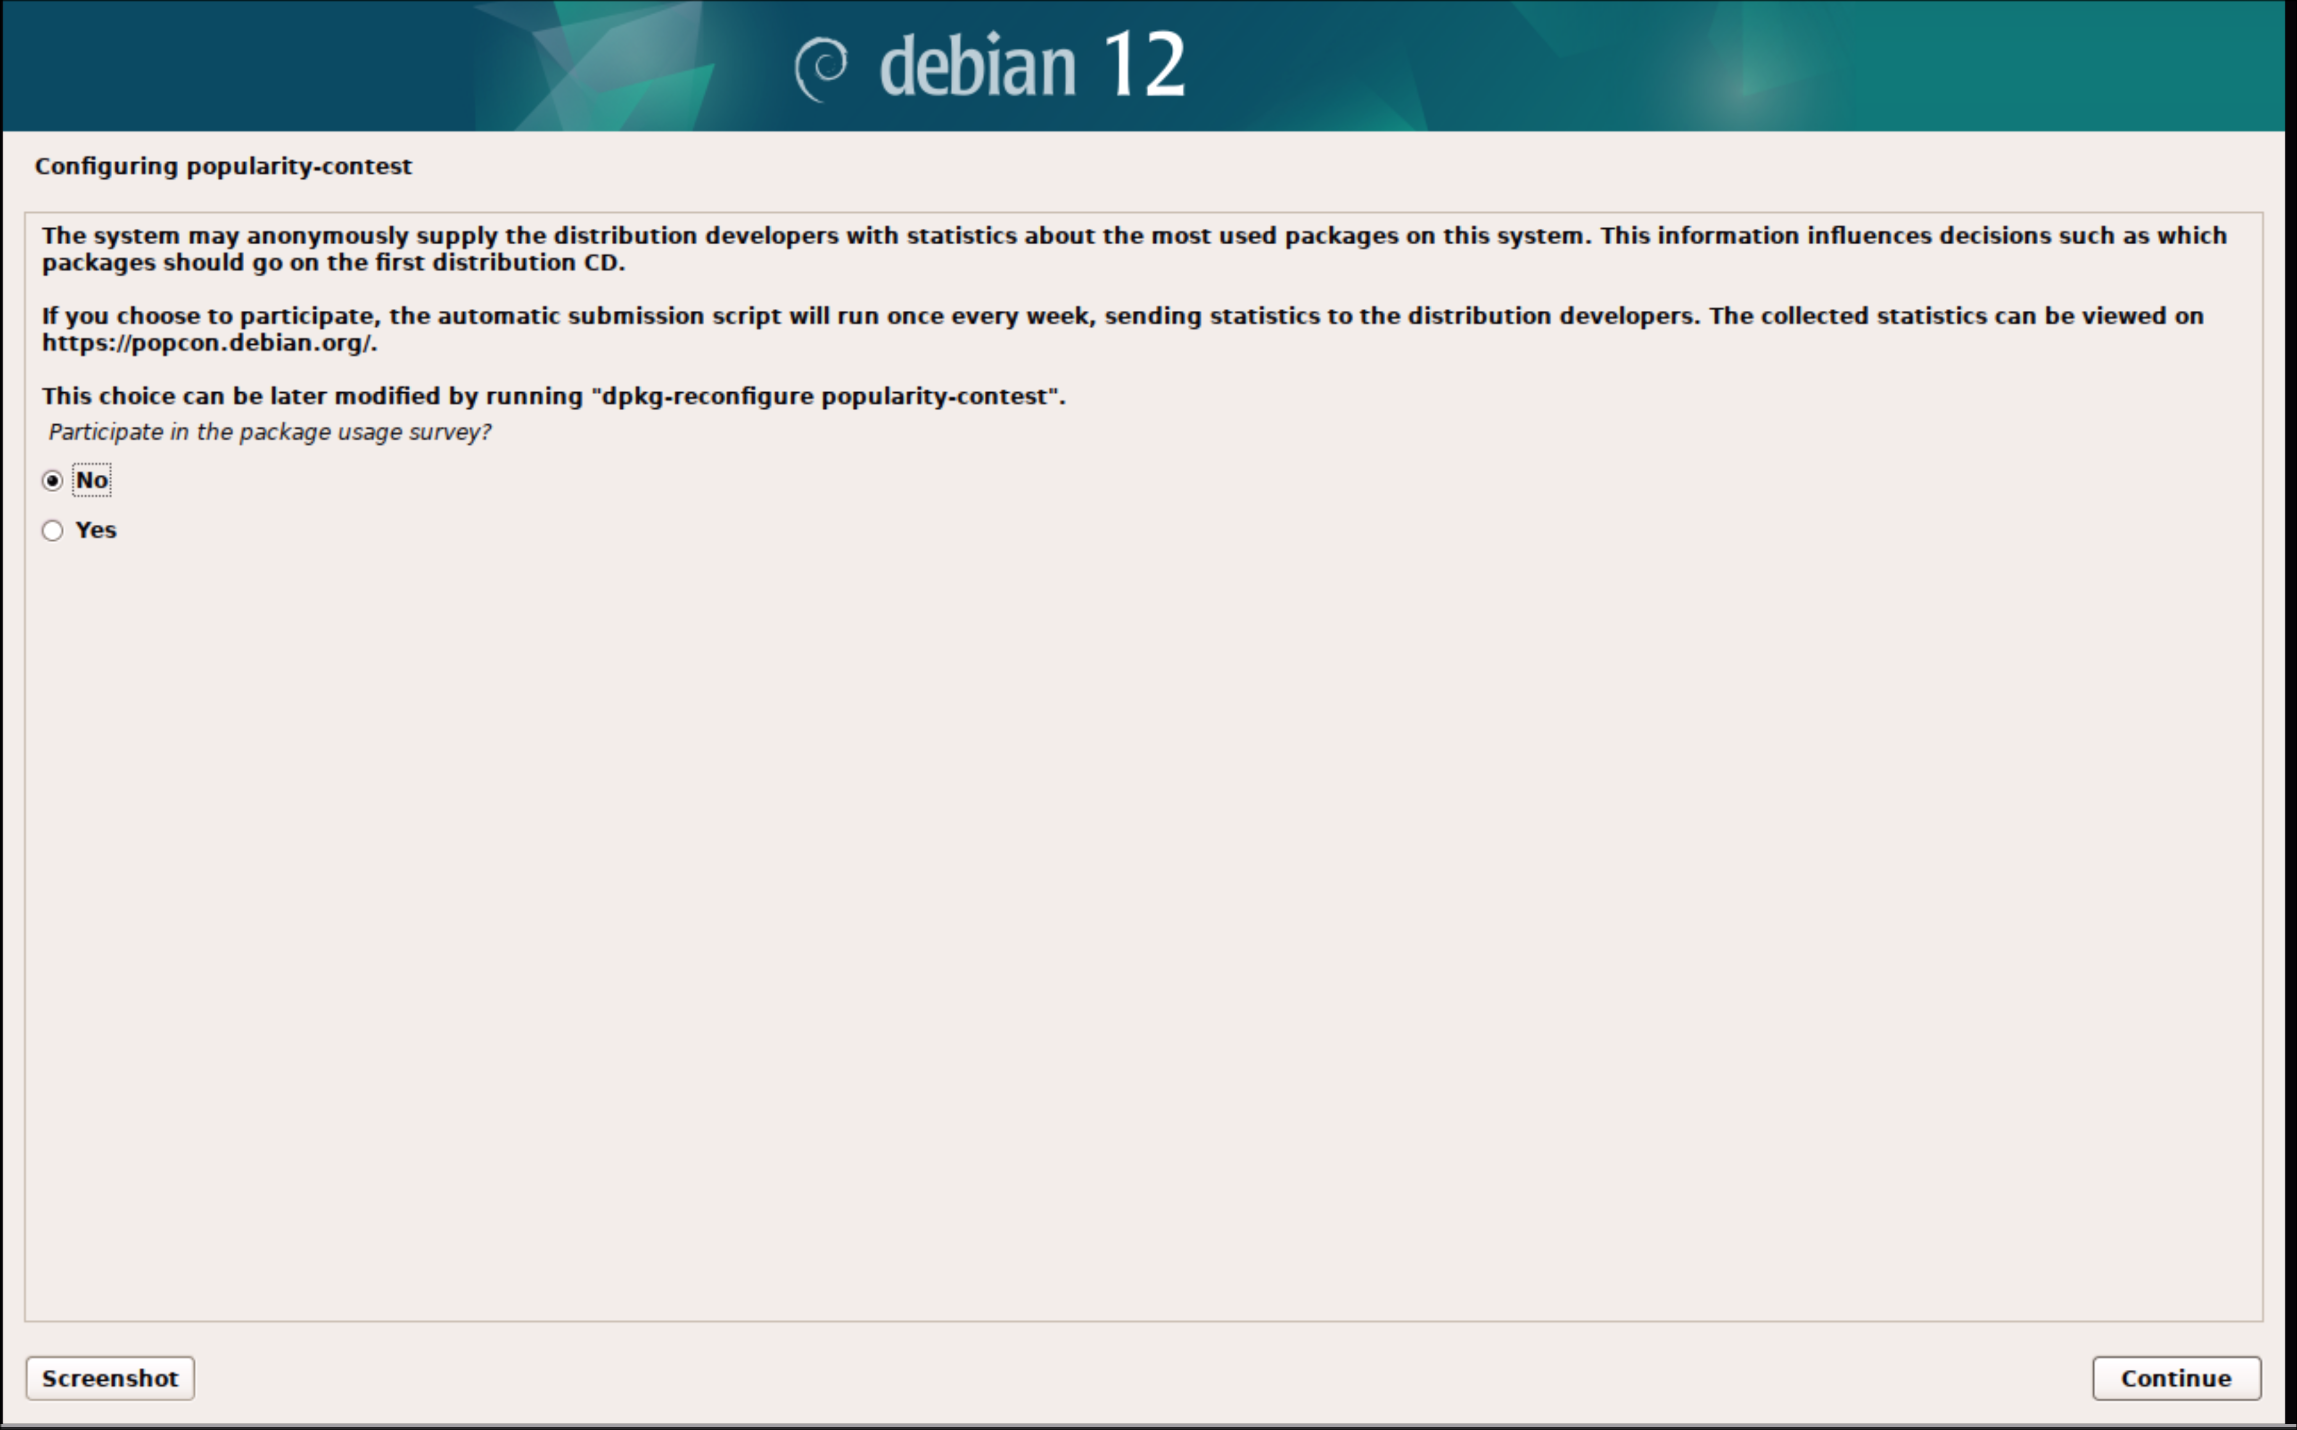
20. Choose No and continue
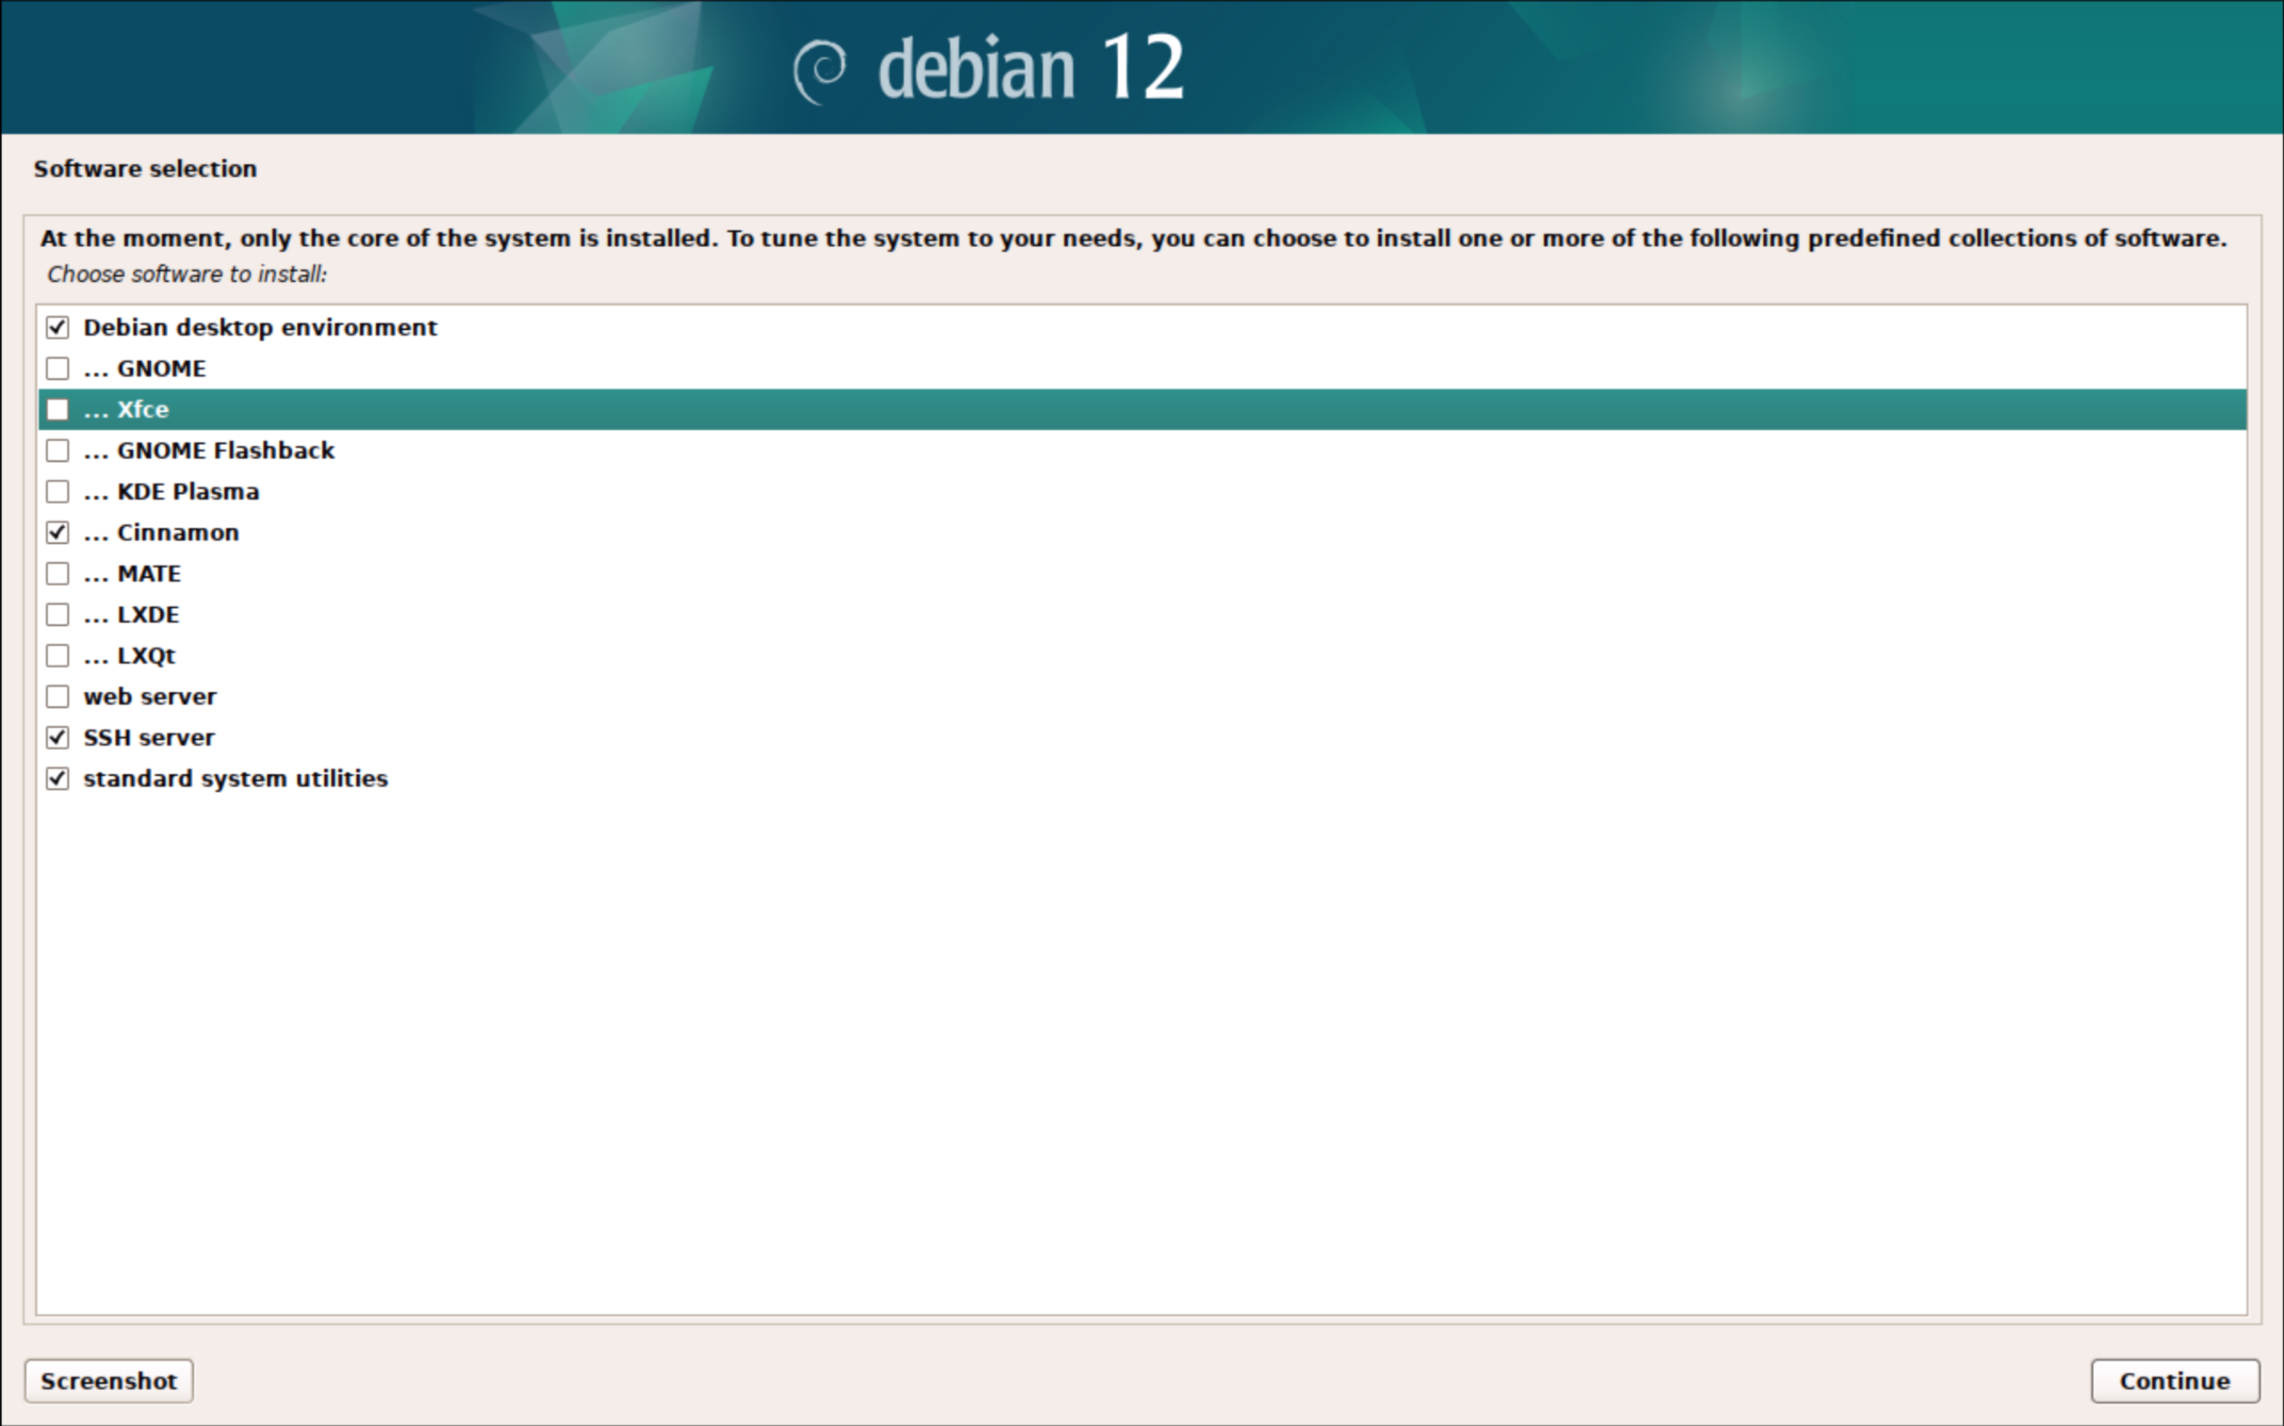
21. Make sure that the following are selected:
-
Debian desktop environment
-
Cinnamon
-
SSH server
-
standard system utilities
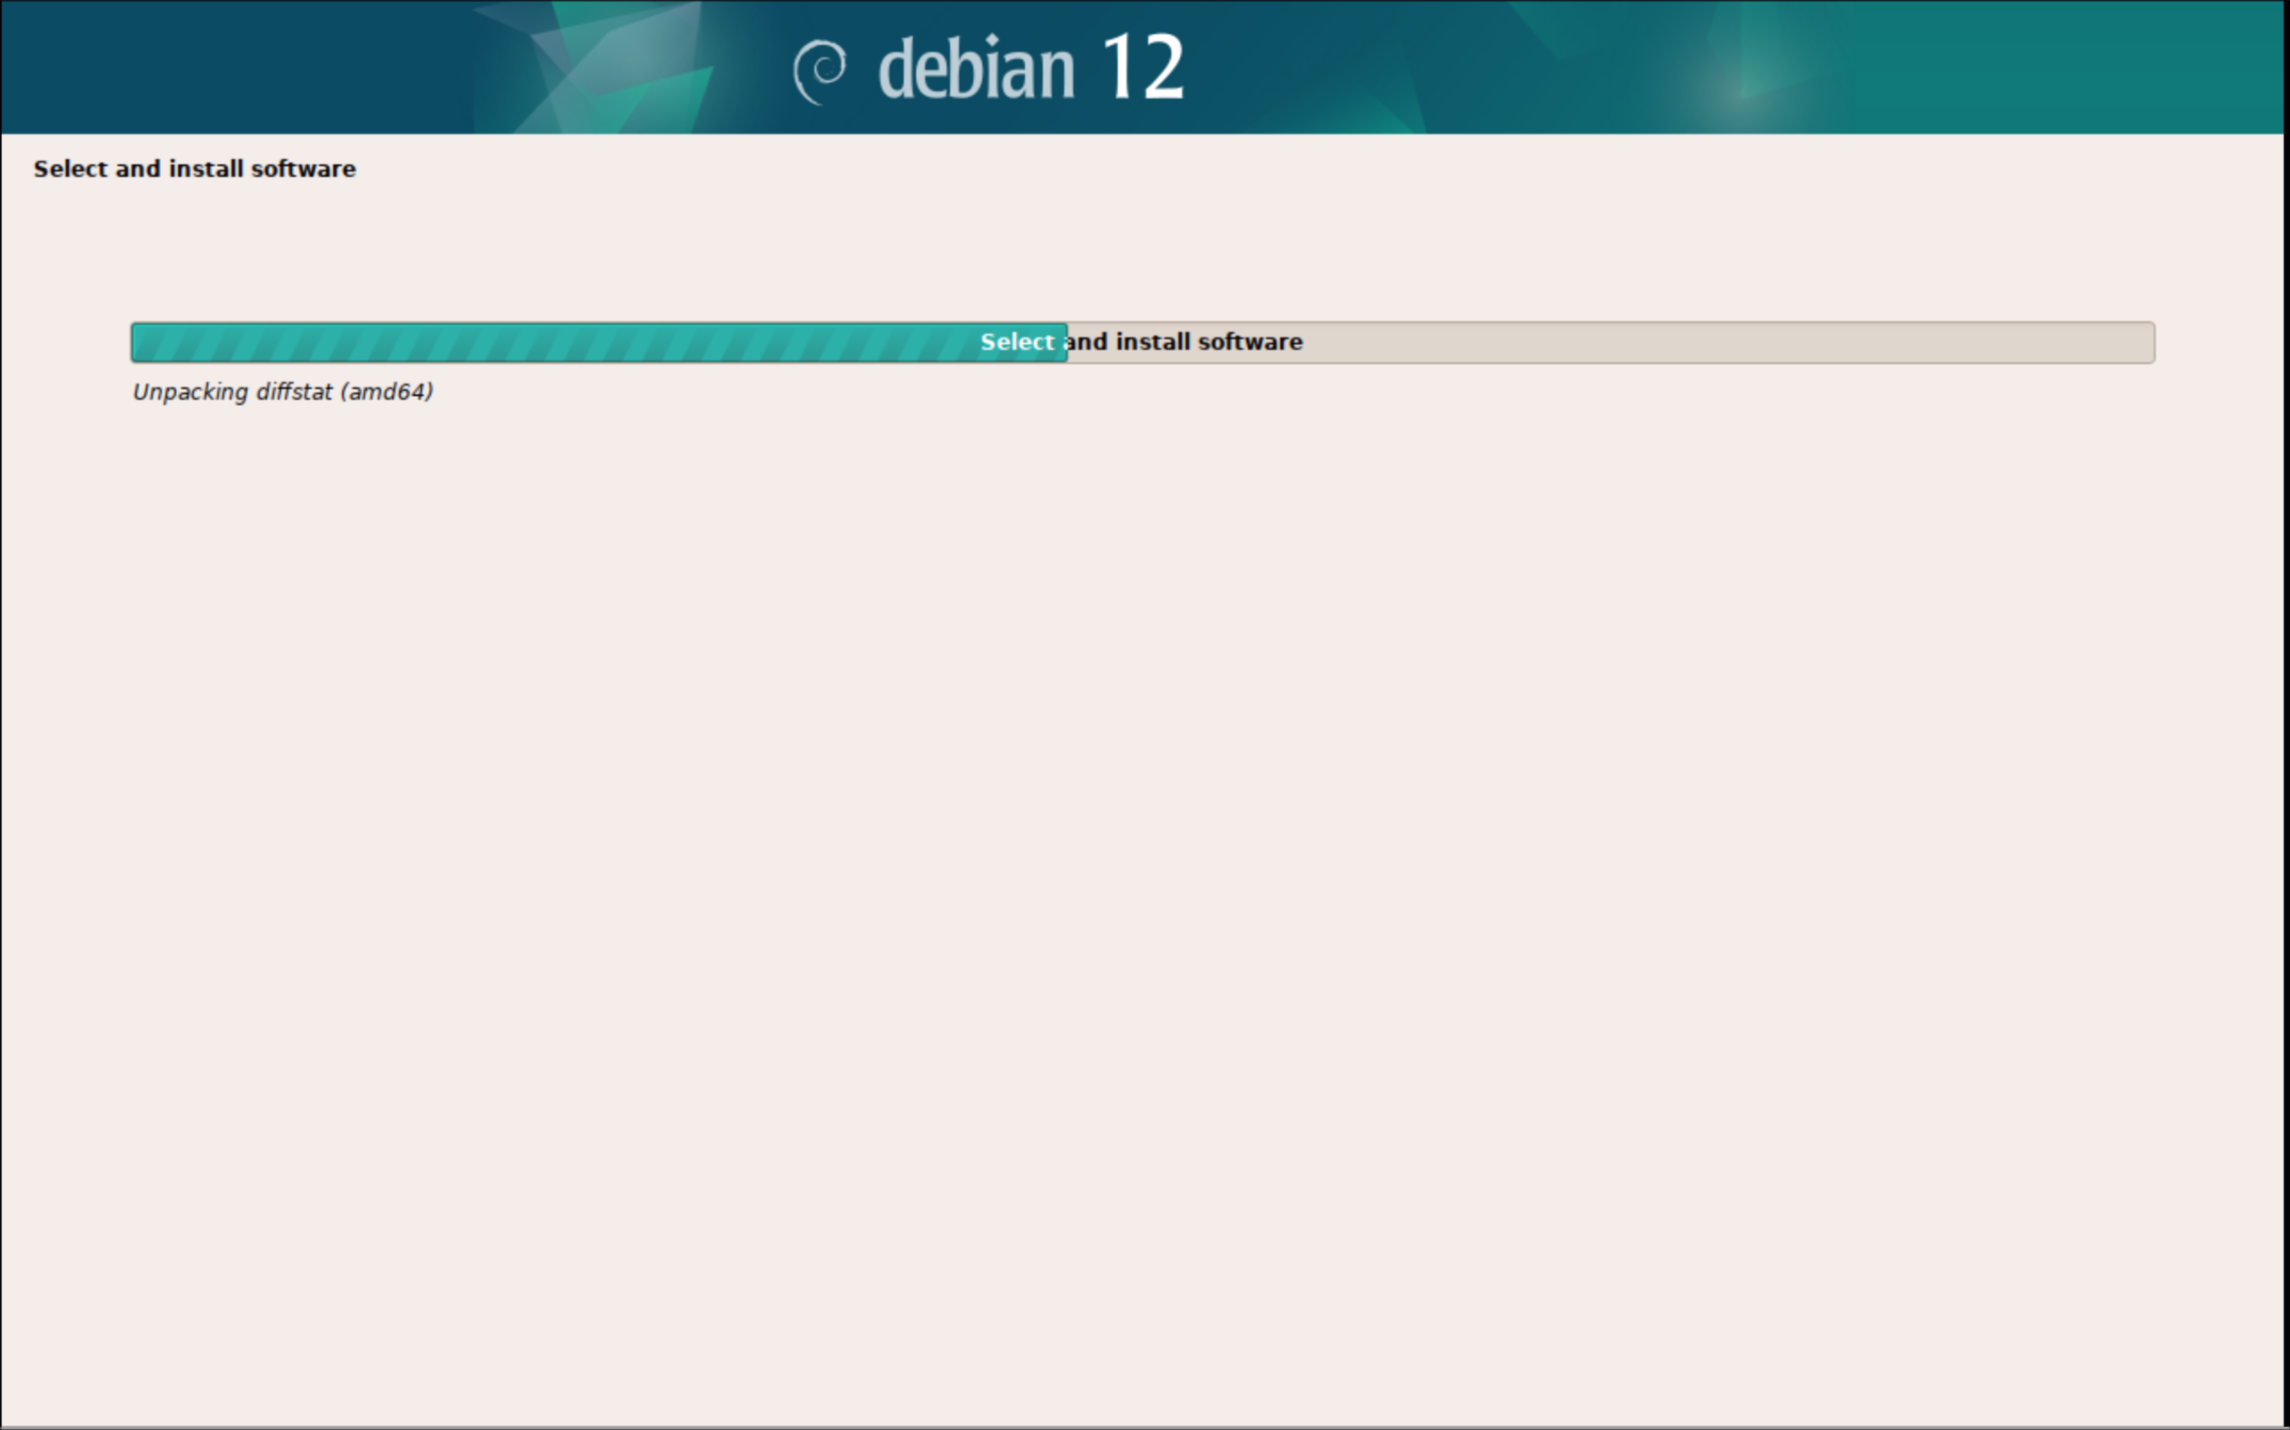
22. This will take about ~5 minutes to download and install all of the packages
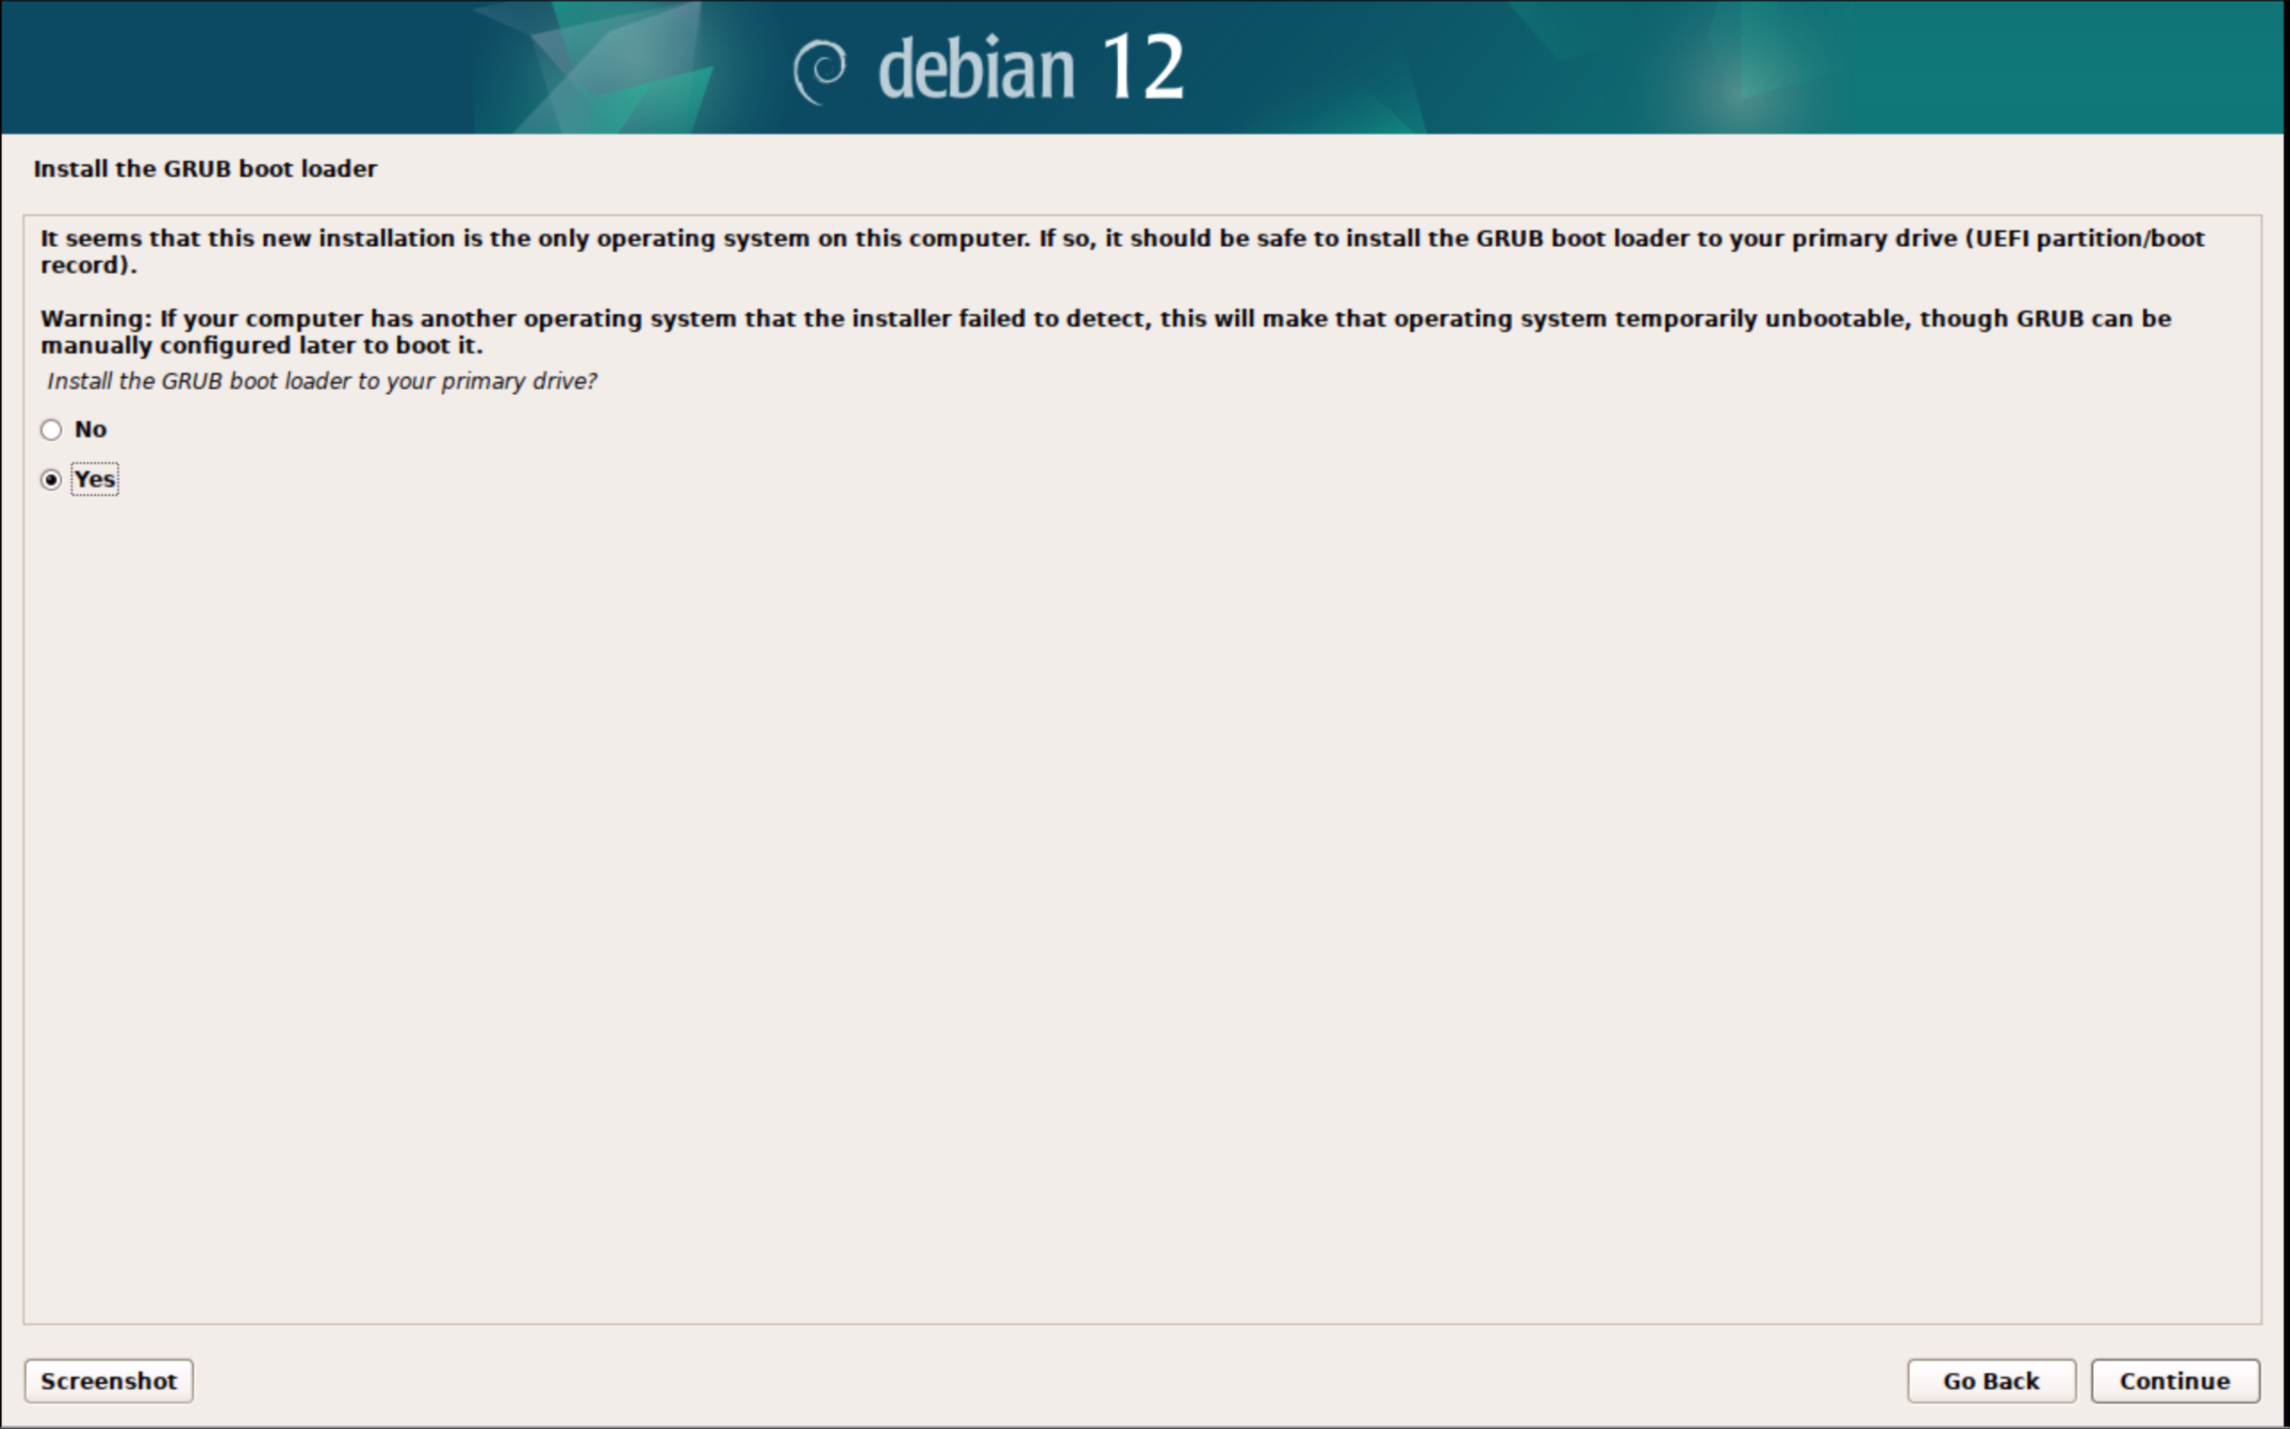
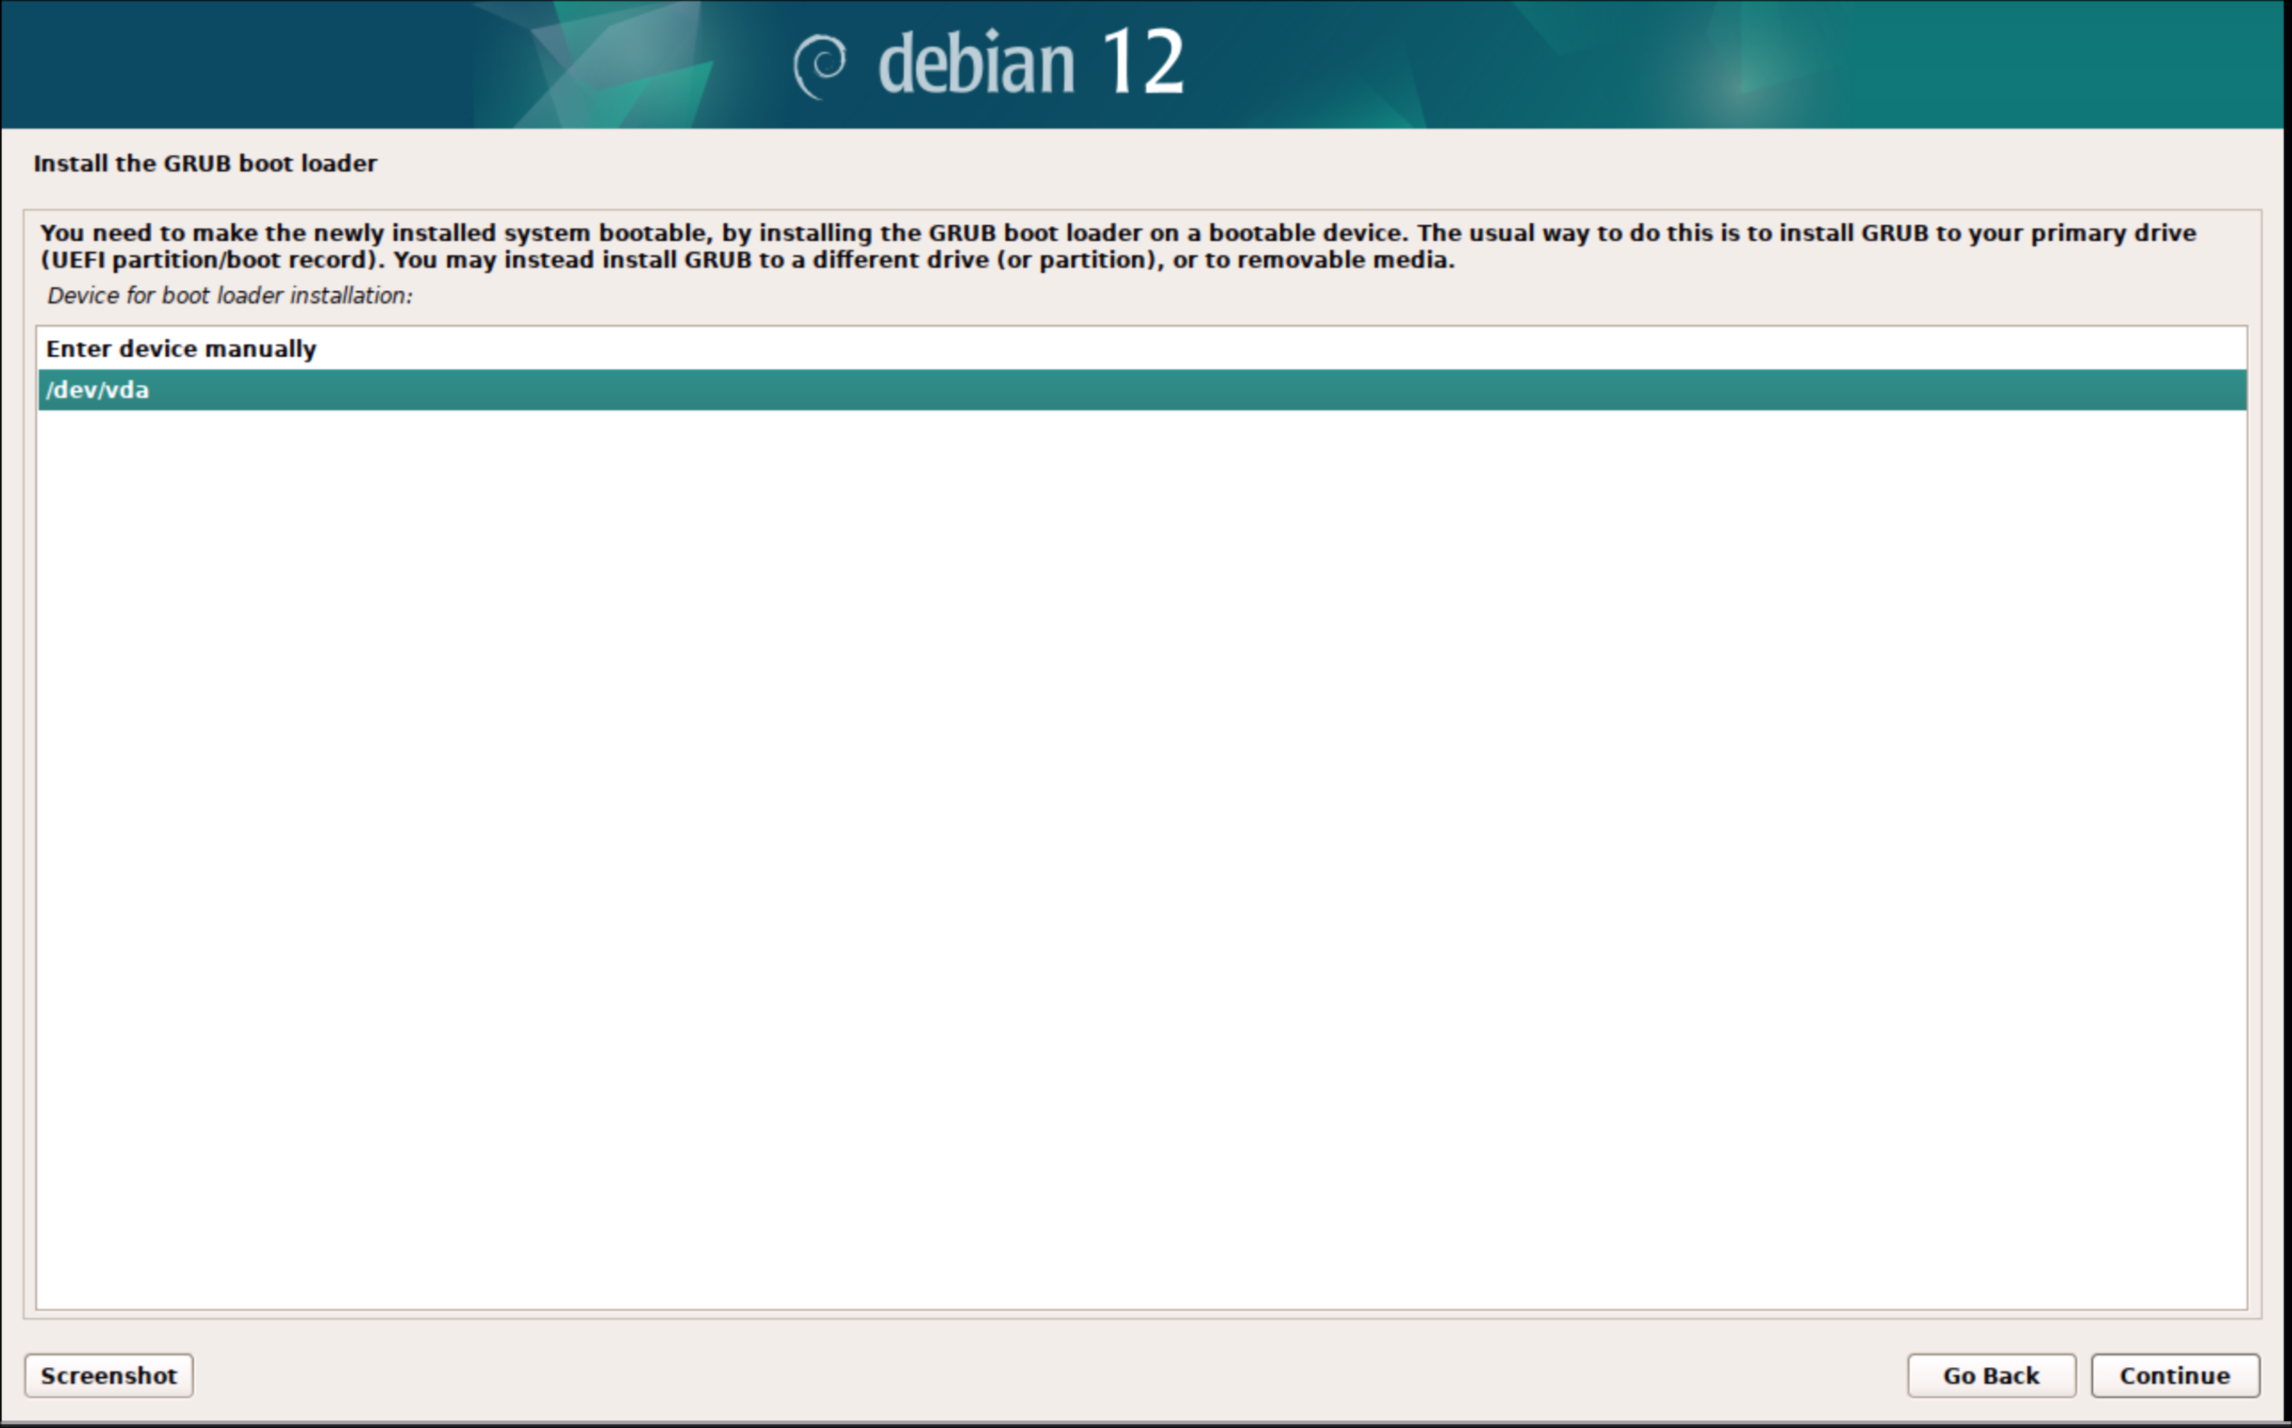
23. Choose yes to install grub
24. There should only be one option available make sure to select it
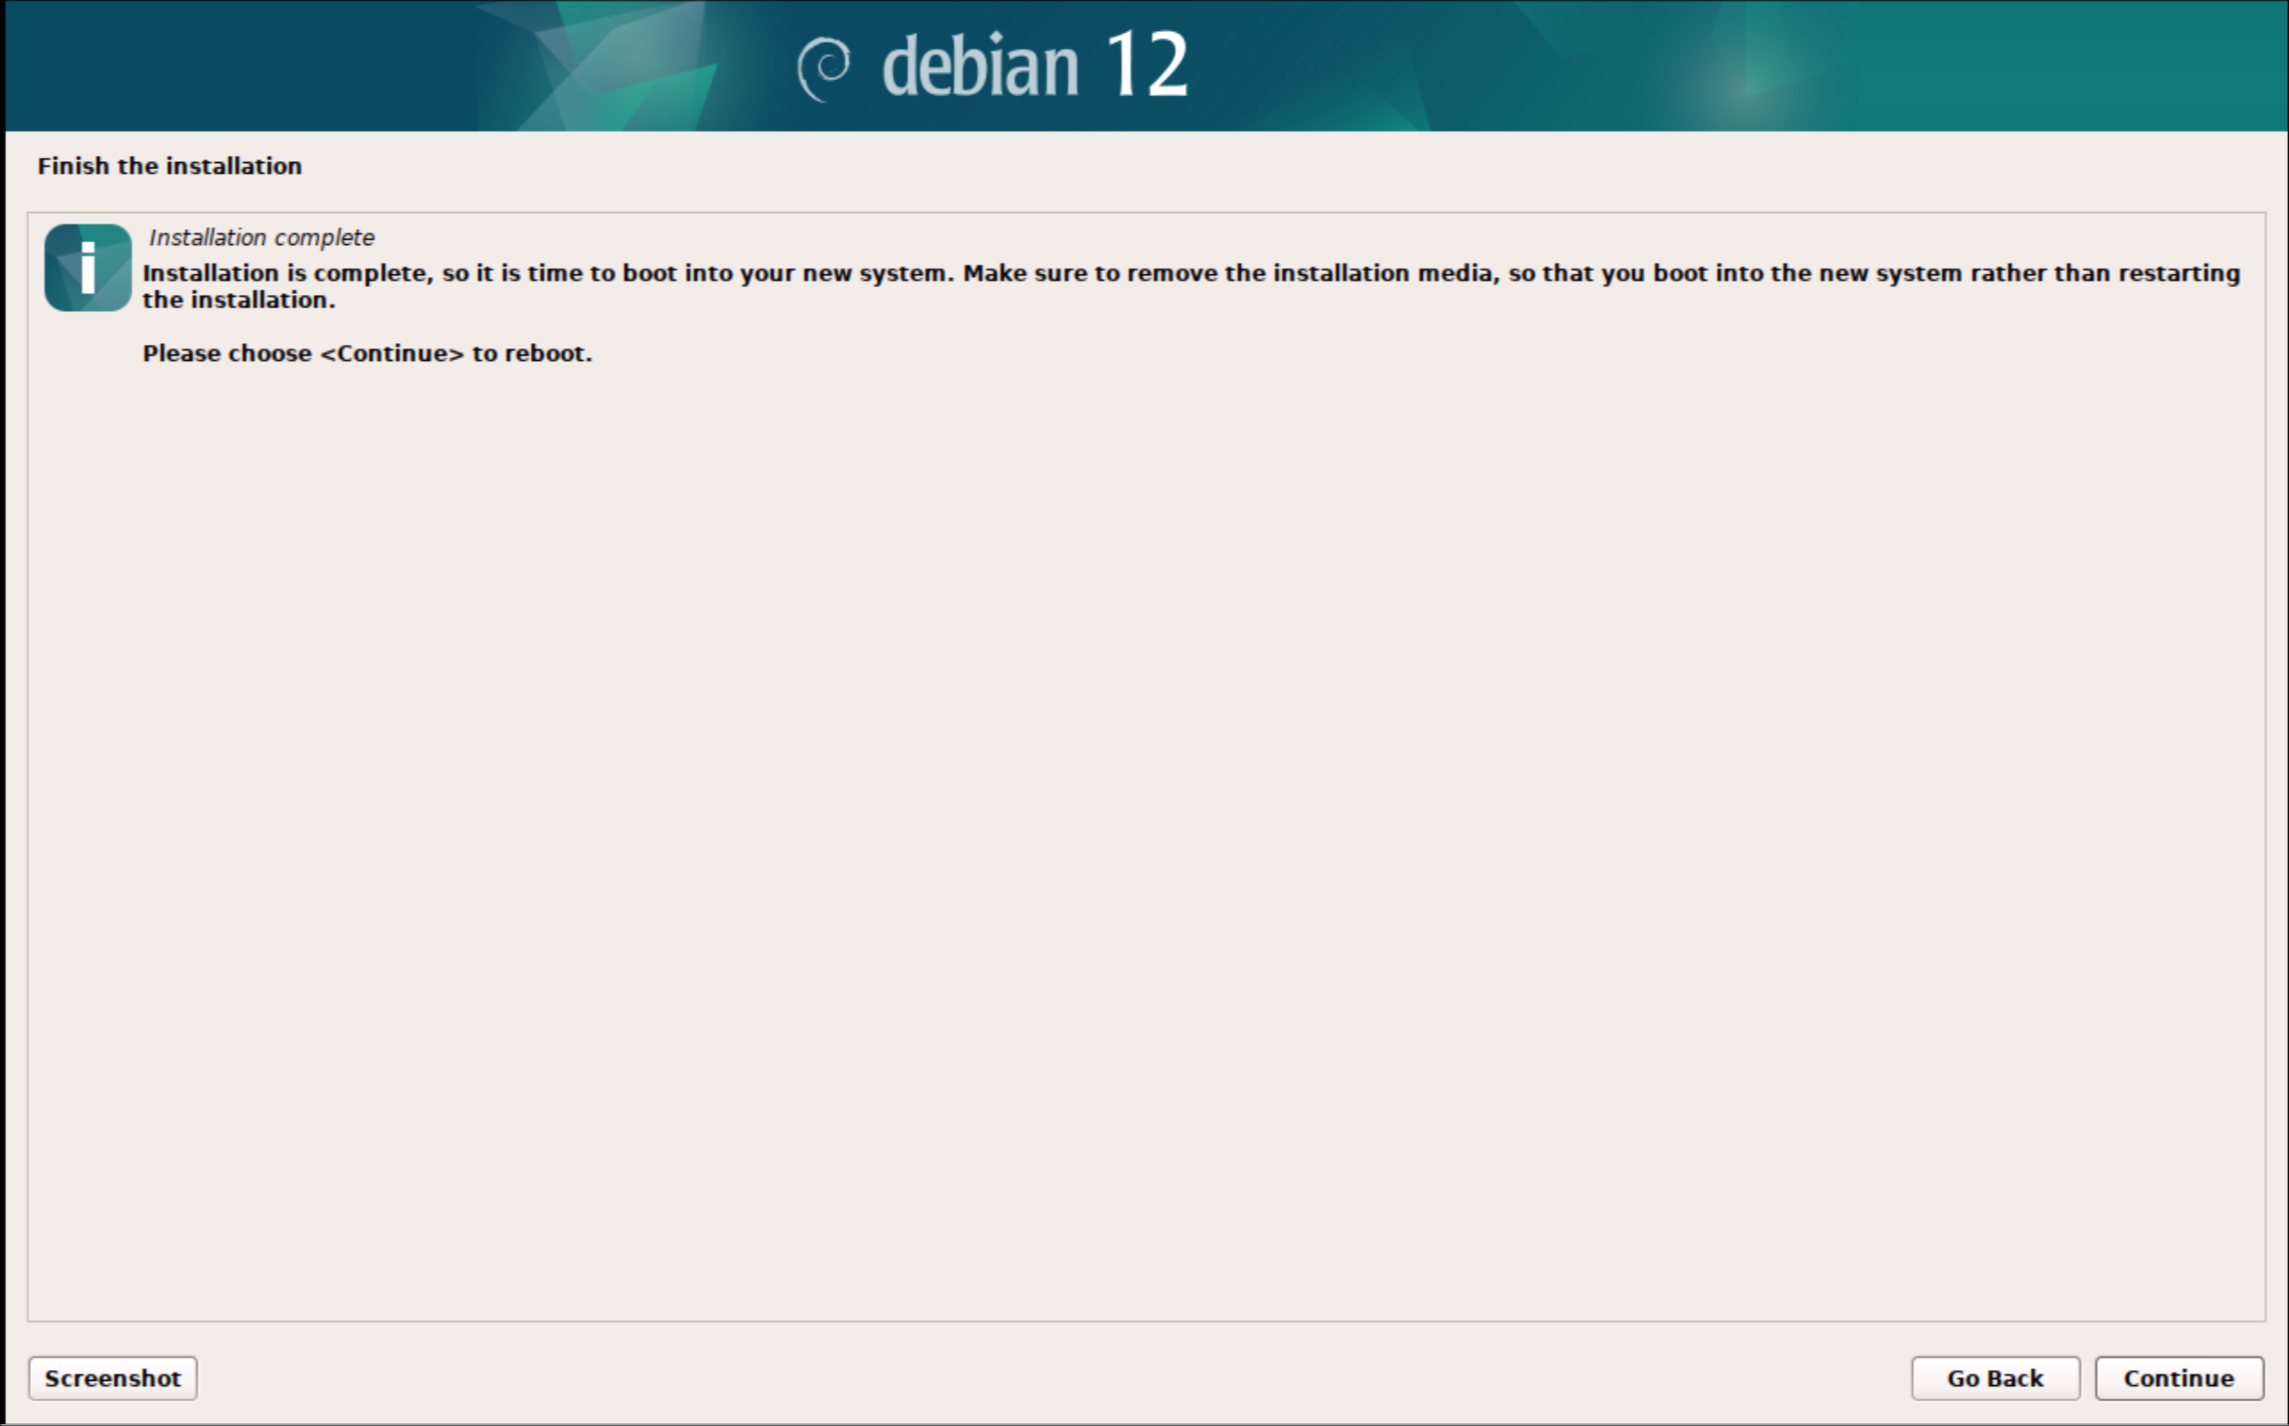
25. Choose continue to reboot
Post install
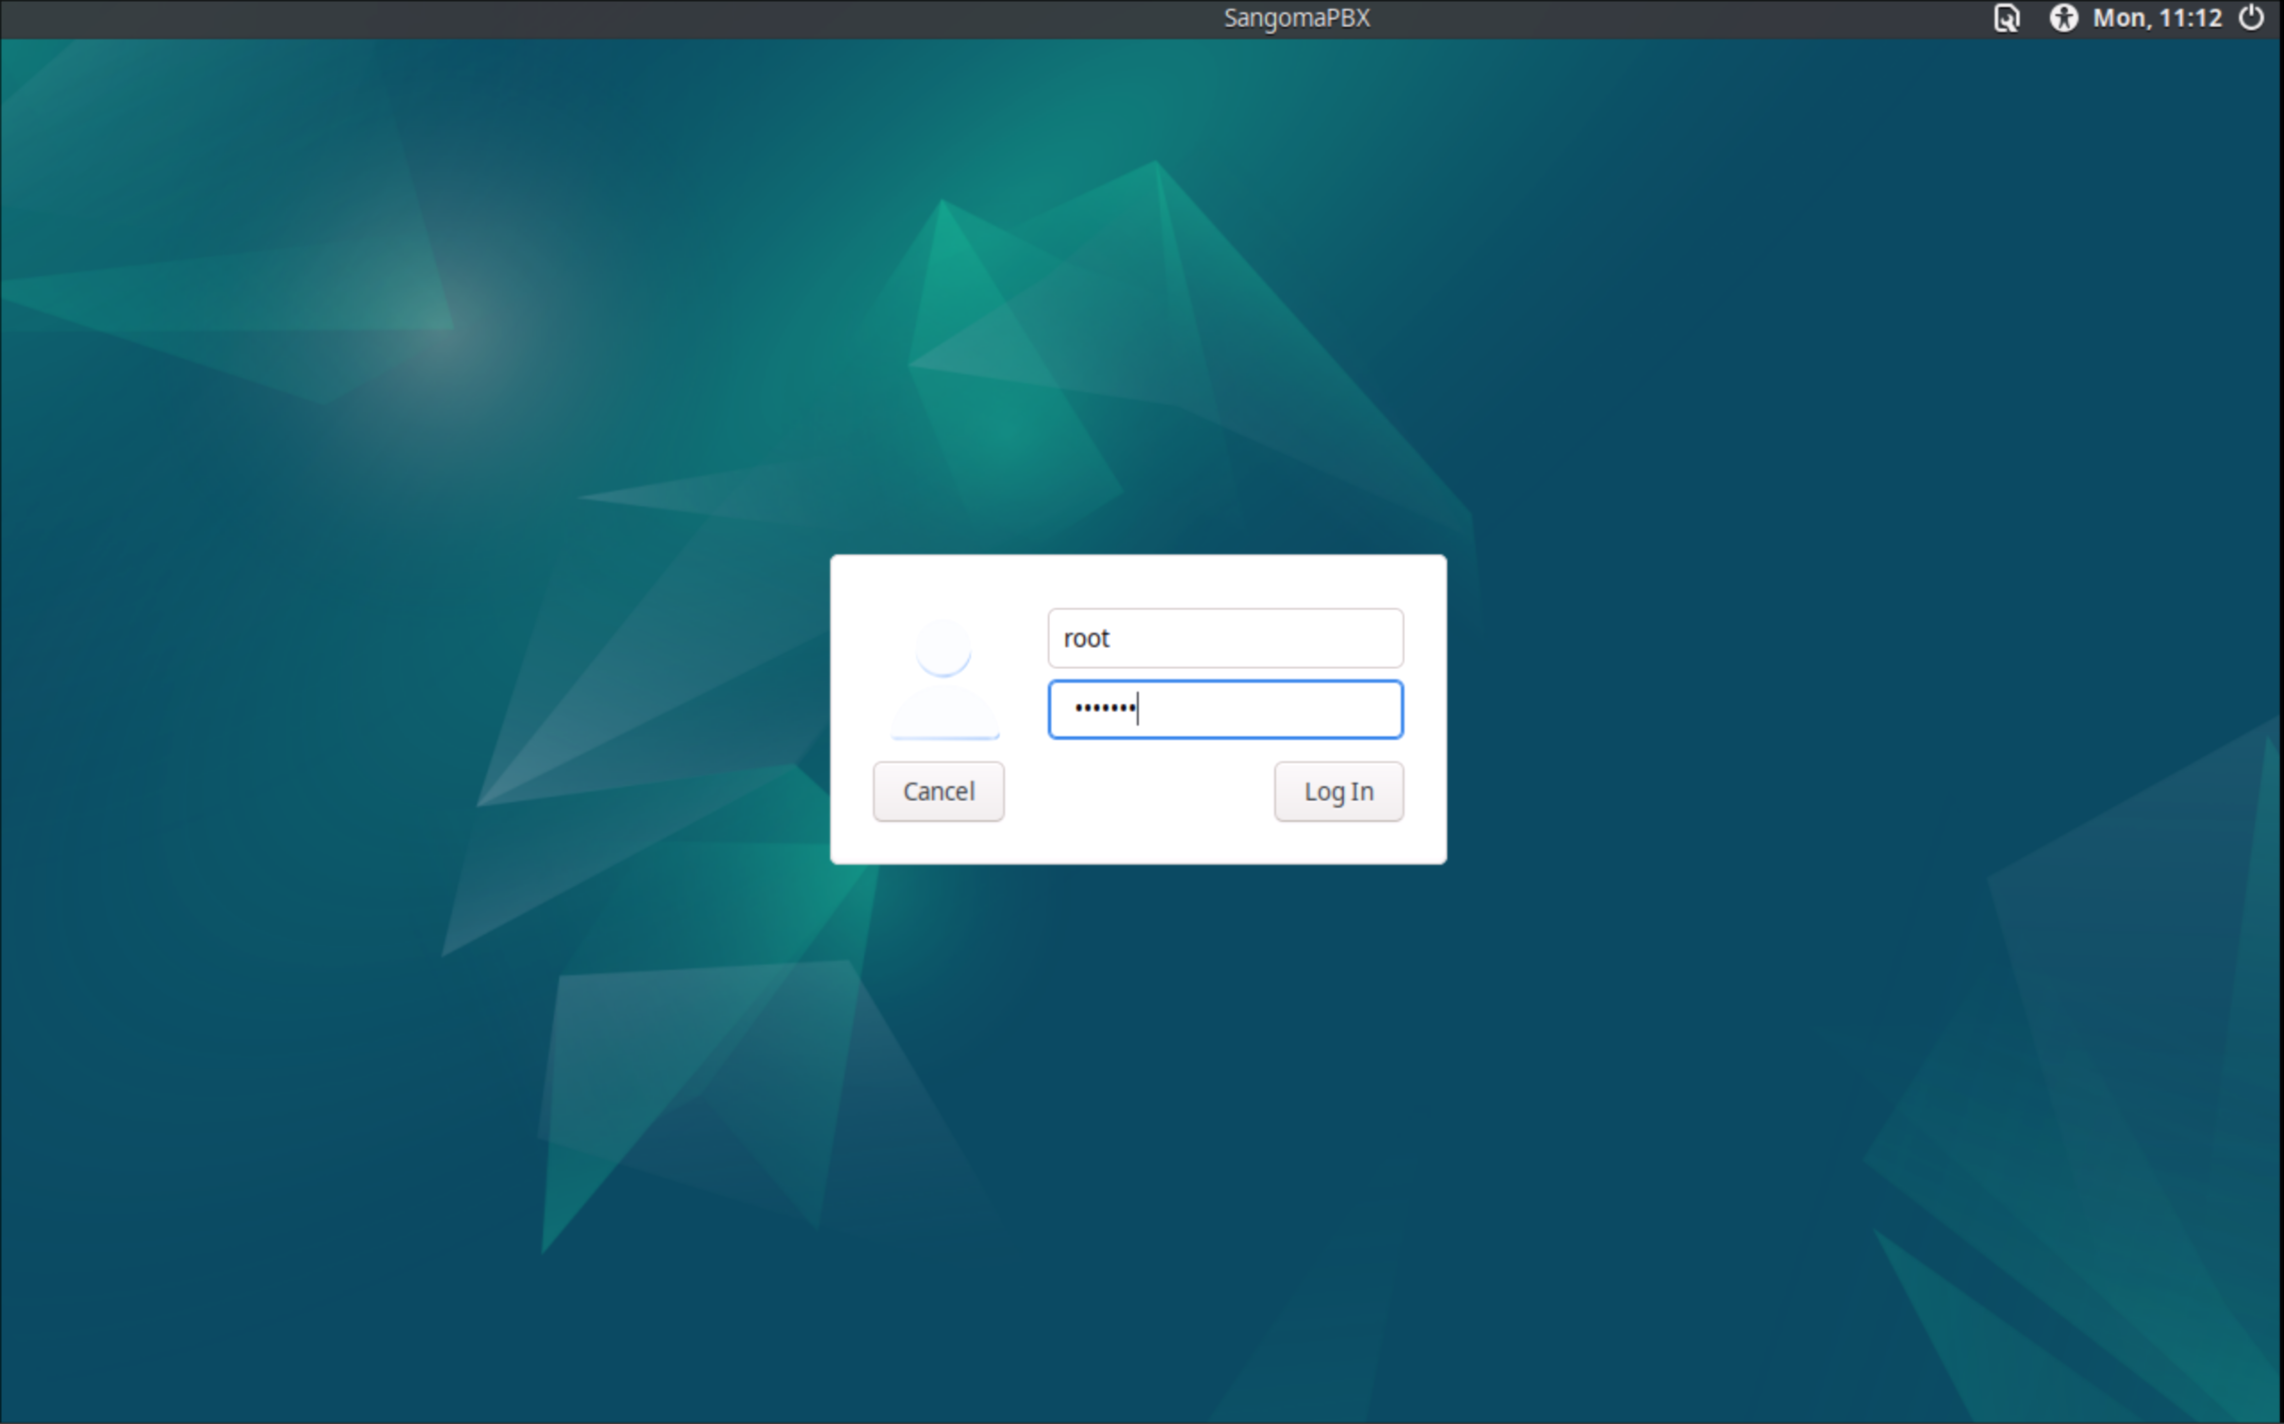
1. login with the root user to do final configuration
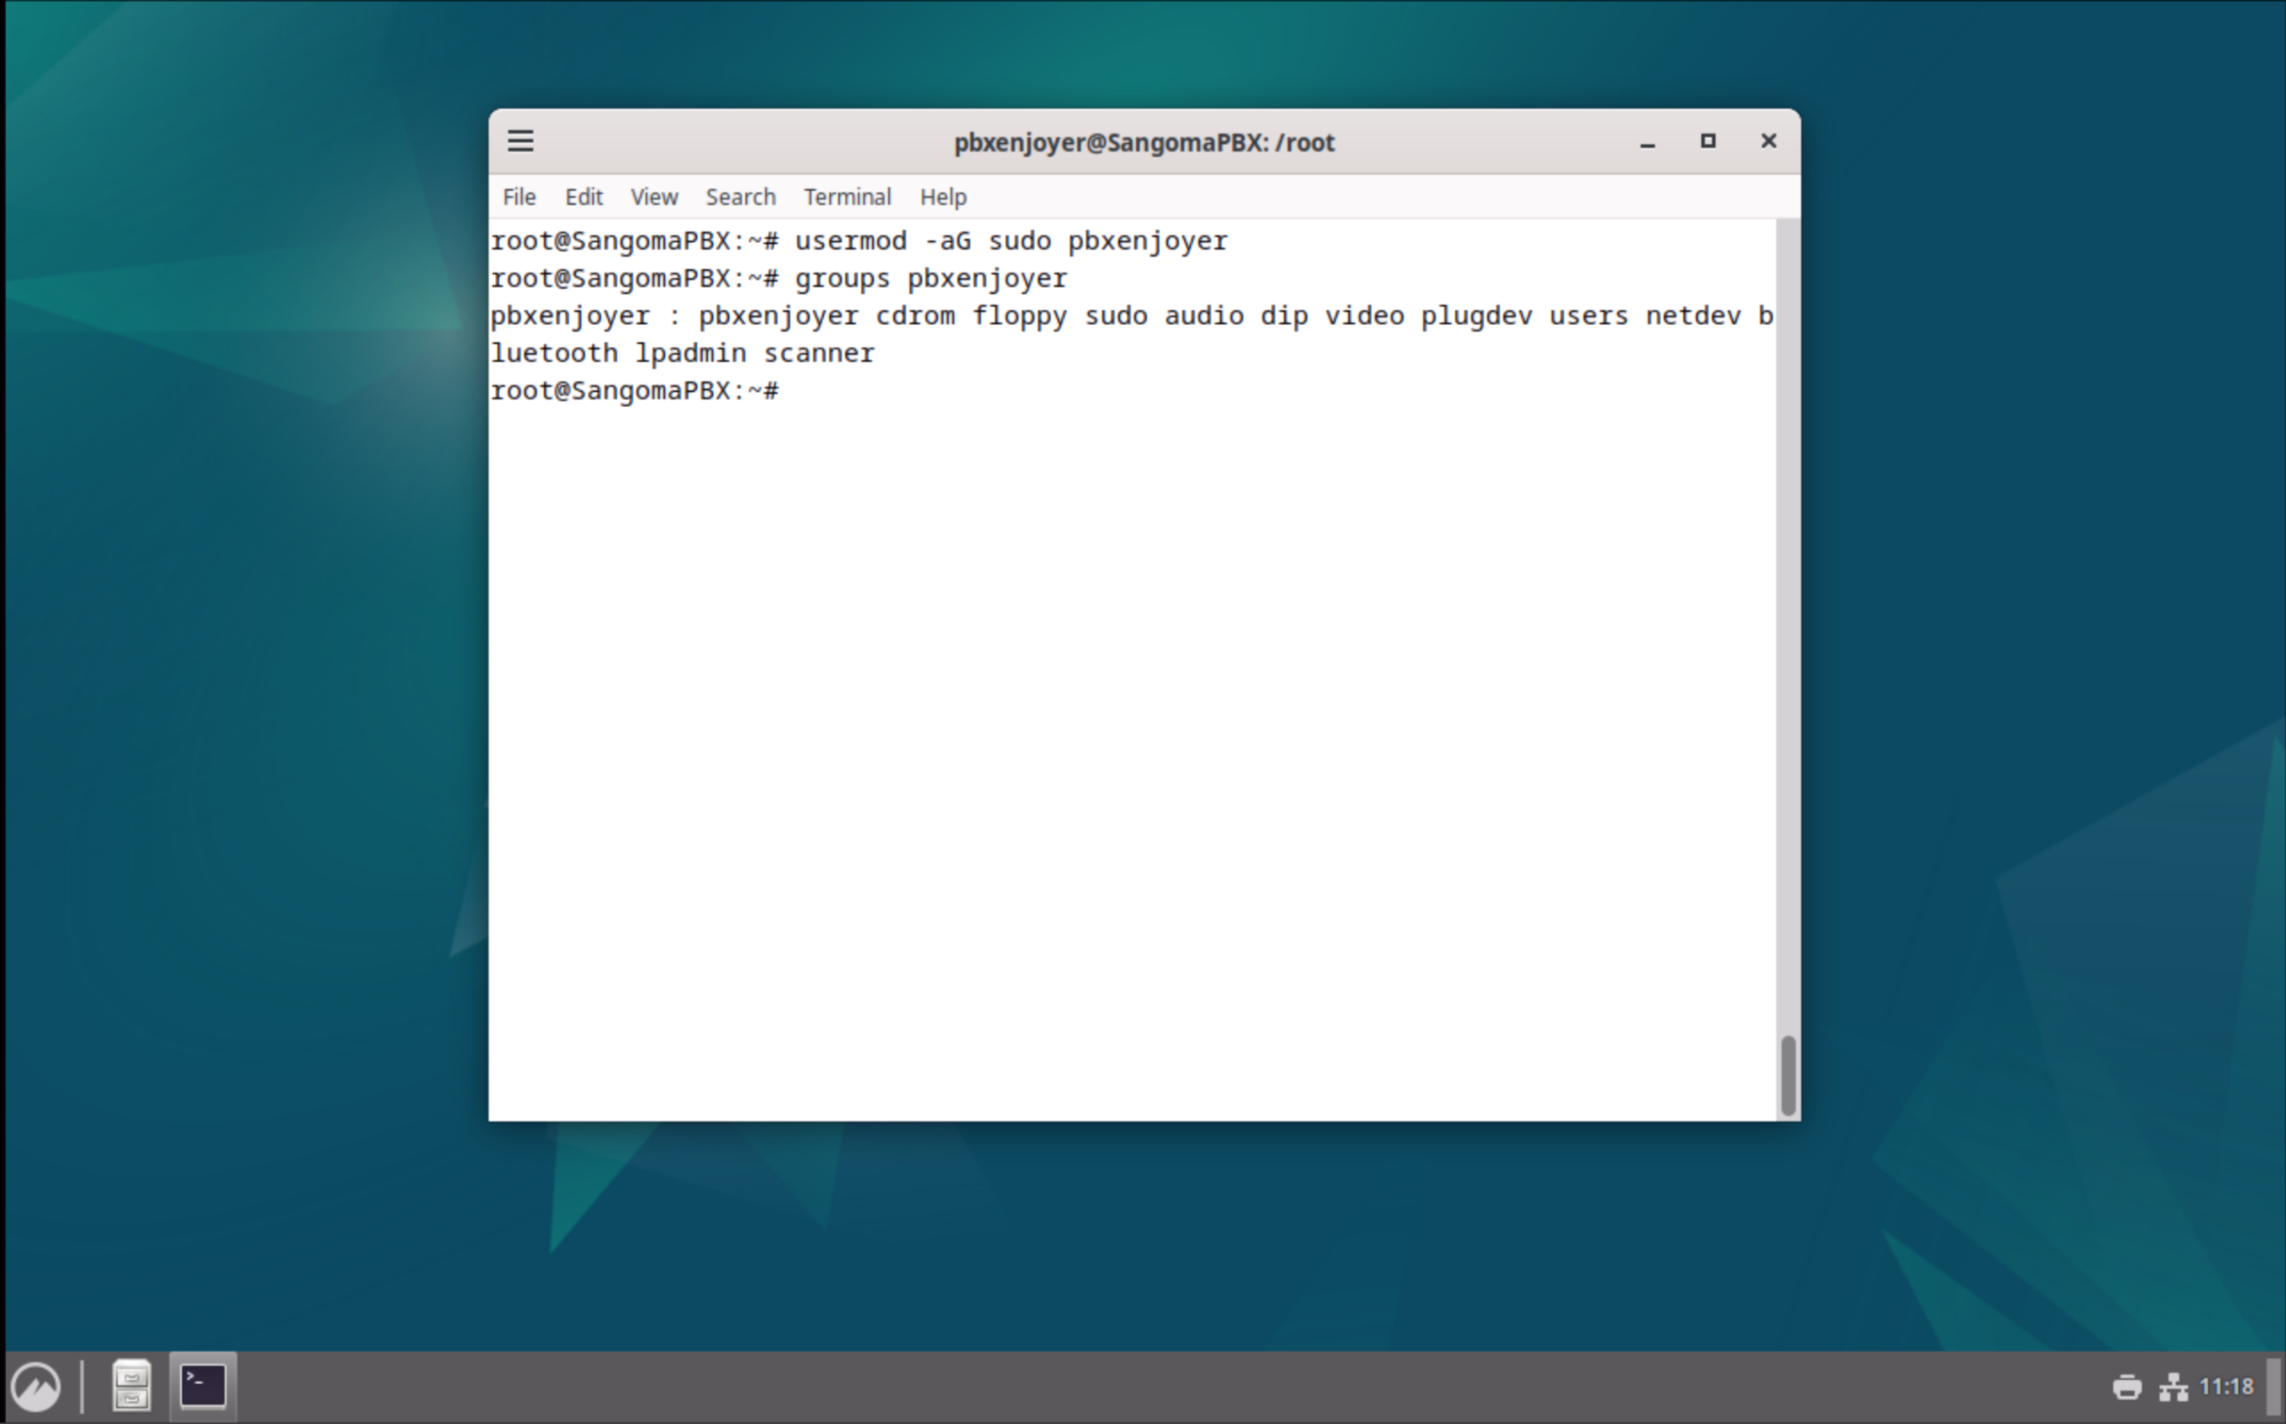
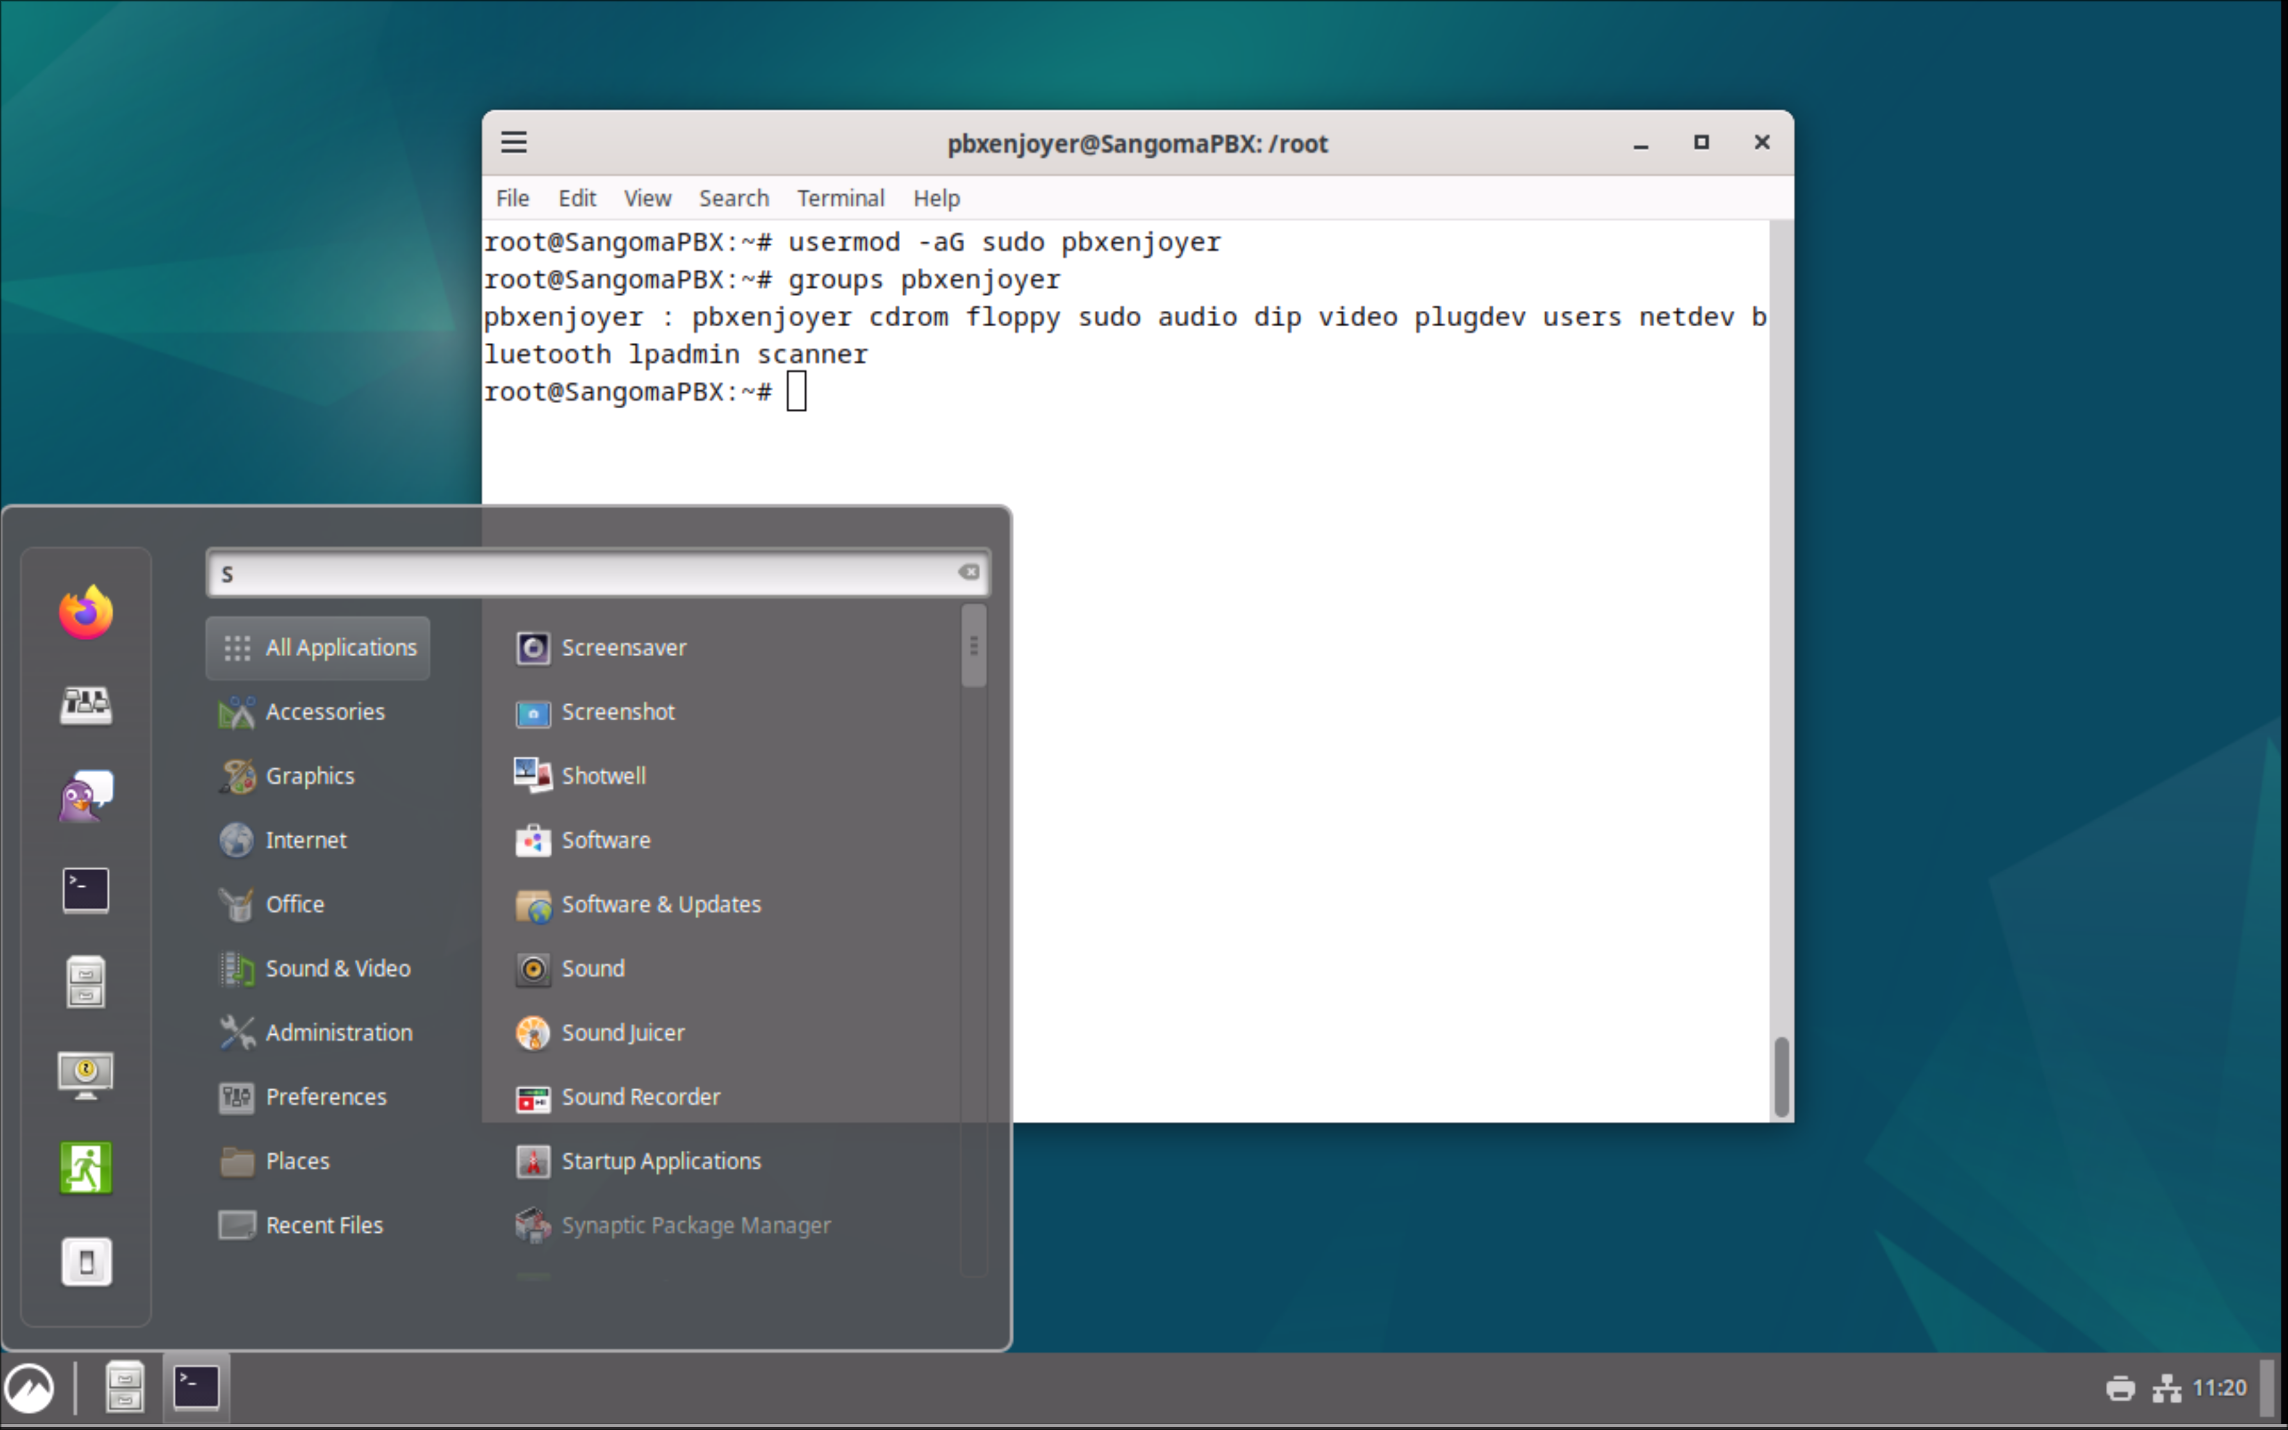
2. Open the terminal from the taskbar on the bottom and run the command
usermod -aG sudo pbxenjoyerReplace pbxenjoyer with a different username if a different username was used
3. Logout by clicking the menu in the bottom left and then clicking the Green exit button. Log back in as pbxenjoyer with the password that was set for it earlier (should be the same as the root user)
FreePBX install
1. At this point SSH is installed and running you can ssh into the server:
ssh pbxenjoyer@10.0.0.10Replace the IP with the server IP which can be found by clicking the Network Icon on the bottom right.
2. Either in SSH or the Terminal run this command to install FreePBX. This will take about 5 minutes to install.
cd /tmp
wget https://github.com/FreePBX/sng_freepbx_debian_install/raw/master/sng_freepbx_debian_install.sh  -O /tmp/sng_freepbx_debian_install.sh
sudo bash /tmp/sng_freepbx_debian_install.sh
3. After it is finished running you can go the IP address in your browser to access the FreePBX webui and complete the PBX setup.
Optional Steps
1. Run this command to install Doom
sudo apt install chocolate-doom2. Open the menu in the bottom left and searching for Doom. Run the first option